
Progress During Covid-19
Printers & Working Area
For quite a while, I’ve needed to create a workstation in my office. Tho I happen to have a rather large desk, having it be my working area, hold my PC screens, and having it hold both of my Canon Prograf-1000 and my Canon Pro 100 printers was a bit chaotic at best. I needed to get the work area moved and the printers moved at the least.
Print Storage
In addition to having the printers moved, I desperately needed a place, other than my desk surface, for prints to sit and outgas after printing and before packaging. I print on Canon 17”x22” and 13”x19” paper that is quite large. Having a place to store such large paper, as well as having a place to let prints outgas, was a key requirement, but not the last one by far.
Shipping Tubes
I set aside a section of the Workstation to be able to store shipping tubes as they tend to take up quite a bit of space merely sitting off to the side.
Photog Equipment
I needed a place to set my camera backpack, camera gear, as well as my tripods. Leaning them here or there often left marks on the walls or was just flat out in the way.
The Problem
One of the problems keeping me from building a Workstation was all of this was time it would take to design, build, and install one. I just didn’t have the time enough to set aside for such a large (for me) project. That was until Covid-19.
The Plan
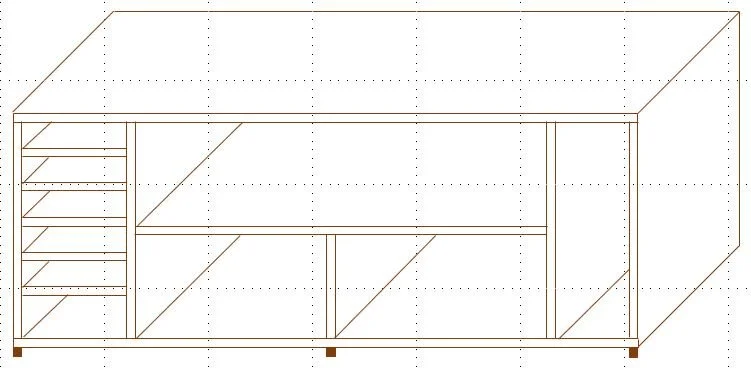
The Rough Idea
My office happens to have a section that would perfectly allow for the workstation that I had in my mind. I based my length measurements off of an inset area on an office wall and the depth off of my largest printer. All that was left was to double-check my measurements, determine what supplies would be necessary, and obtain those necessary supplies.
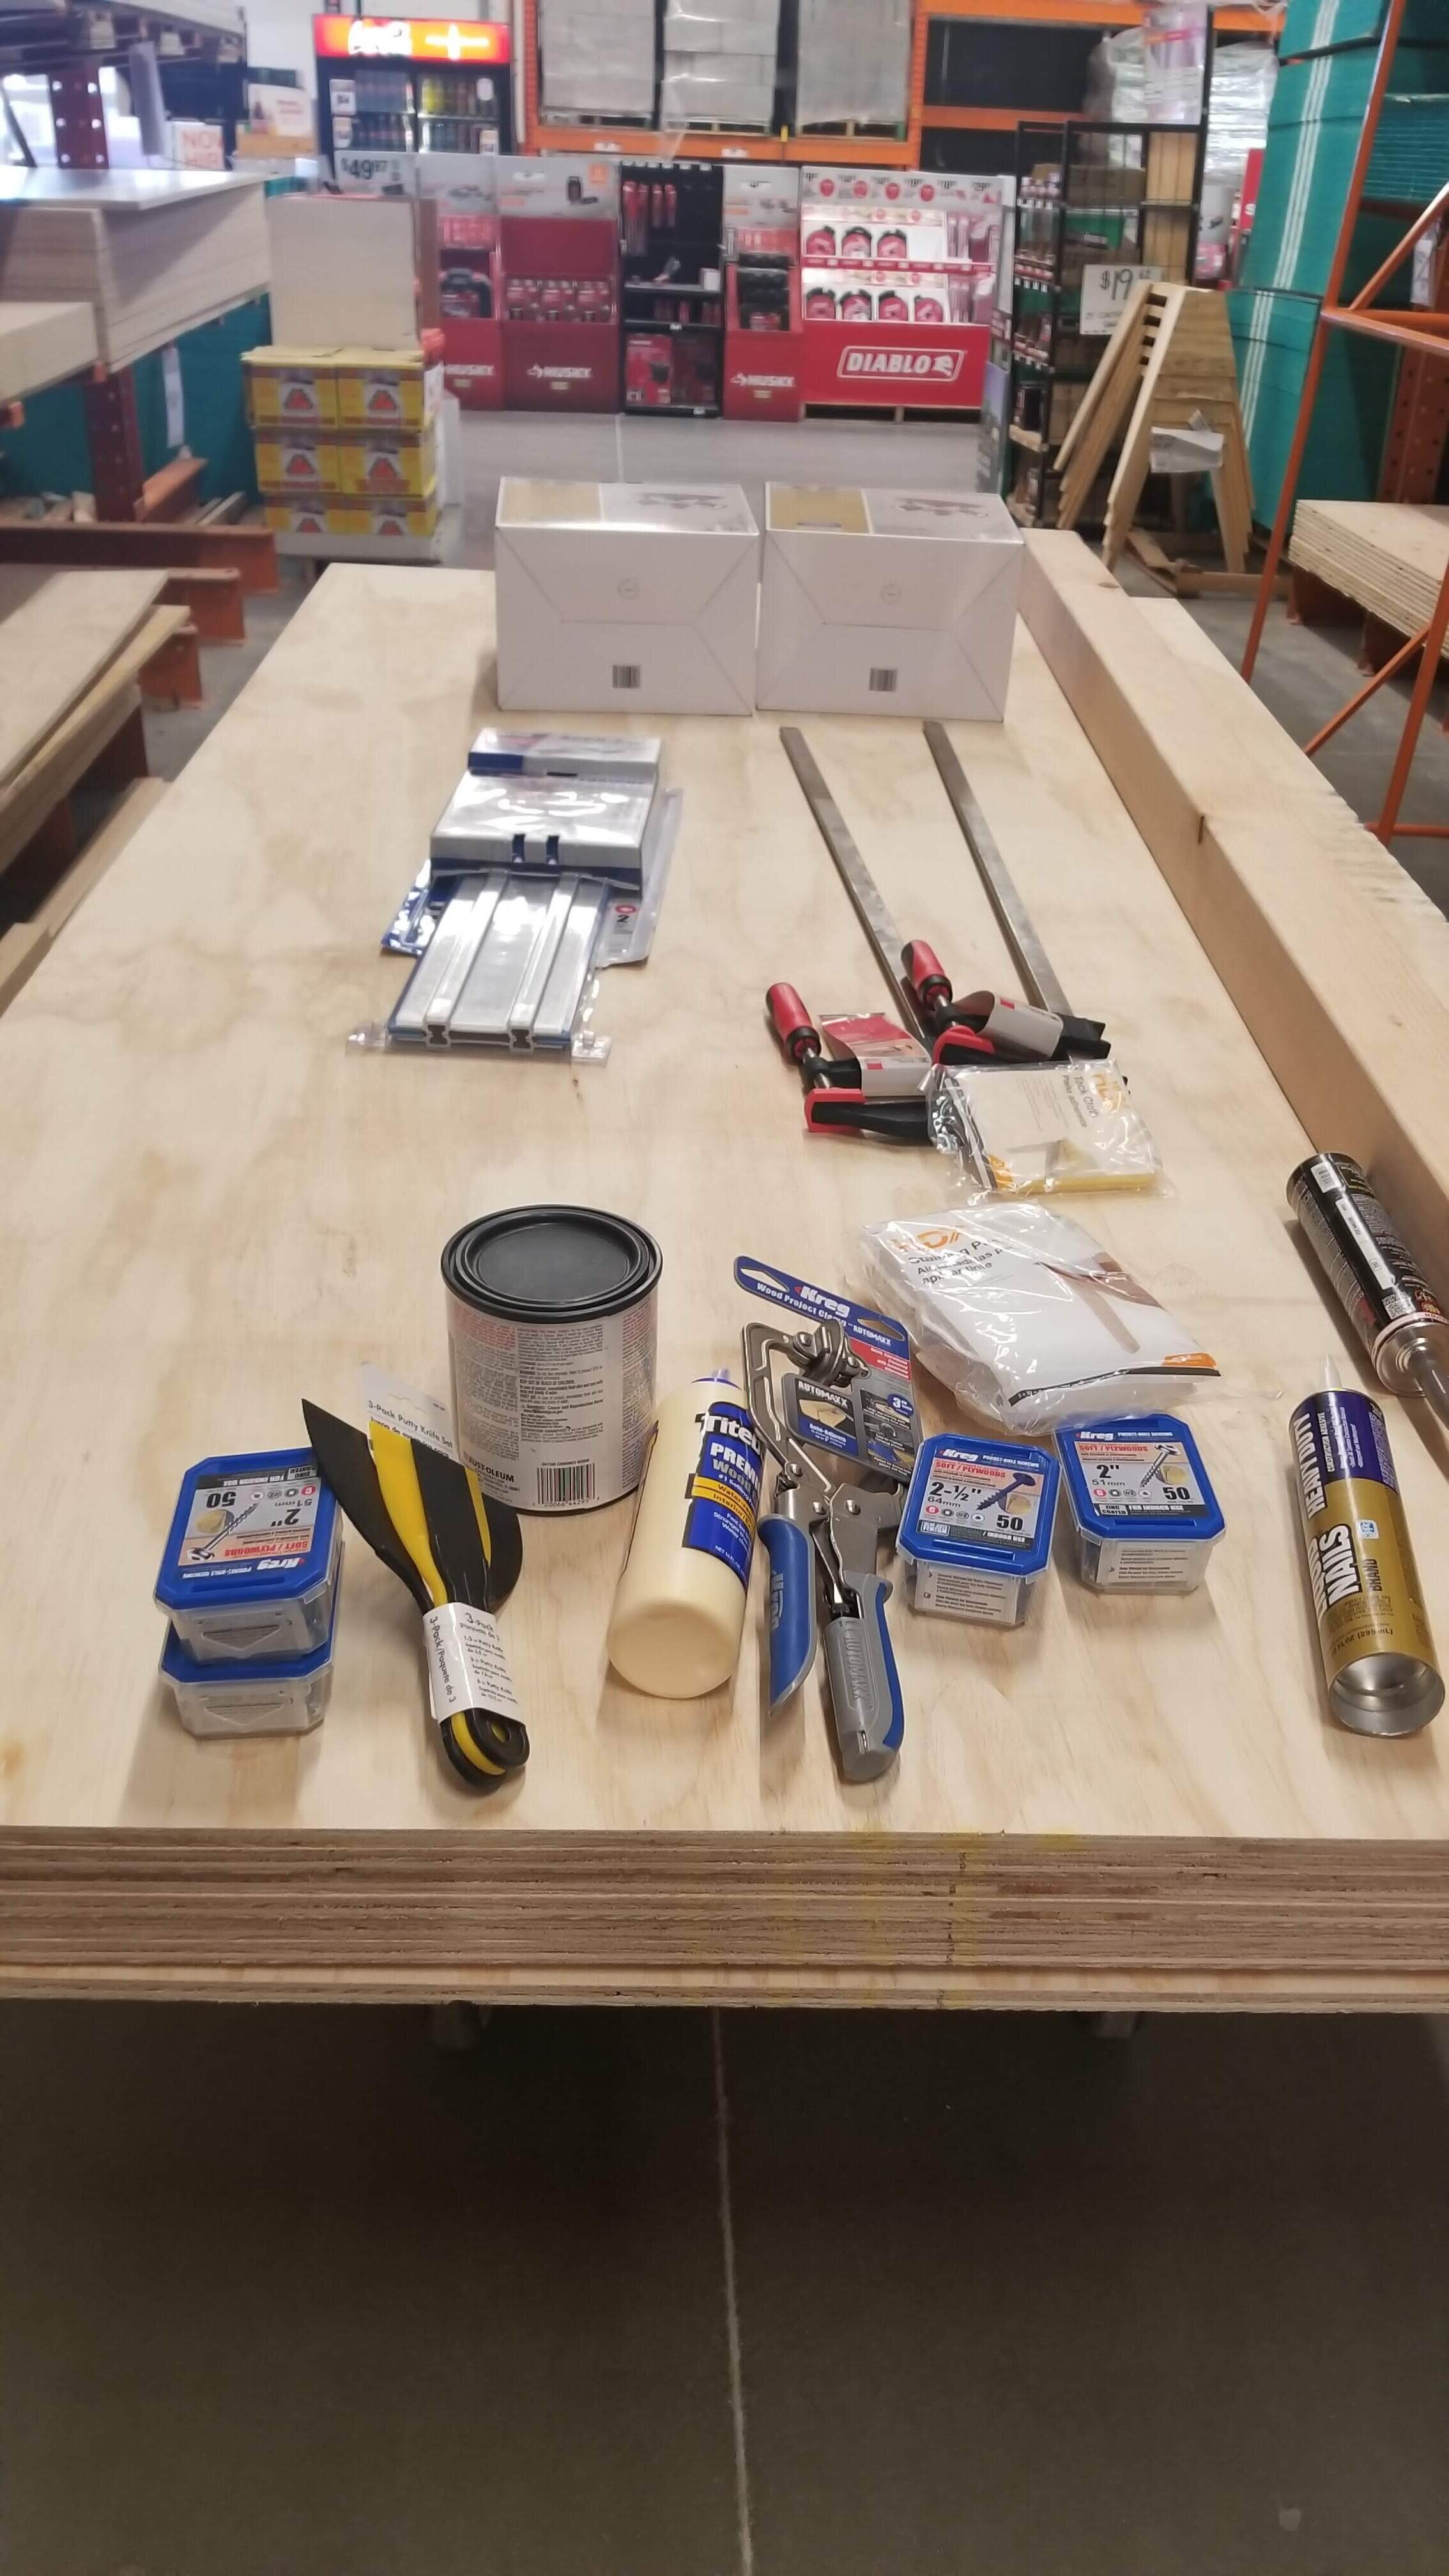
Supplies are beginning to pile up.
One thing was for sure, concerning the cost of the supplies, this project was not going to be any cheaper than buying something off of the shelf. Where I hoped to make the project worth it was in the ability to design the workstation to the exact standards that I wanted without having to settle for whatever happened to be available off of the shelf.
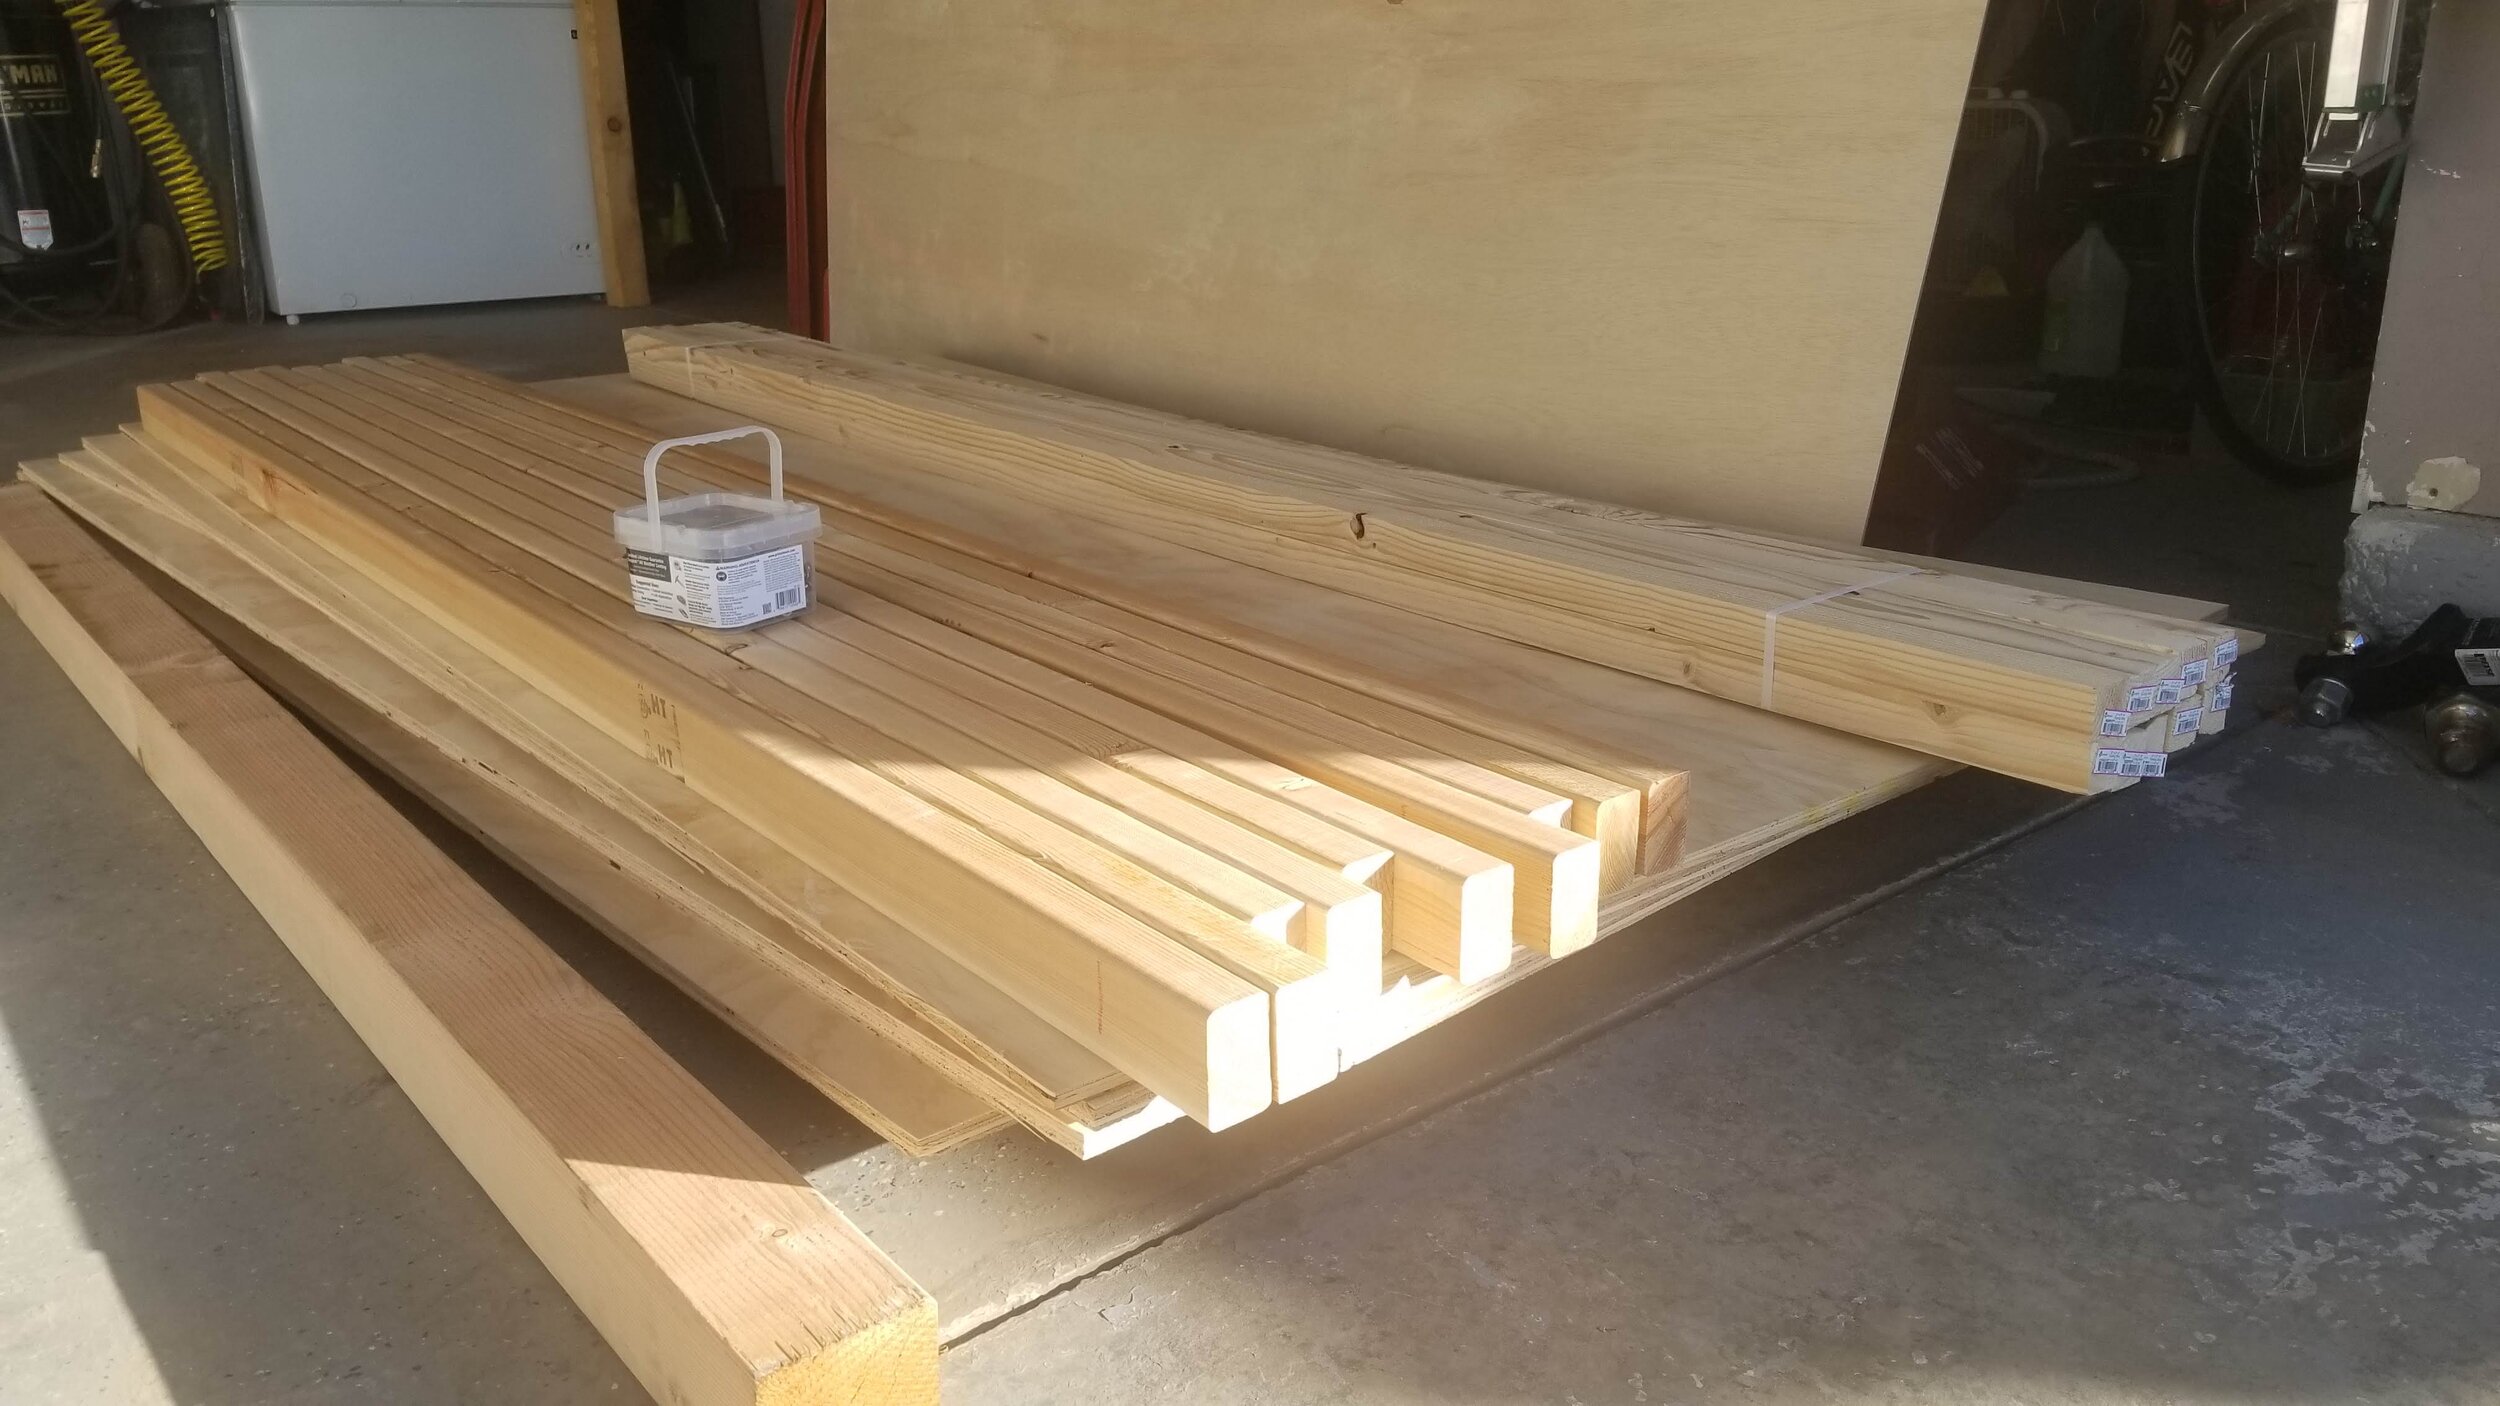
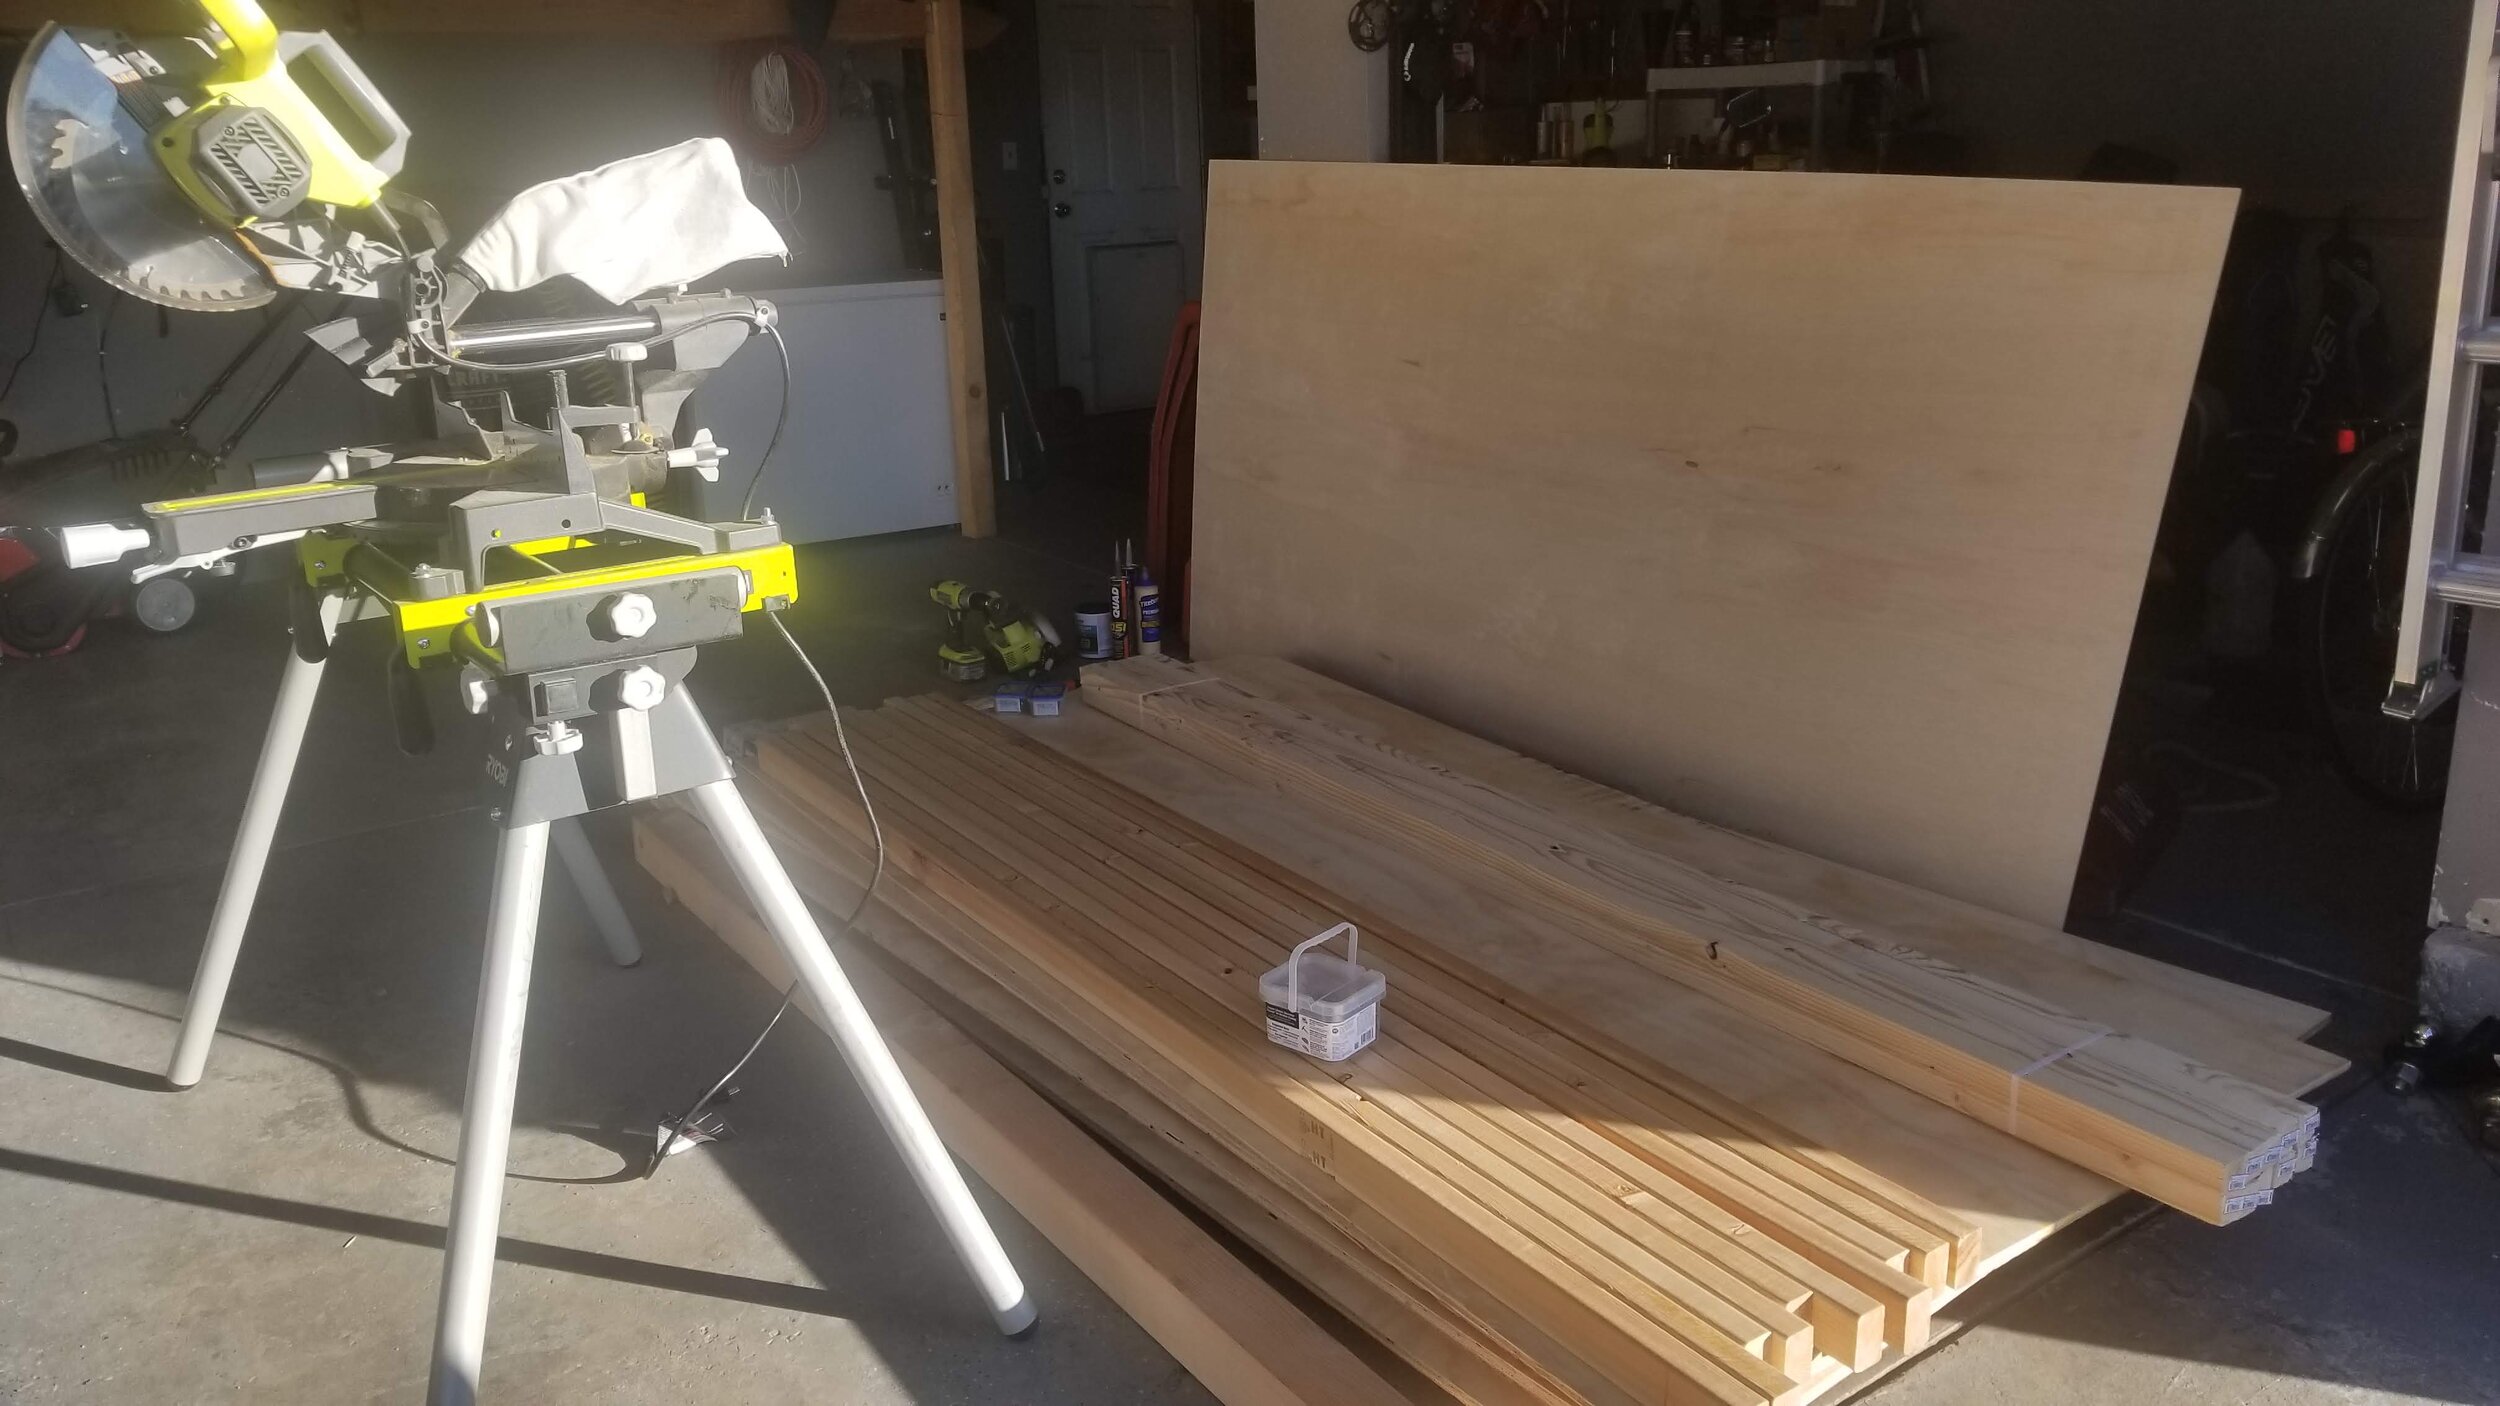
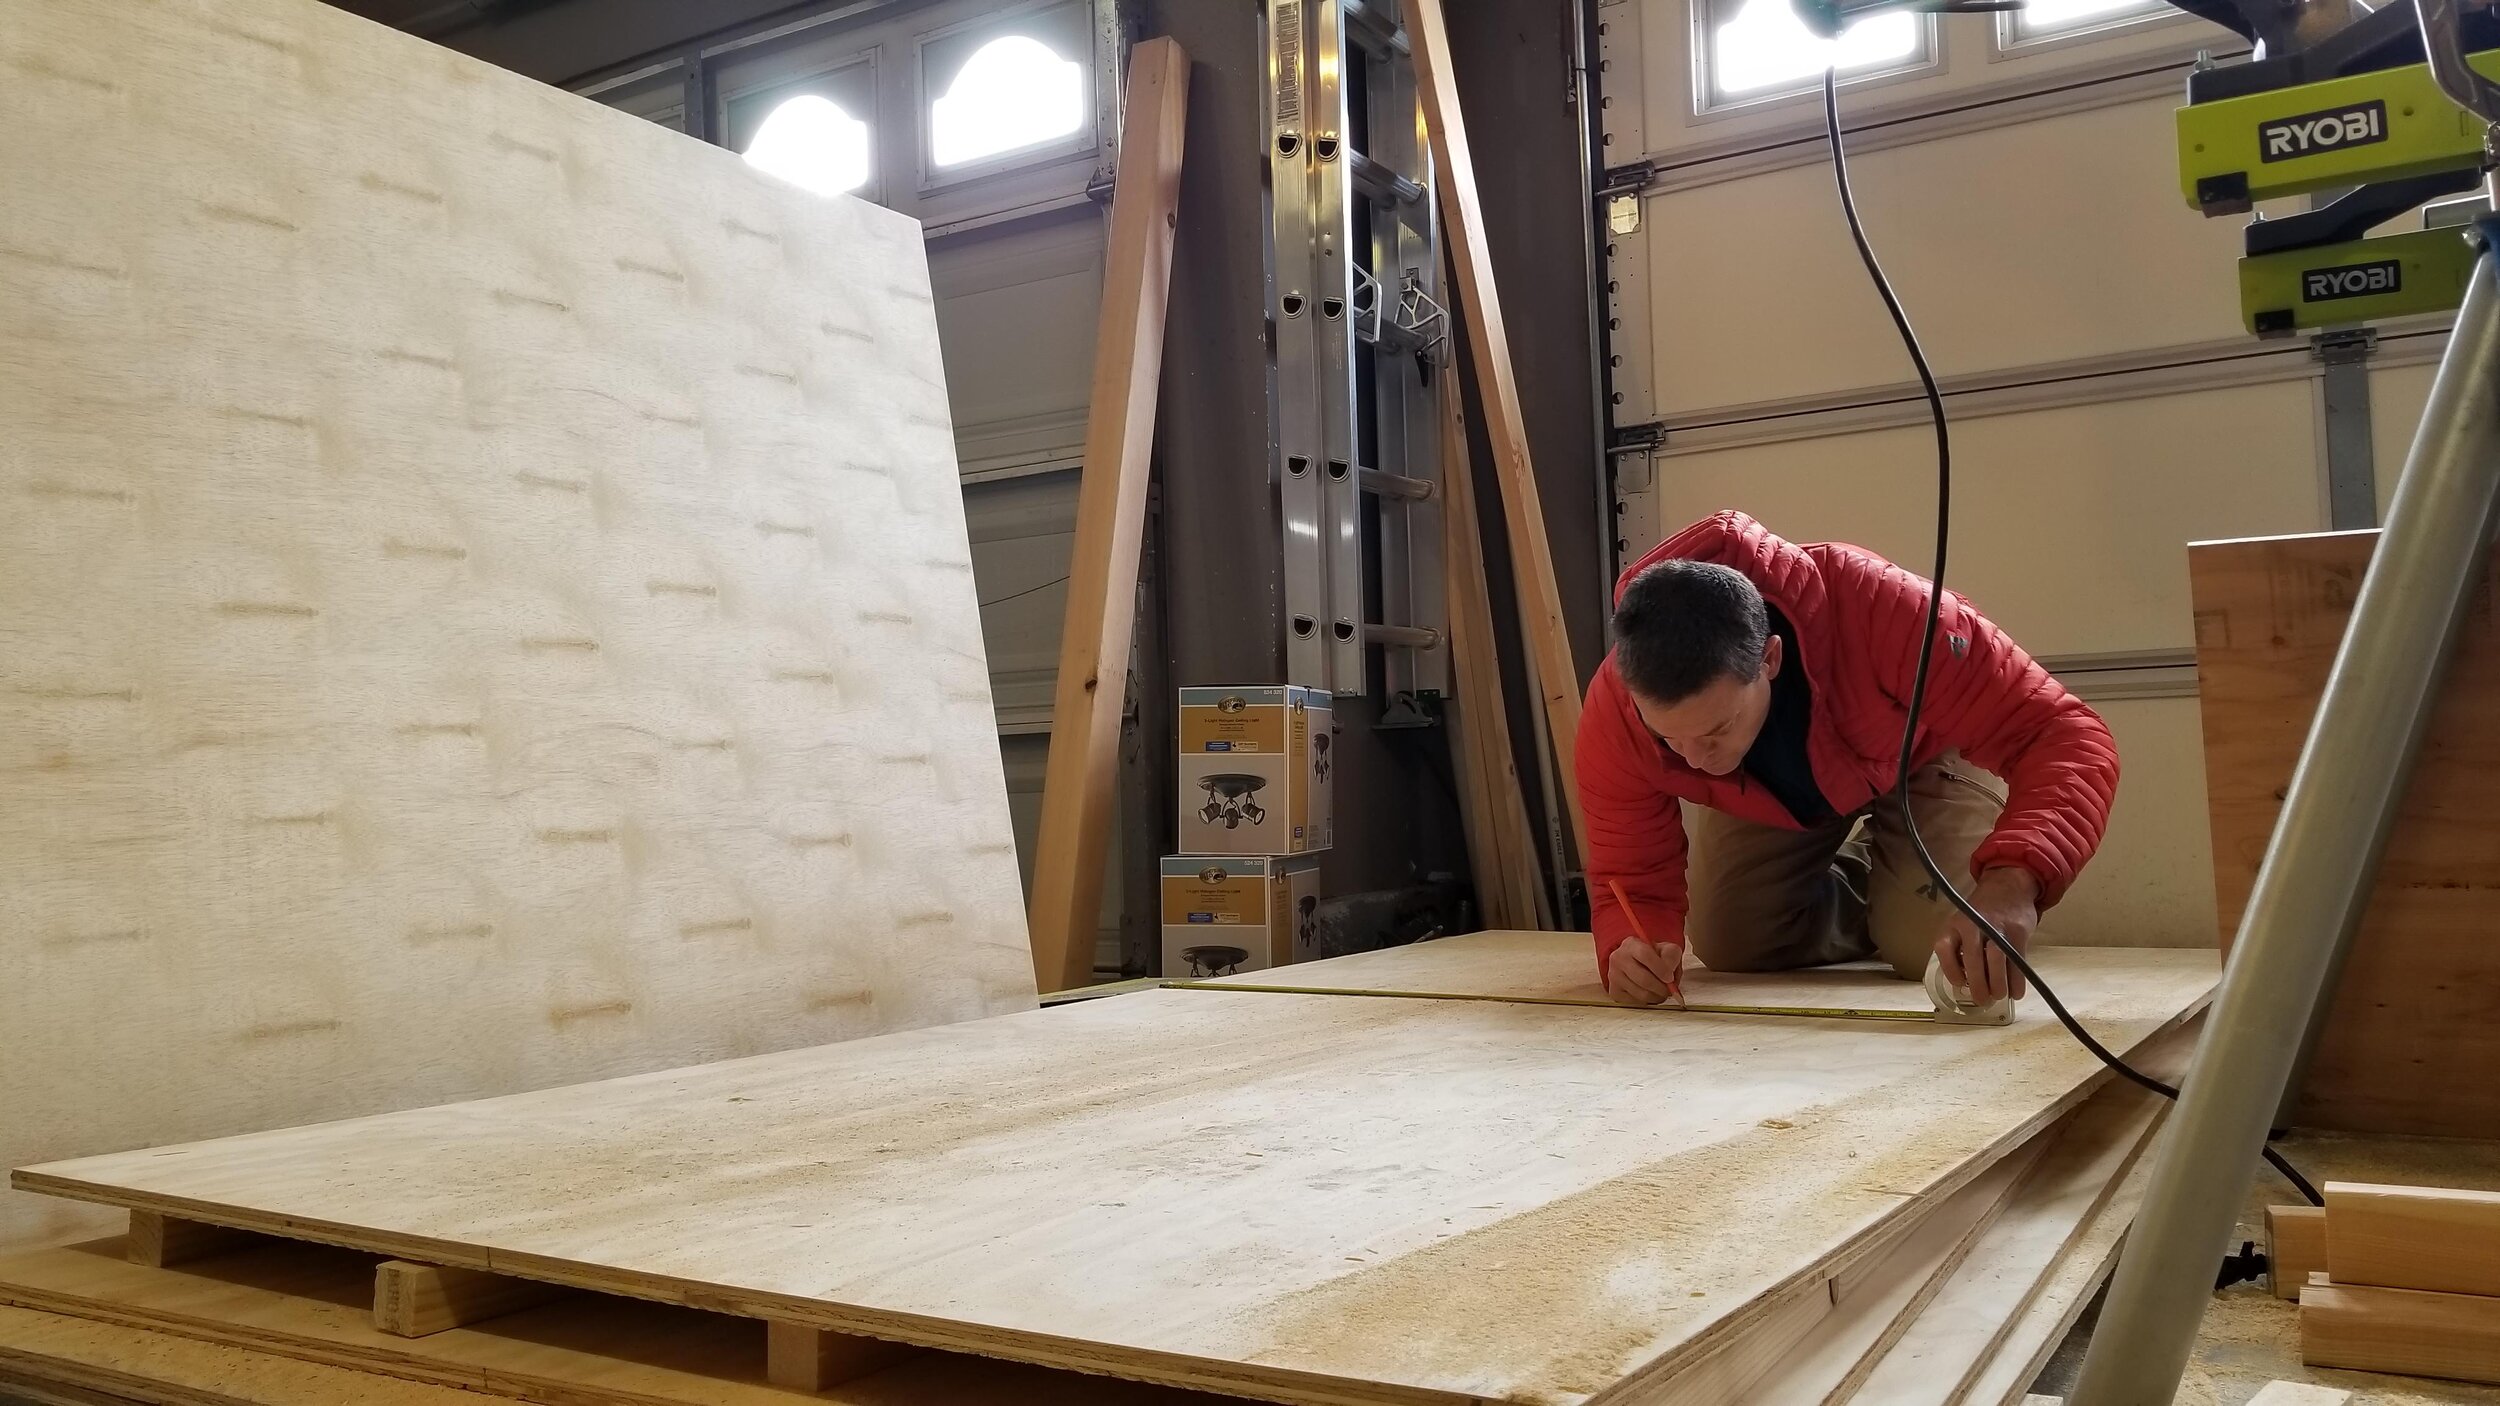
Early Building Begins
I converted my garage into a temporary wood-shop. As is often the case, I did not have all of the tools necessary for the job I intended to do. Darn. I guess I’d have to go buy a few new tools. ;-)
One of the two best “investments” I made was an Accu-Cut. This made long cuts with a skill saw cake! The other great “investment” was a pocket hole jig. Where have these two tools been all of my life?
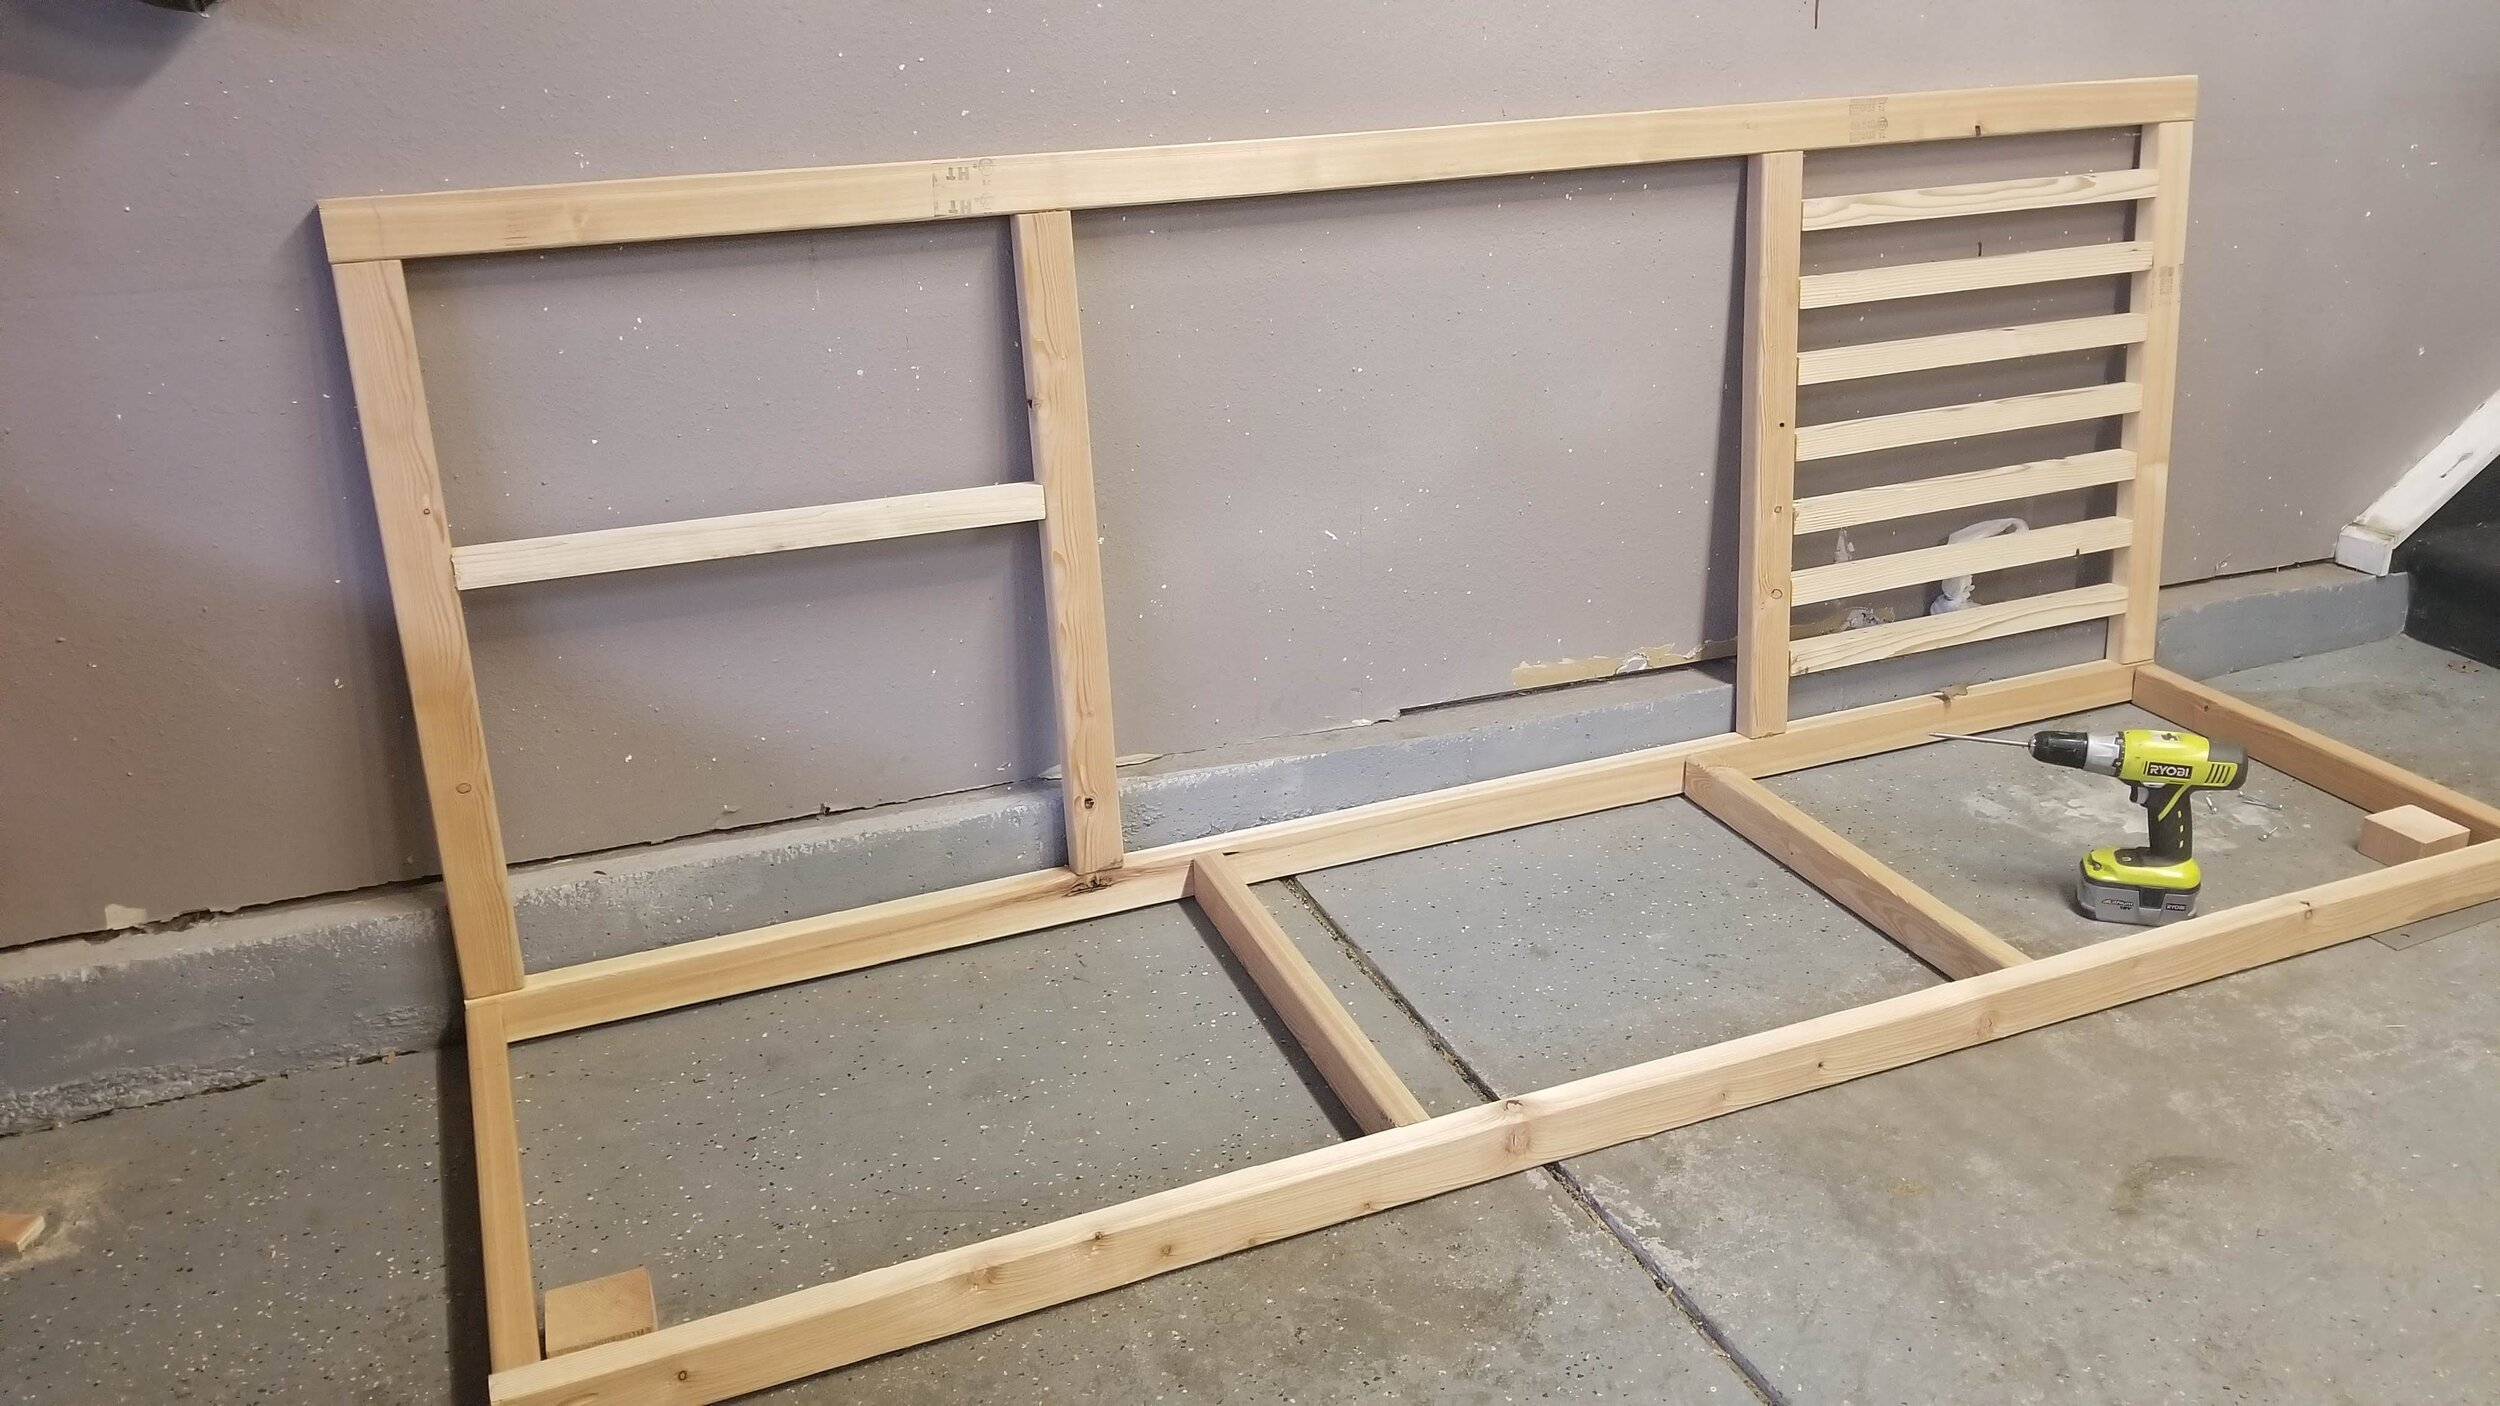
Framing Begins
Once the main pieces of the workstation were built, sanded, and stained, they were taken to my office where finally assembly could occur. In this image, my cordless drill can be seen. This came in very handy as it has a variable torque setting on it allowing me to put full effort into the tool while not being concerned that I was going to drive a screw through a workpiece.
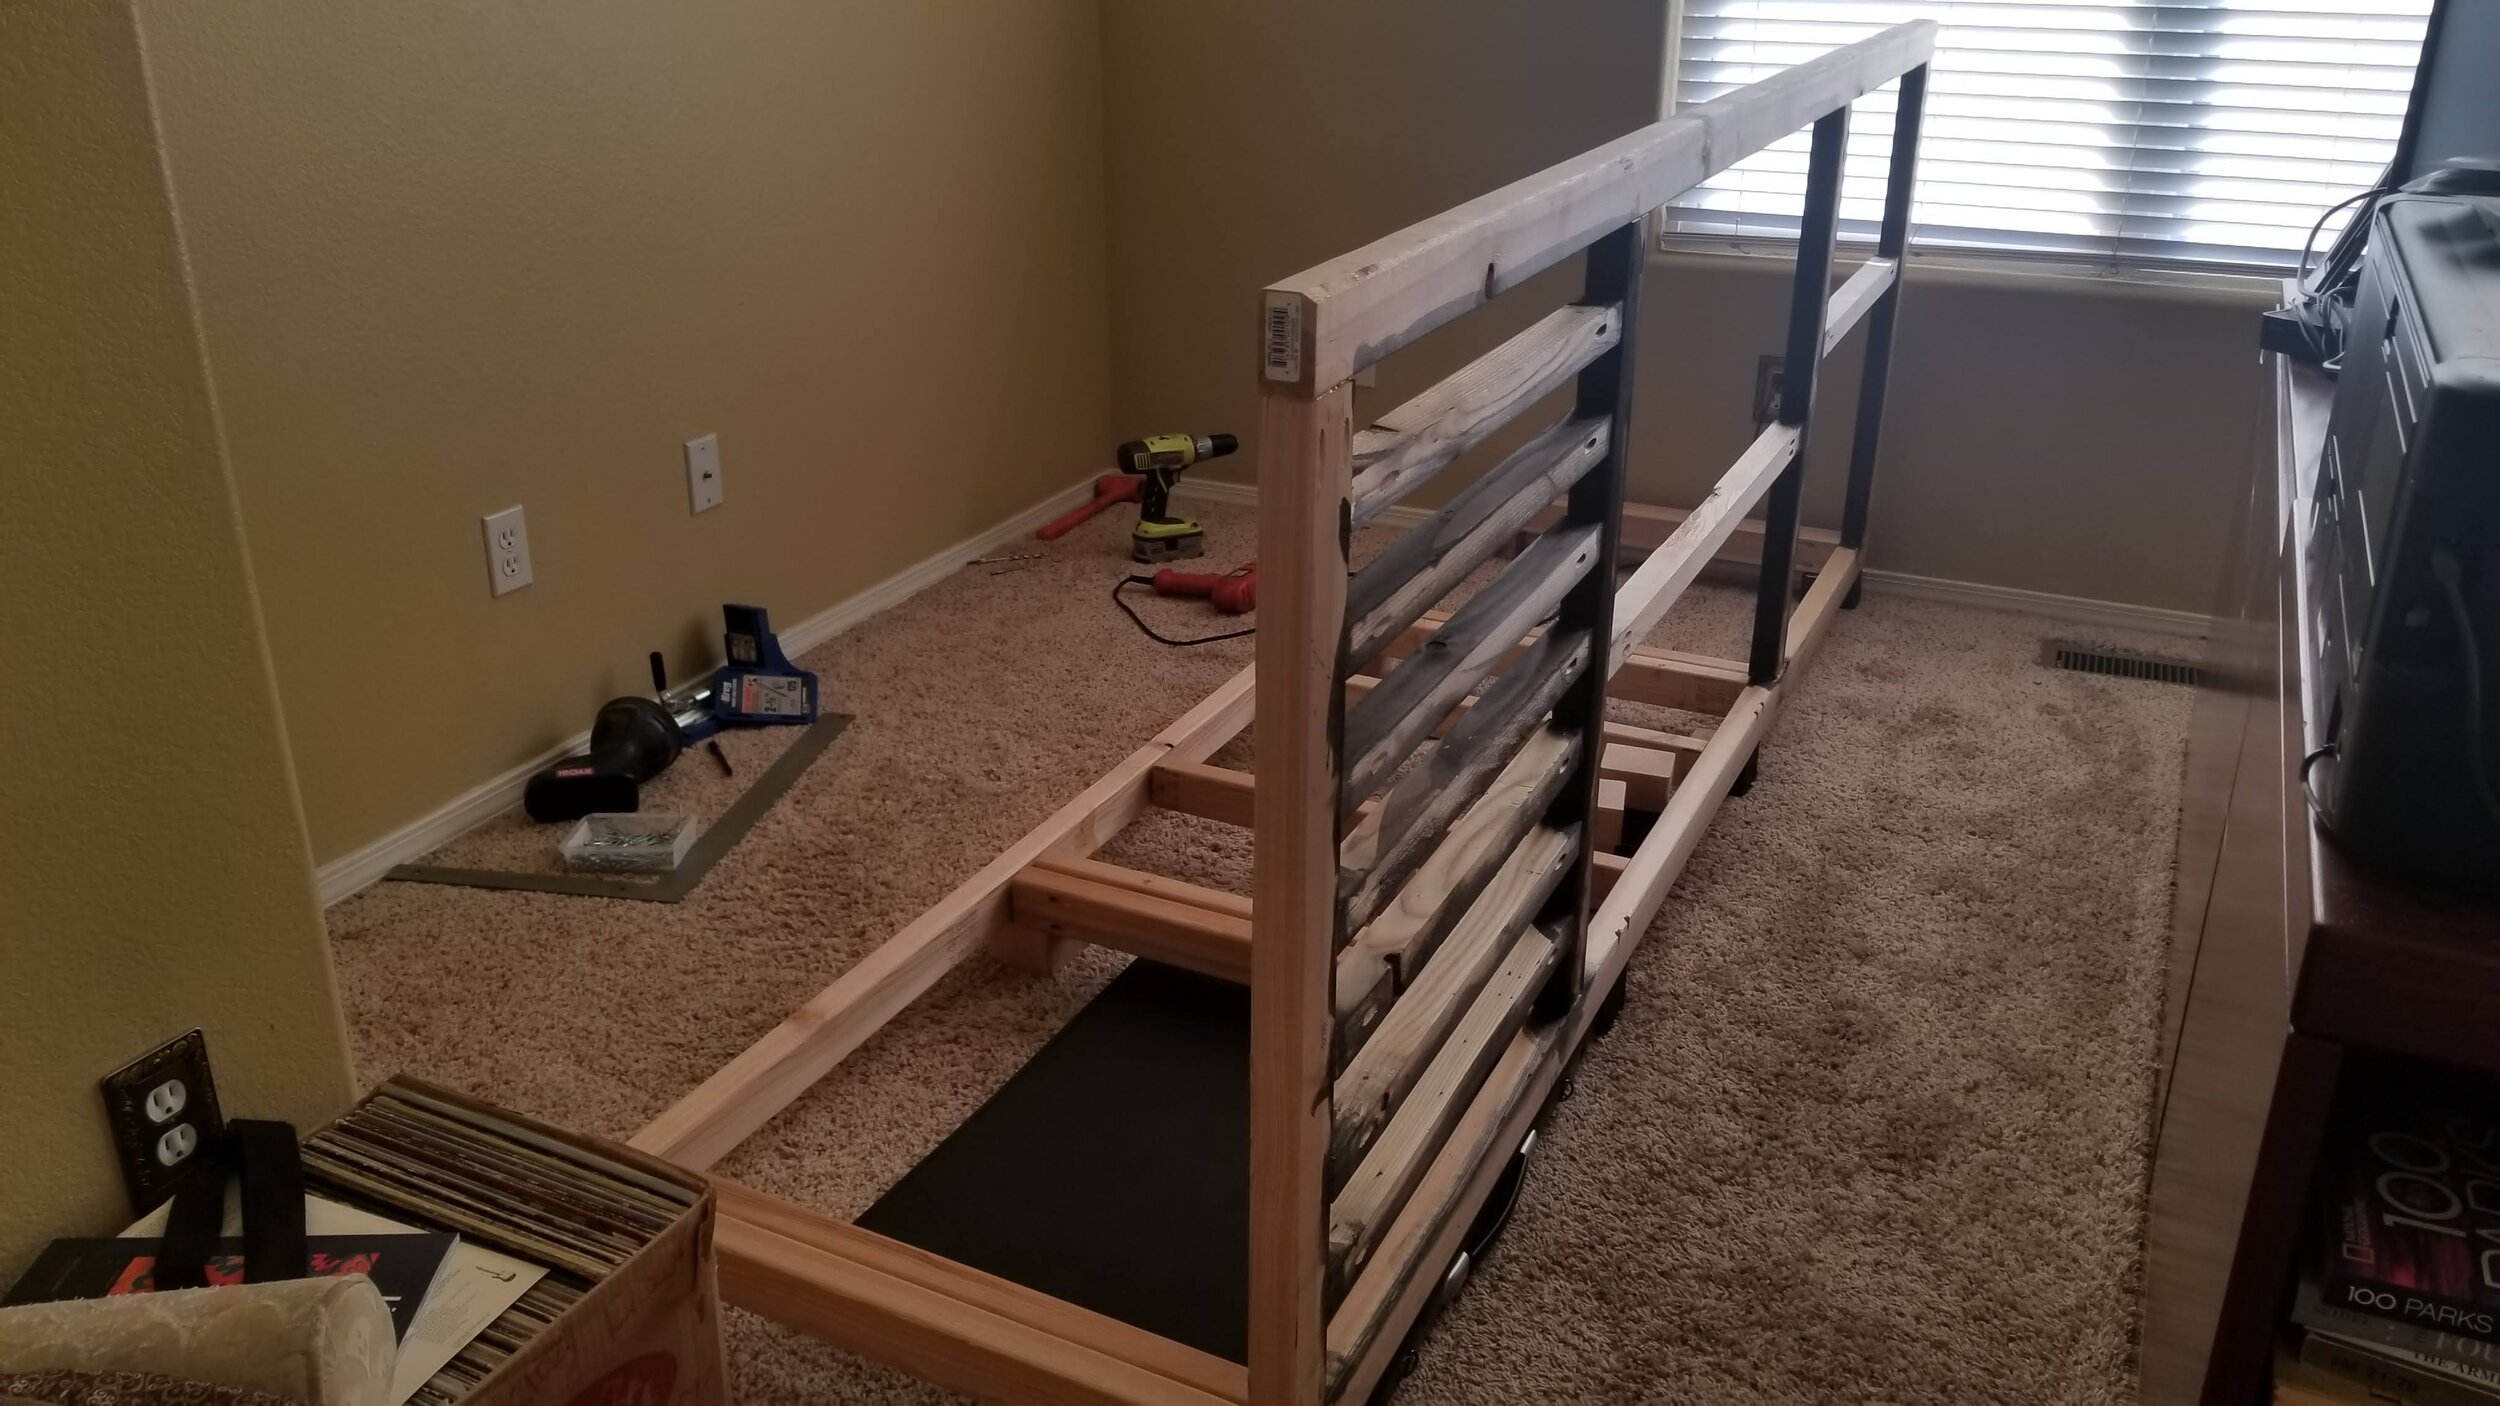
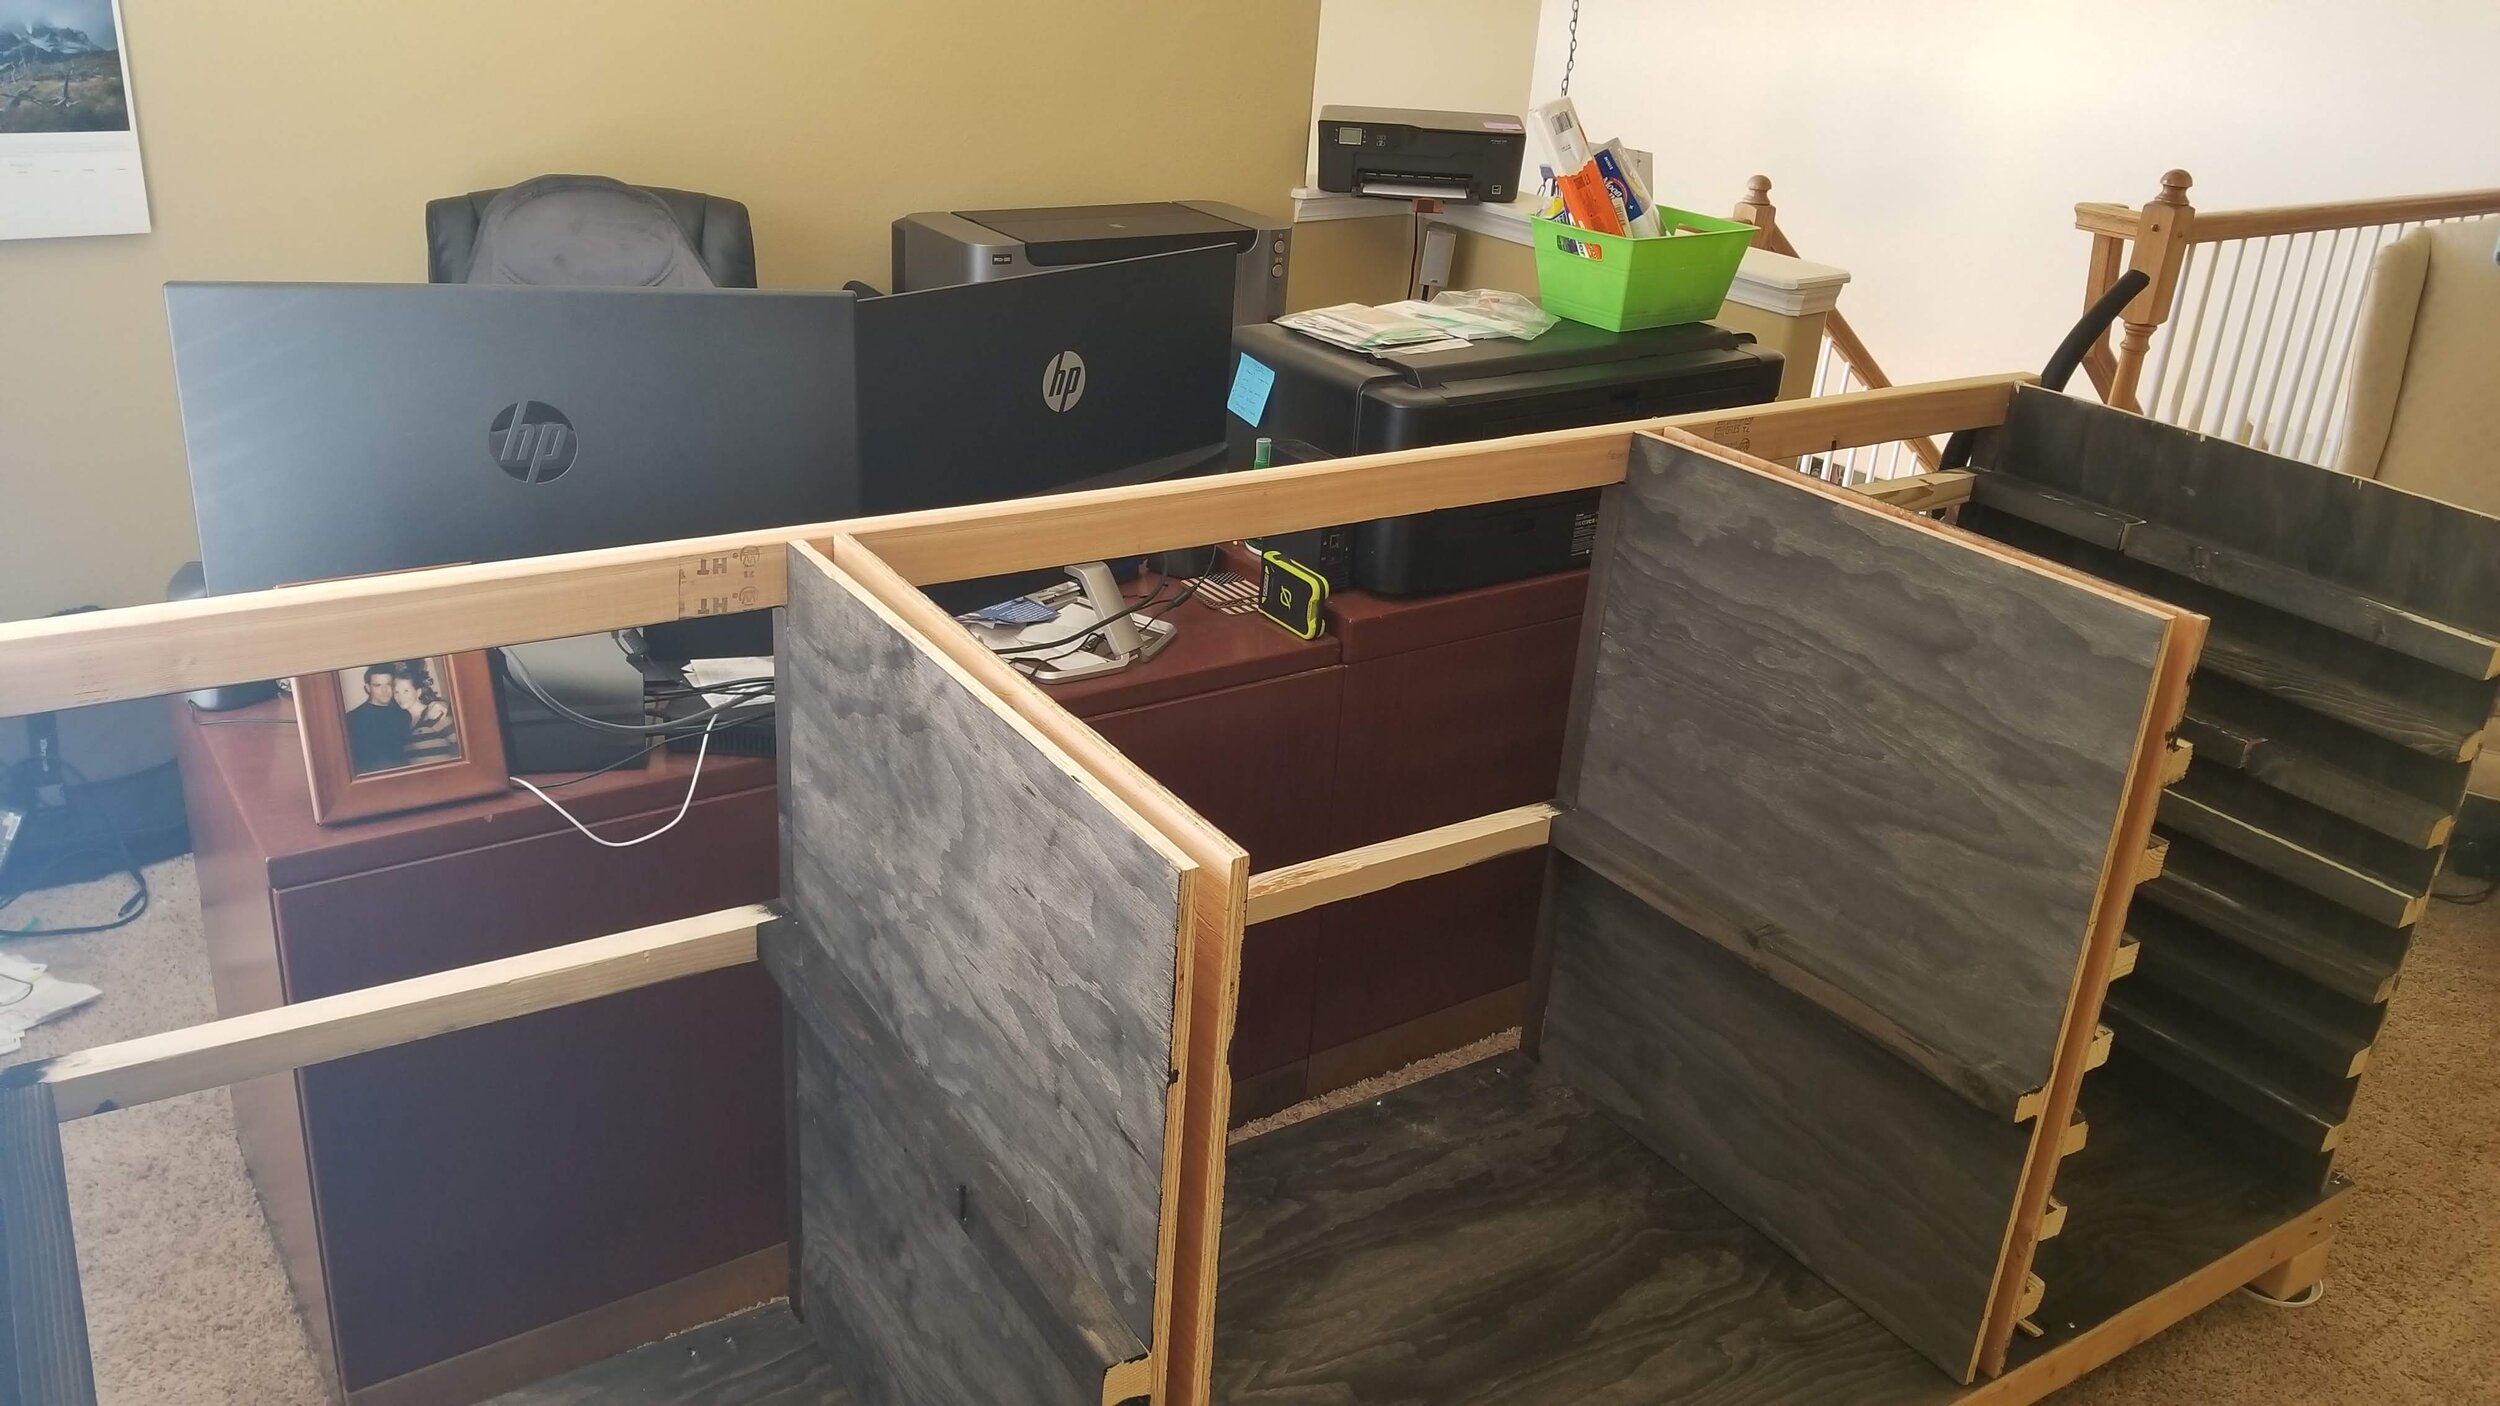
Assembly begins
In the above image set, the location of my portfolio binders can be seen. The height of the Workstation off the floor, as well as the spacing and the placement of the feet for the Workstation, was set specifically to accommodate these binders. In the second image, the floor is installed and in the third image, the unit has it’s shelving installed and is pushed back for the first time (temporarily) just to get a peek at what it is all beginning to look like. Particular areas of the Workstation received stain, while others did not, based on their visibility when installed.

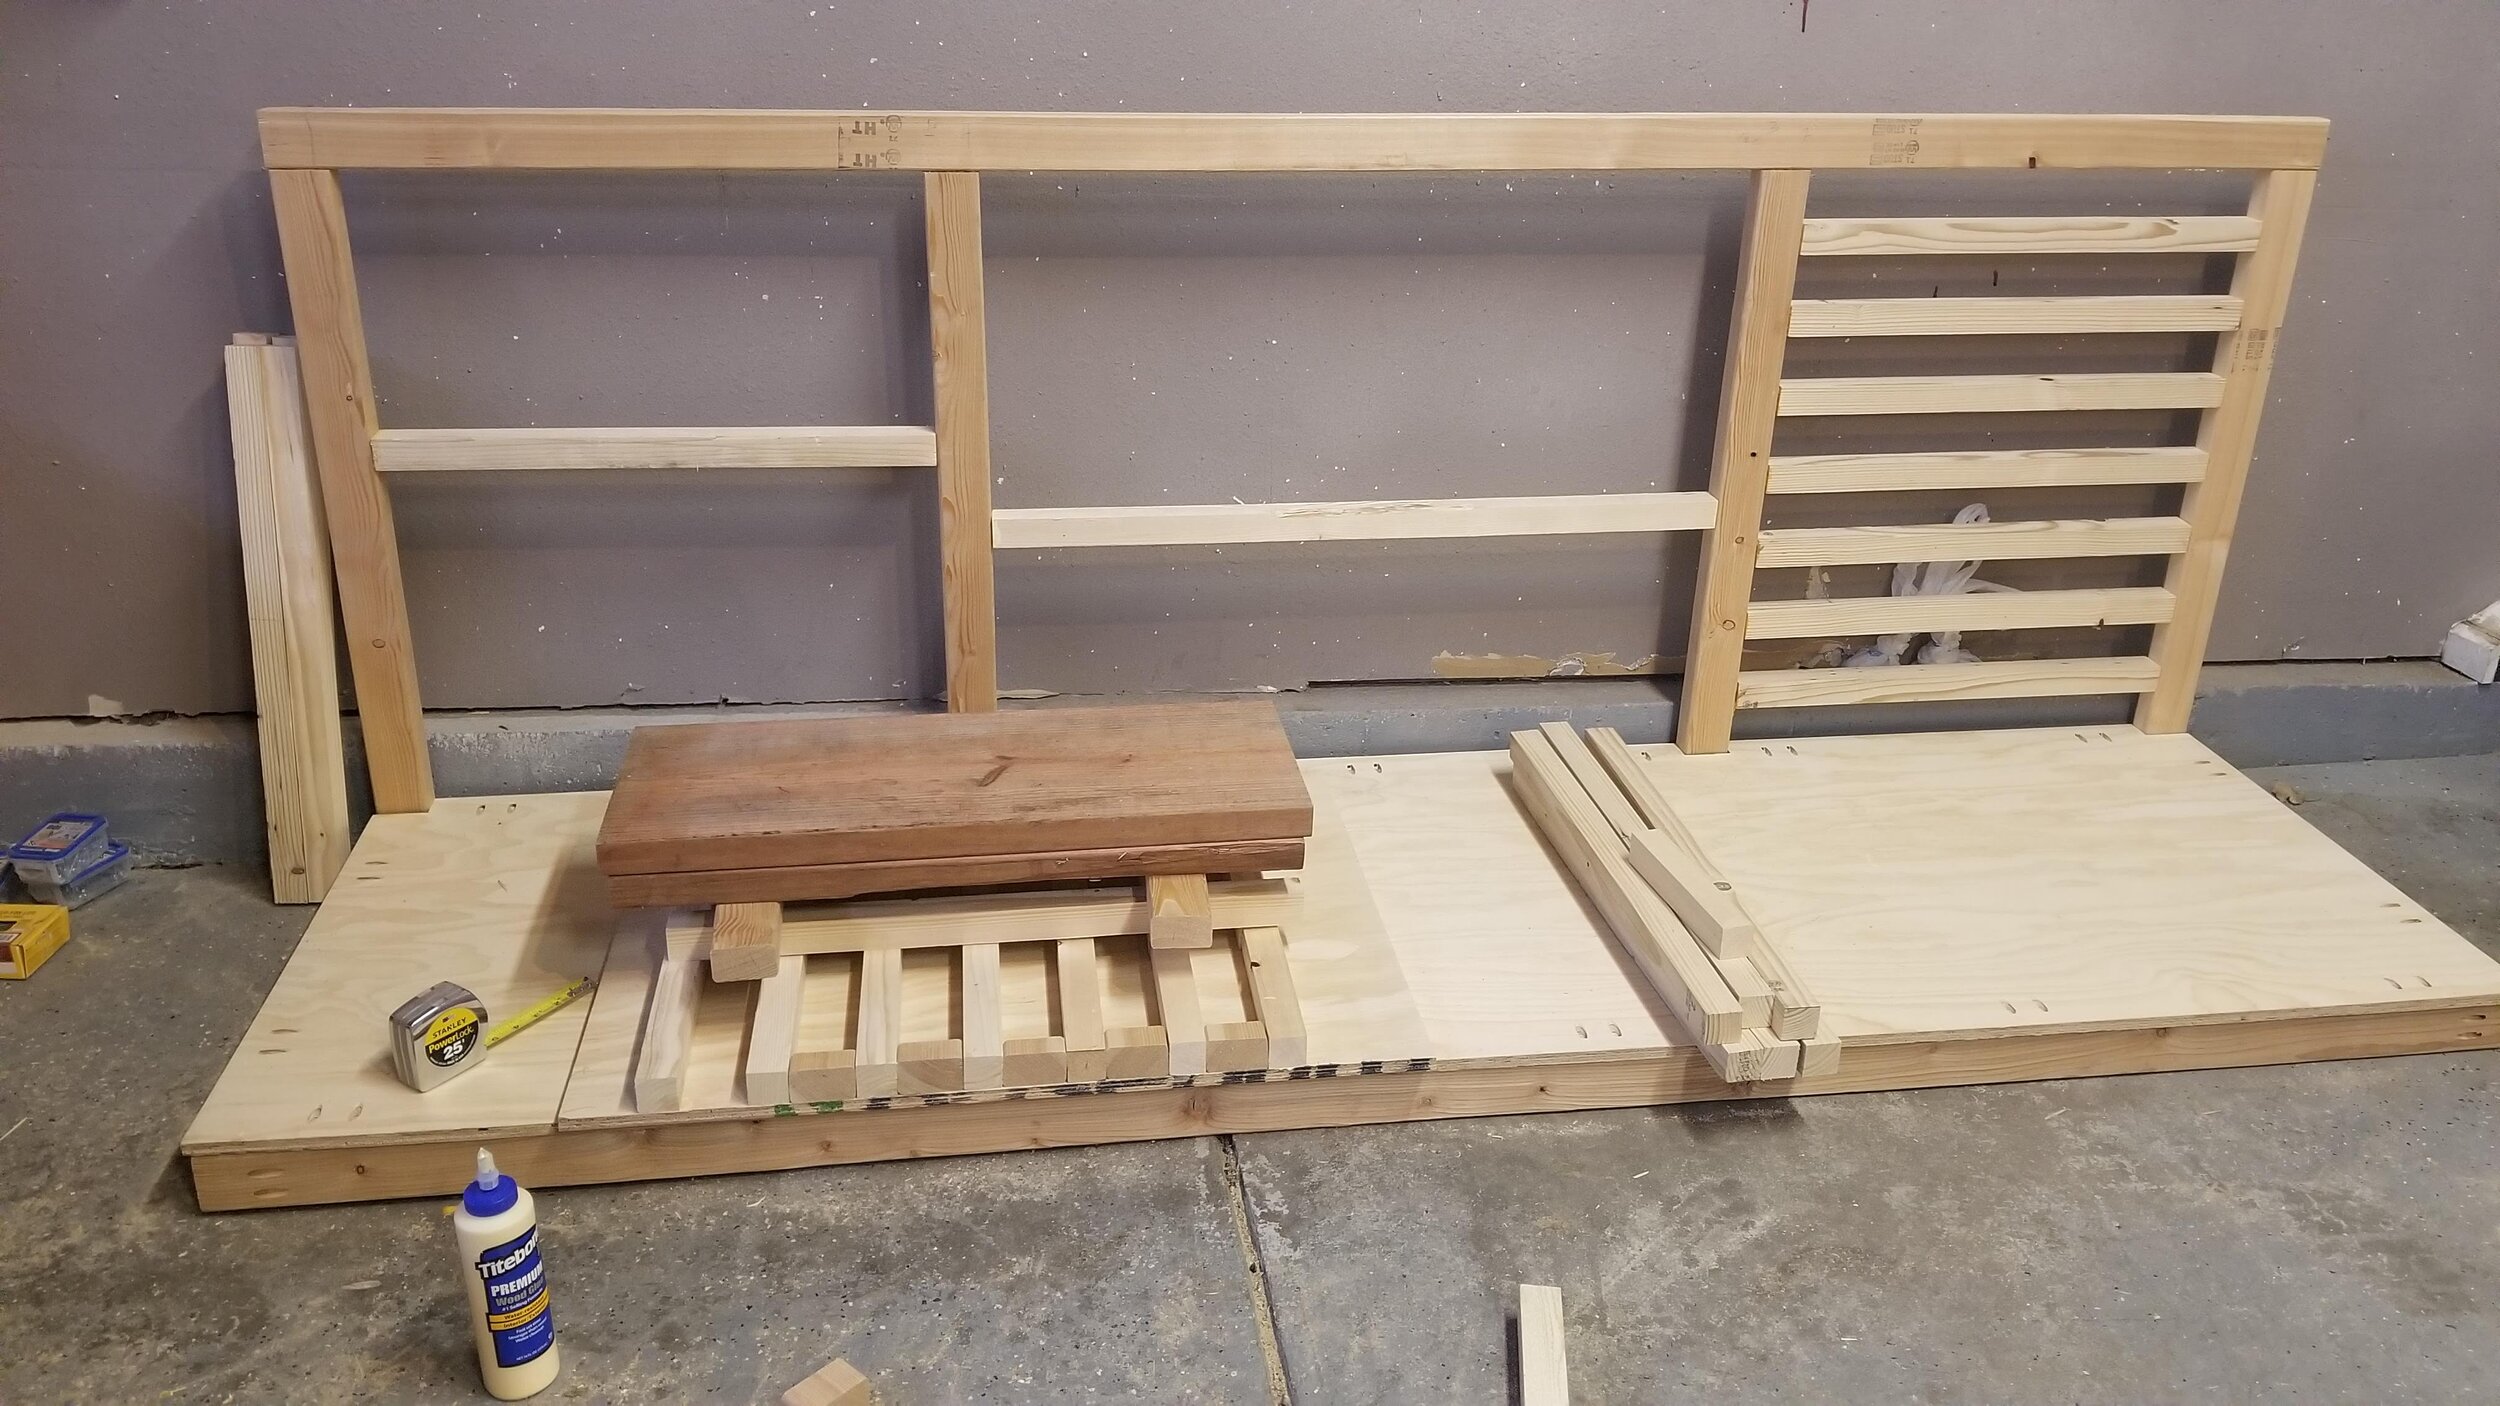
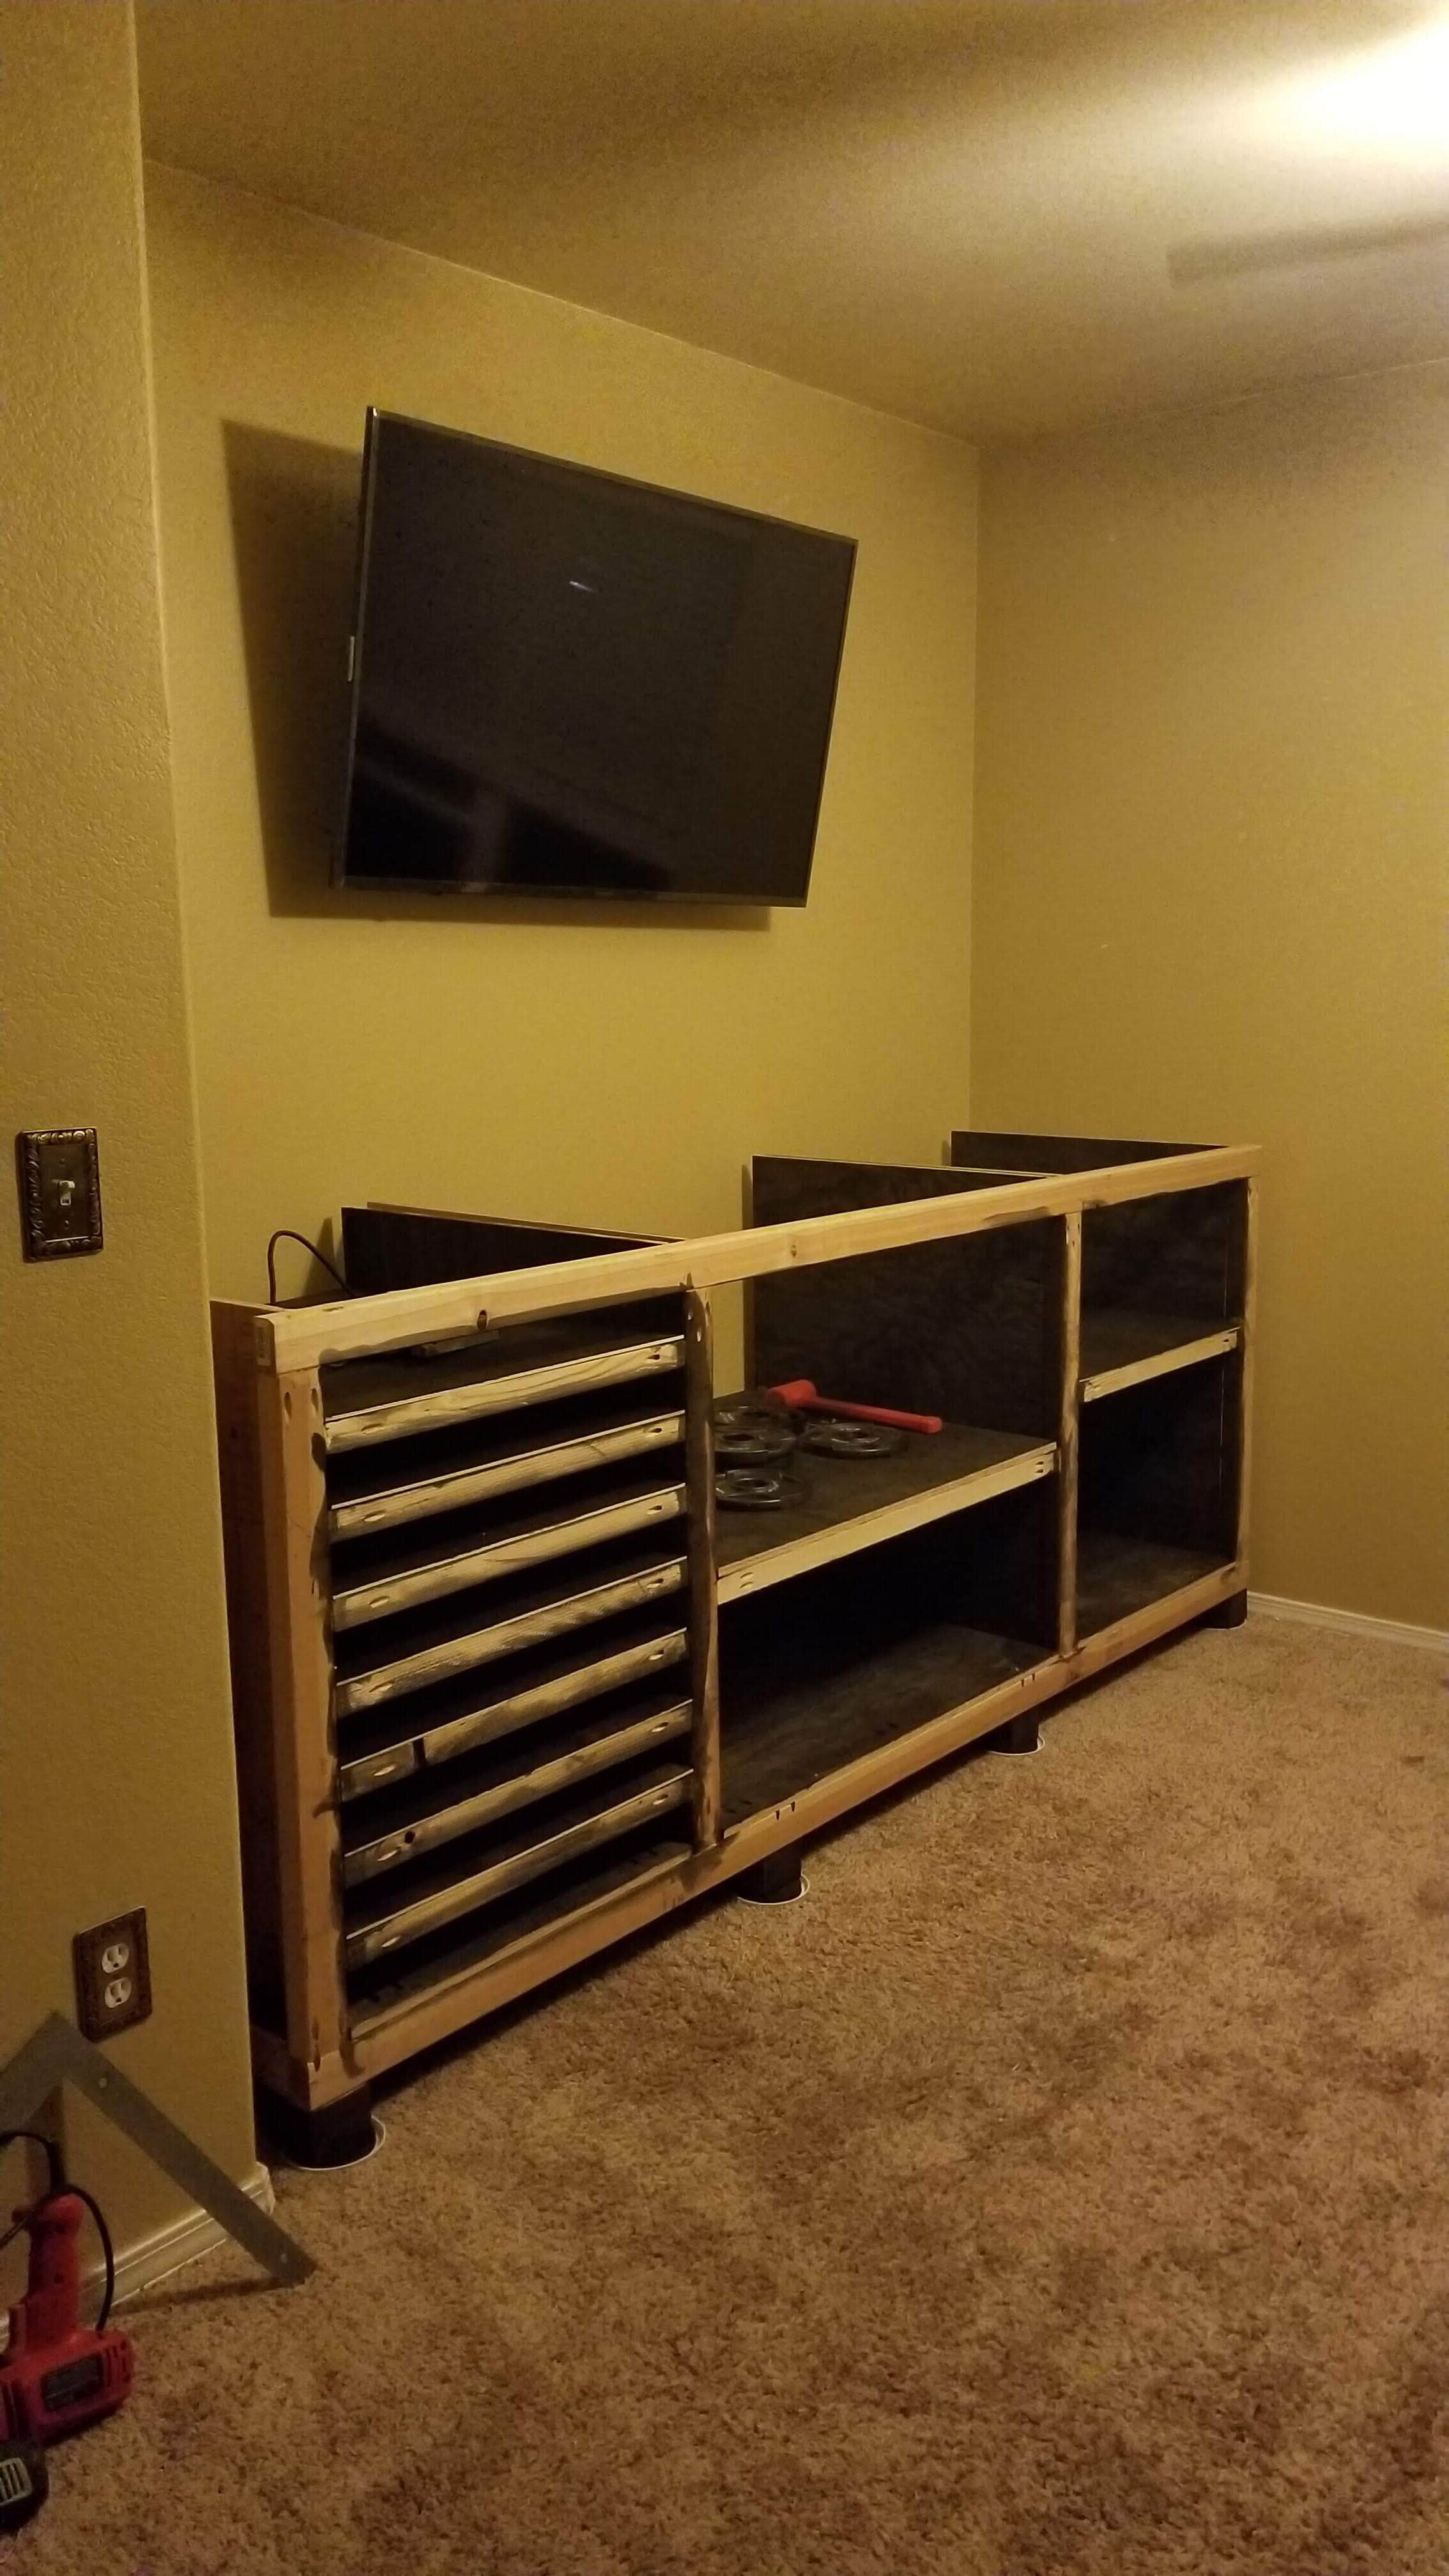
It never fails…
There were two last pieces to cut, stain and install, they were the top and the backing. I was getting down to the very last of the stain that I had. The above image shows where I got before I ran out of stain. It was almost perfect, but I ran out on the very last piece that needed stain. I had to go buy an entire can of stain just to stain 1/3 of the last piece in the entire project. Figures… :-)

The End Is Near….Or Is It?
With all of the assembly done, the Workstation reached its final need… It needed to be dressed up. All along, through the entire project, I intended to dress the Workstation up with some barn wood. “Why barn wood,” you ask? Well, to make a long story short, I’ve got a 9-11 painting that I had done just after that tragic day. I had it done while I was stationed in Korea. The lady who painted it did an amazing job! During shipment, the original frame was broken. Go figure.
Fast forward a few months and Joe, my older neighbor from down the street, was educating this young man on a bit of woodworking. He and I built a frame, for my now frameless painting, out of some old barn wood that he said was over 100 years old at the time. It looked great, but it had a problem; it did not go with any of our home decor. Nothing!
Fast forward twenty years later, the frame still doesn’t match anything in our home, and here I am, designing an entire office around the painting’s frame. The painting, and more specifically the frame, finally has a home! But, unfortunately, I’ve got another problem that has been bubbling up through the entire project. The paint on the walls. It’s terrible.

Time For Darker Walls
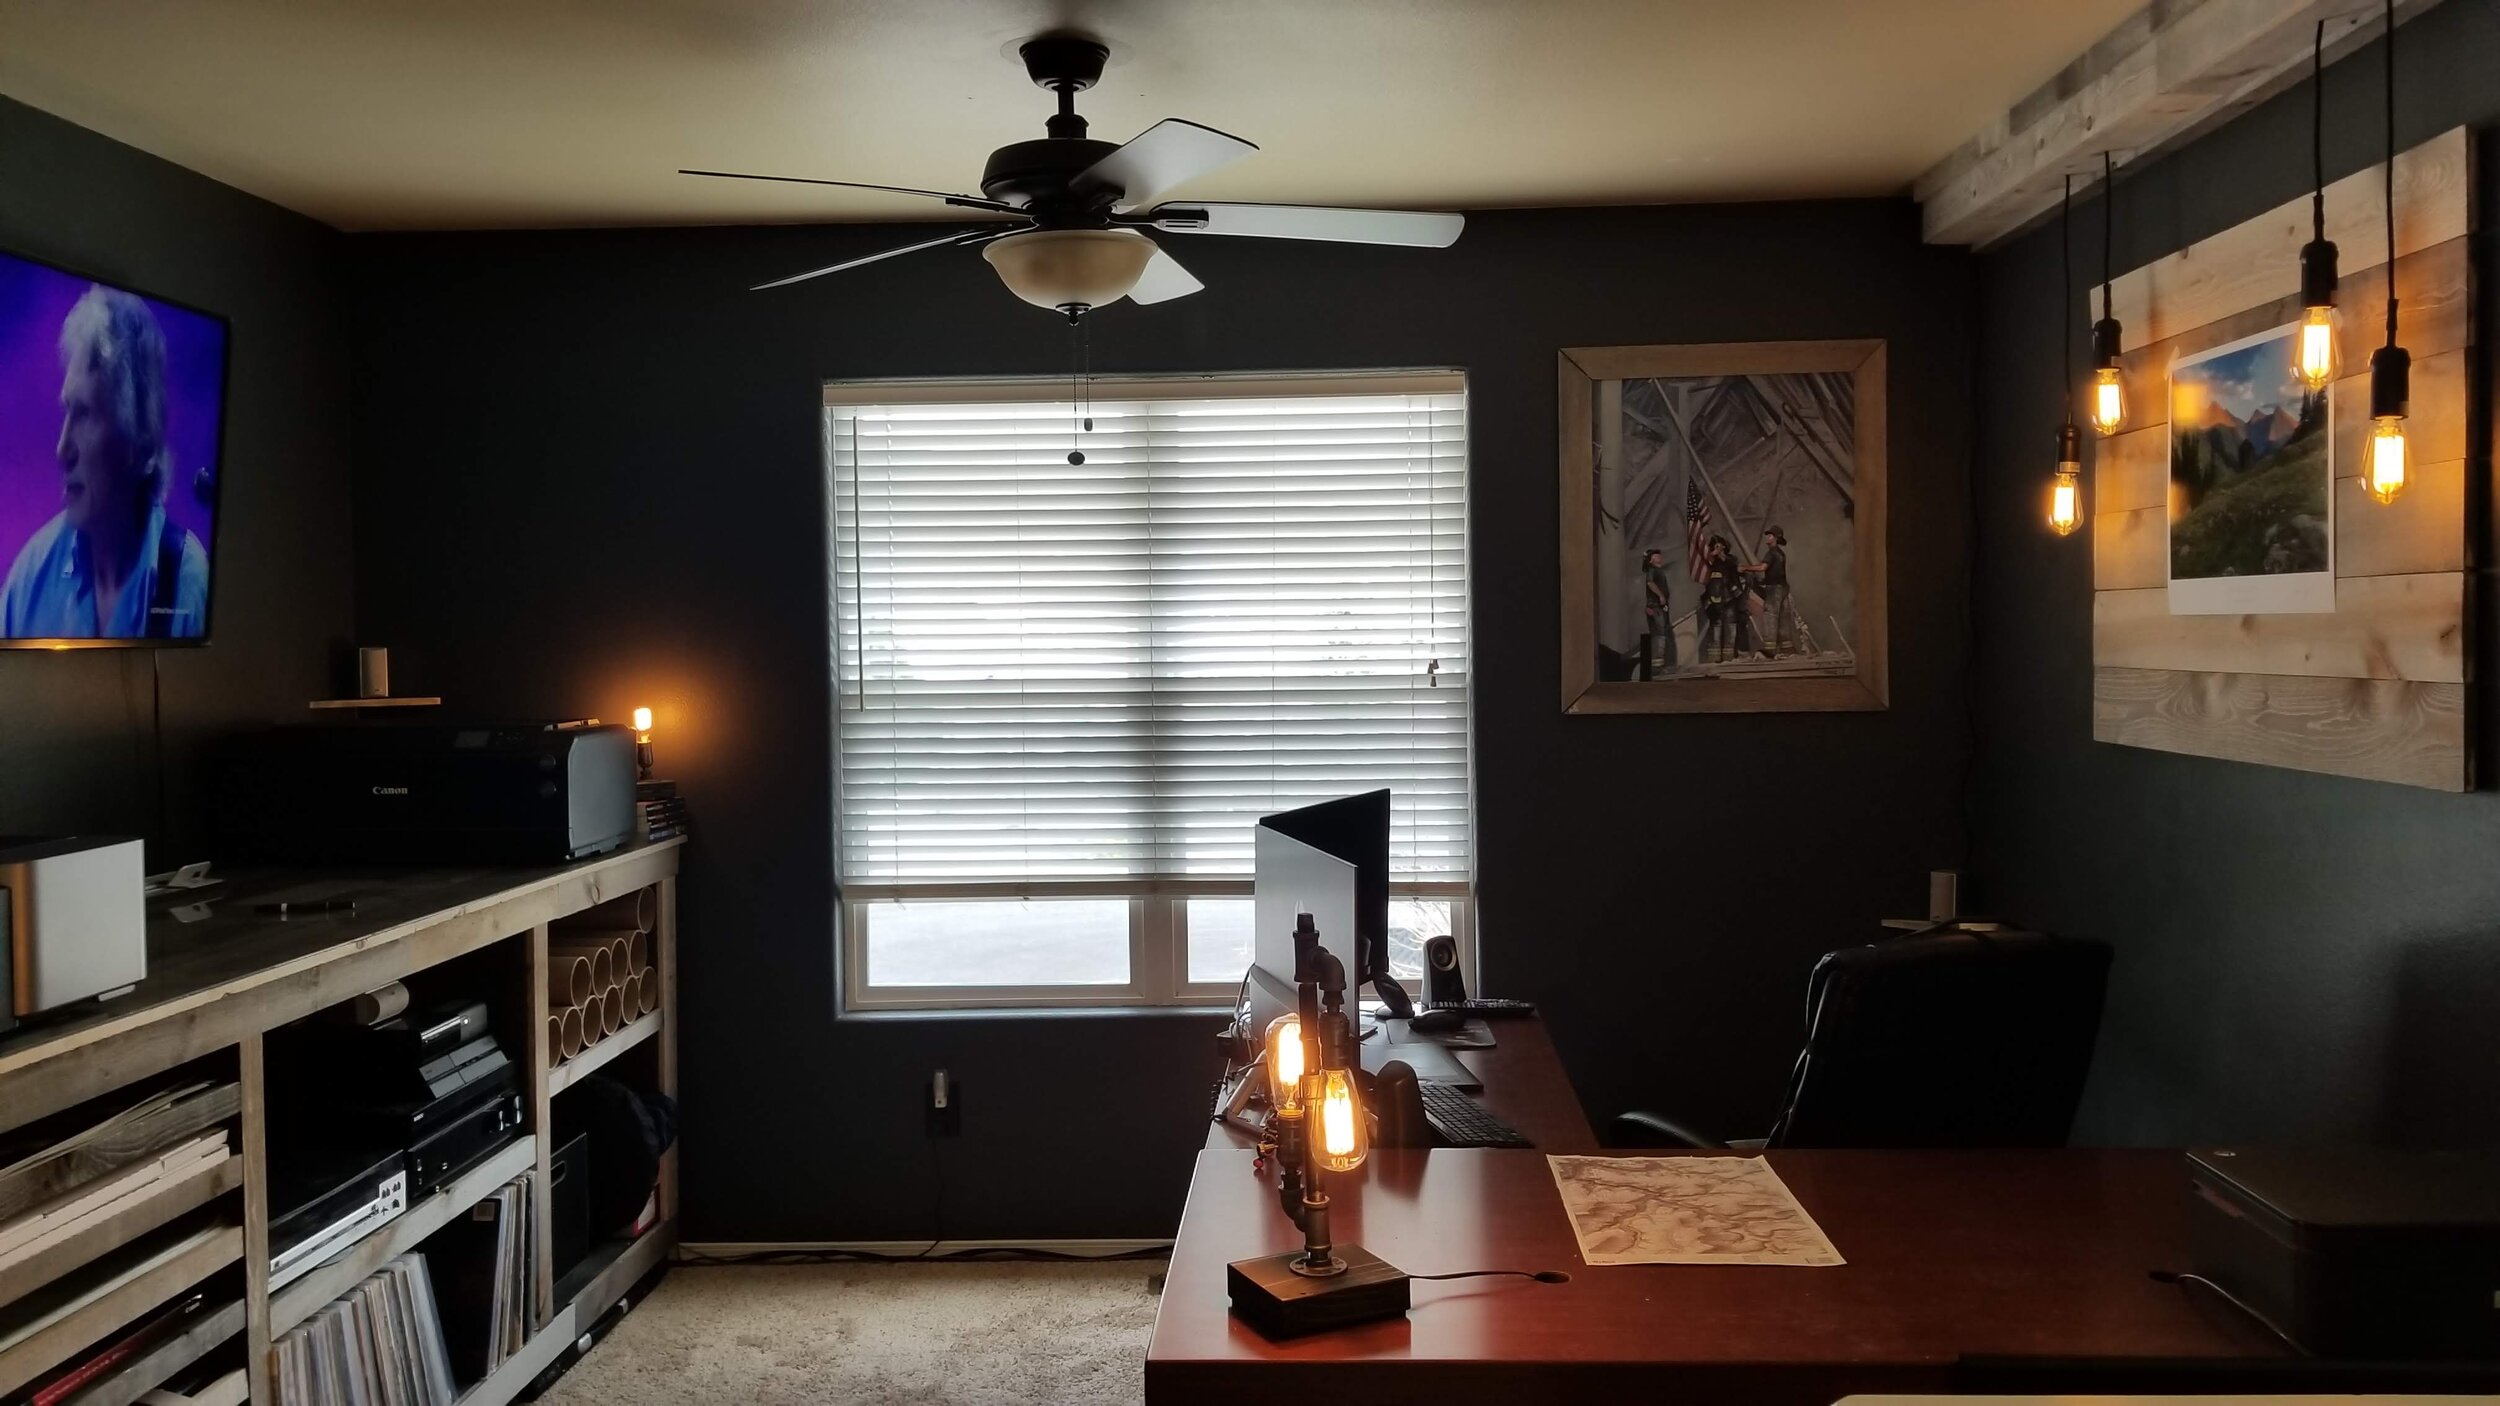
I decided I wanted to darken the office. “Why darken,” you ask? Well, for one reason and one reason only, it helps me when I am editing images. Having the PC be the only real light source is, to me, helpful. With that in mind, I darkened the walls. I ended up choosing…..Cracked Pepper.
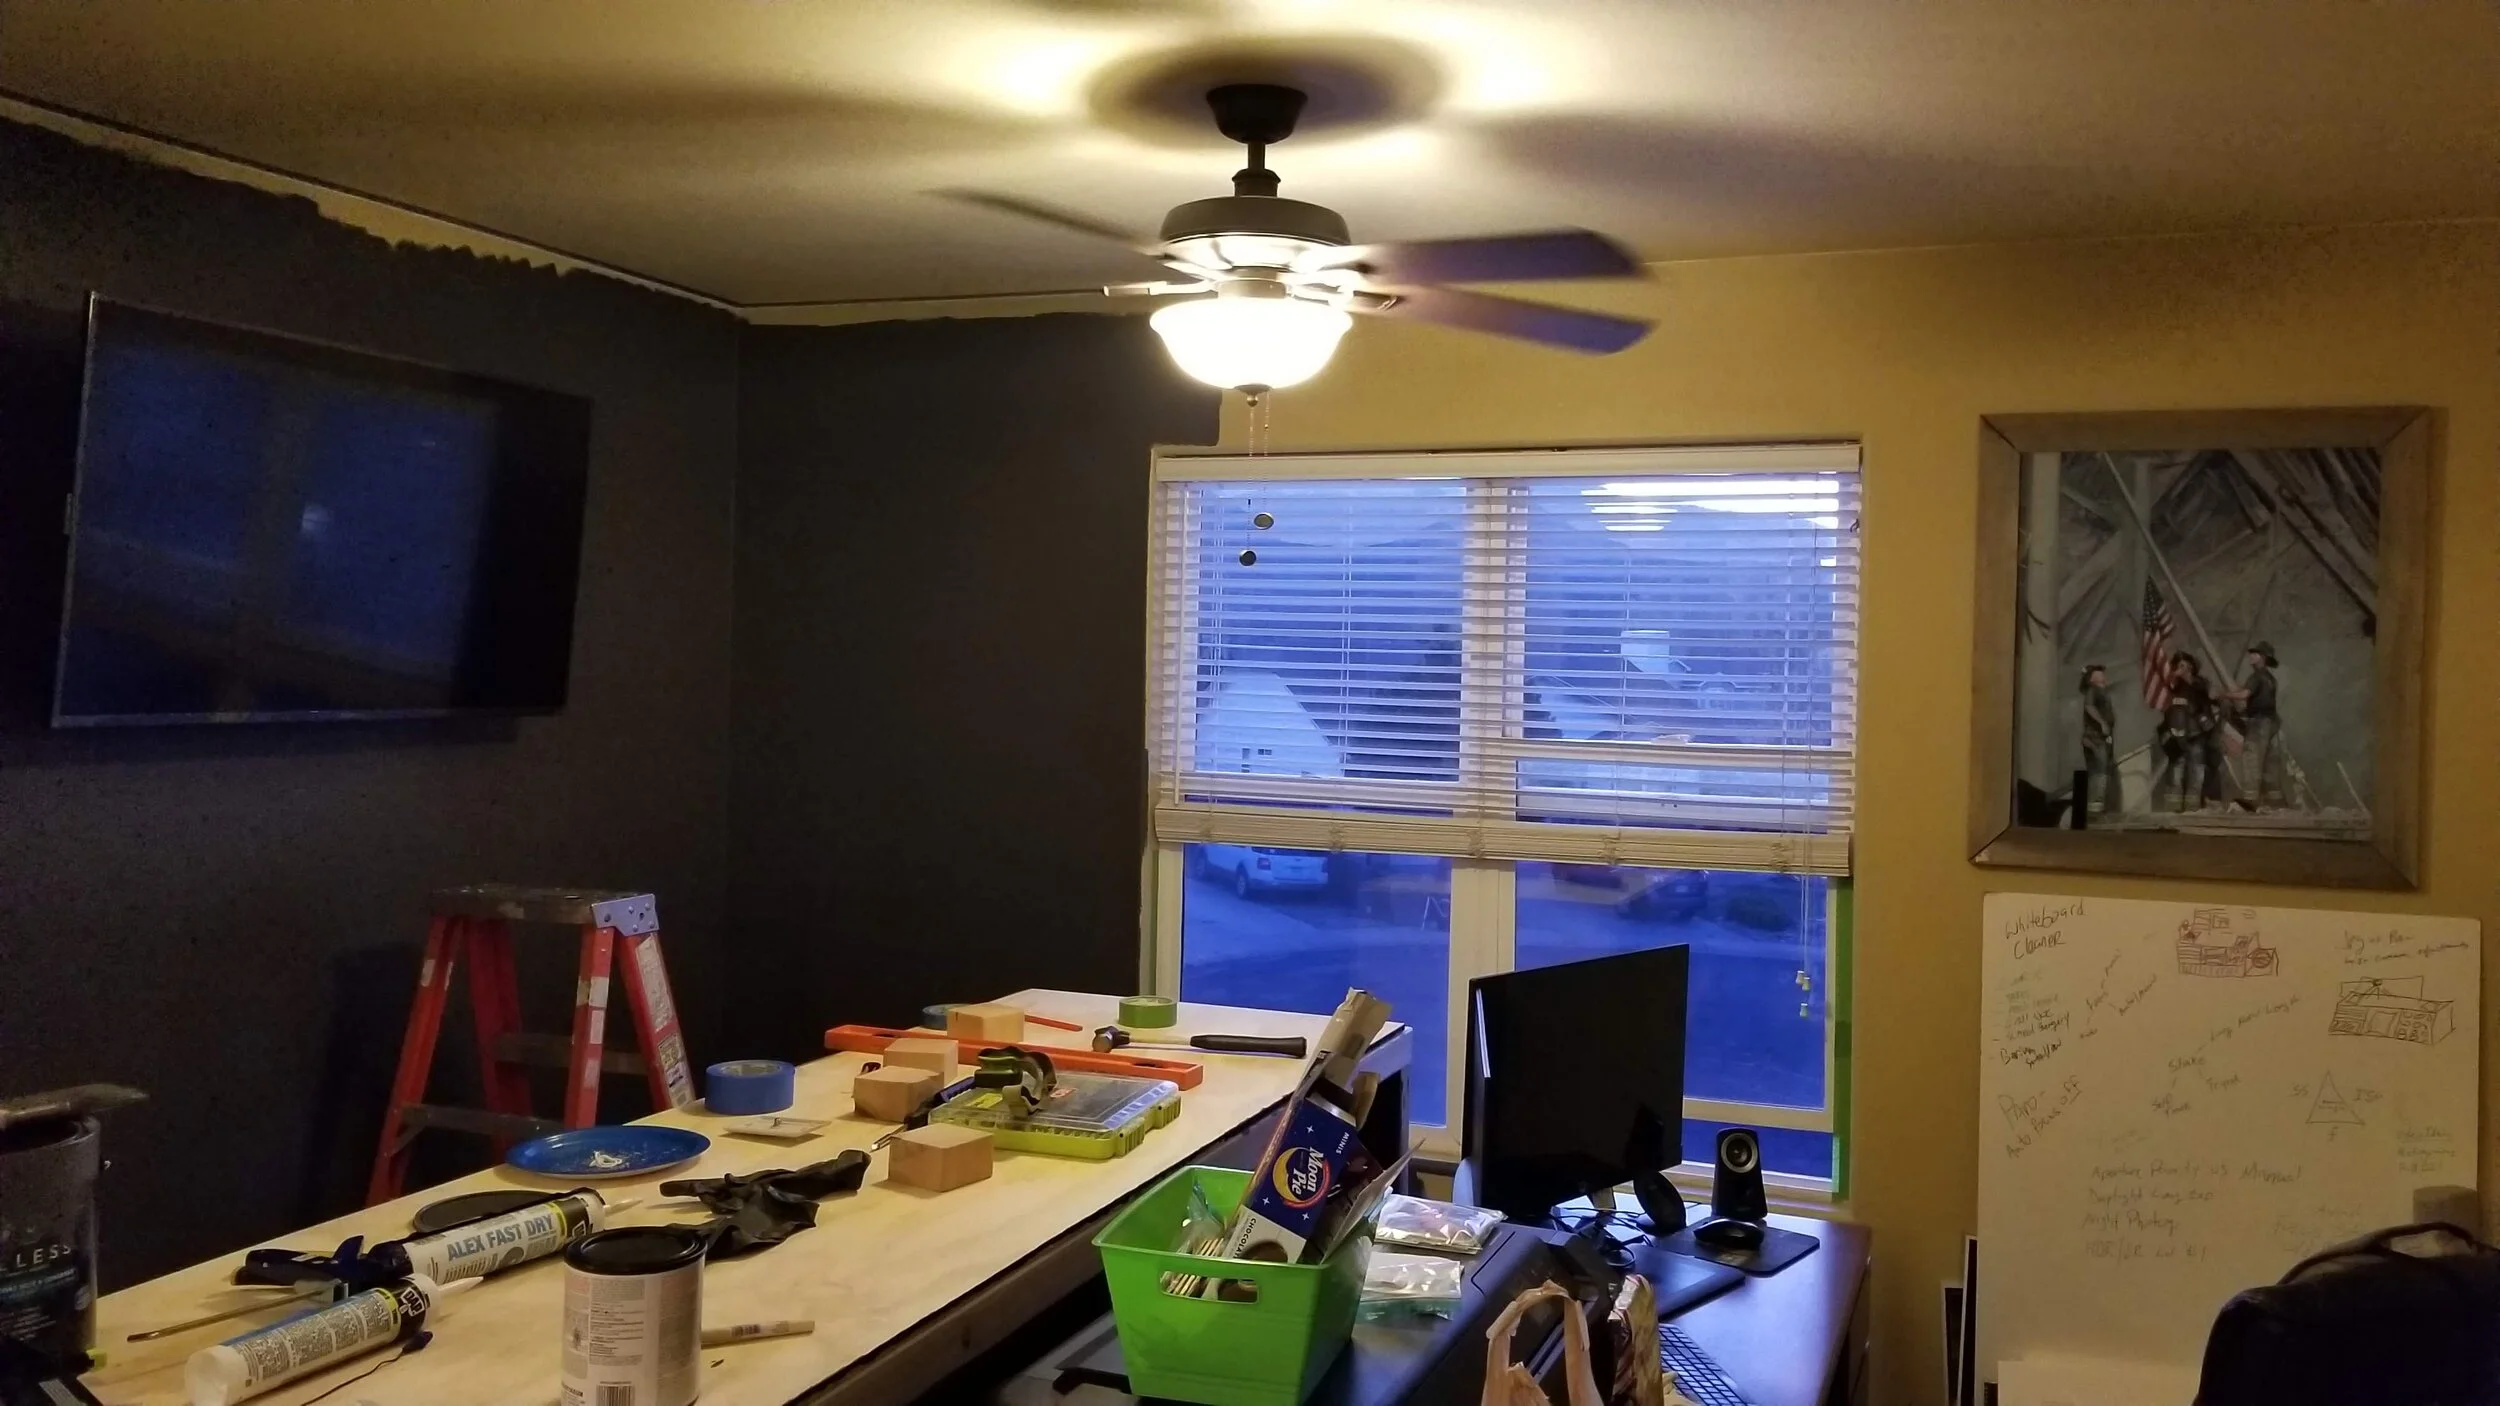
Scope Creep
With the end of the project in sight, I decided to throw another entire project into the already exhausting Workstation build. In the above image, you can see the walls beginning to be covered in a dark grey paint. To say I was nervous about going so dark is to put it lightly. At this point it was “fingers crossed” as there was no real turning back. You can also see the painting that inspired the old barn wood theme for both the Workstation as well as the rustic feel for the entire room. The barn wood was still in shipping at this point. You can also see, if you look closely, some old designs for the Workstation drawn on the whiteboard in the corner.
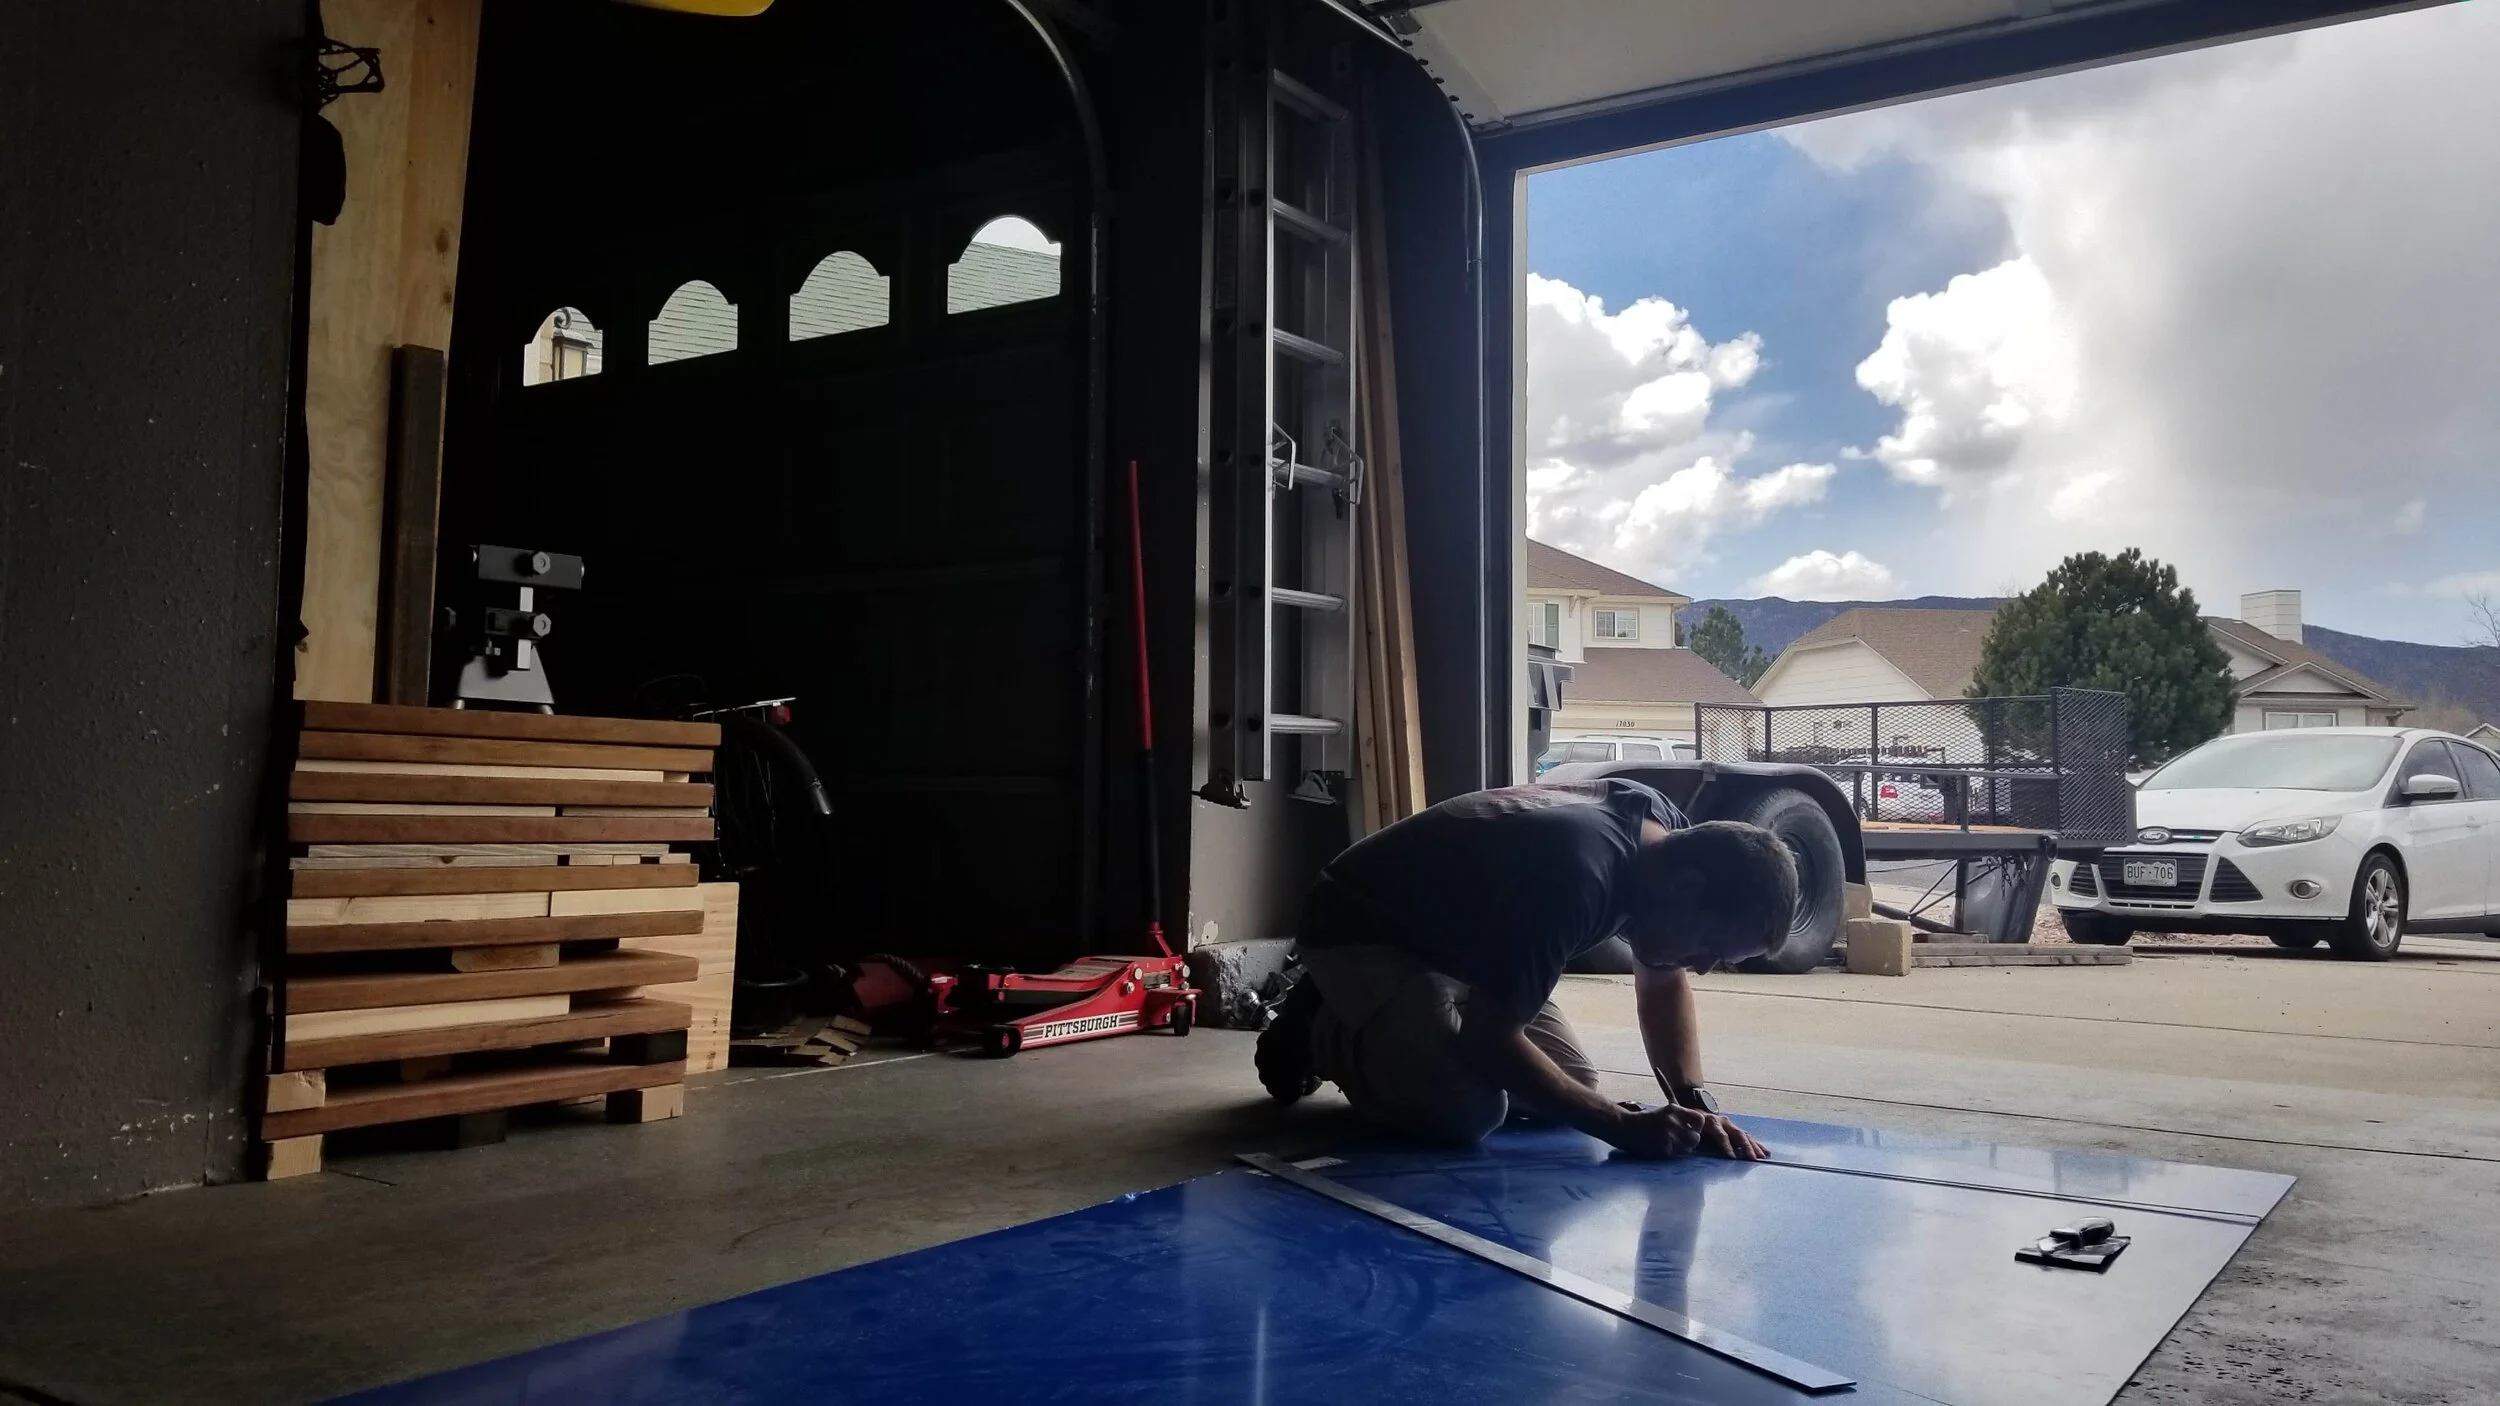
Cutting The Plexiglass
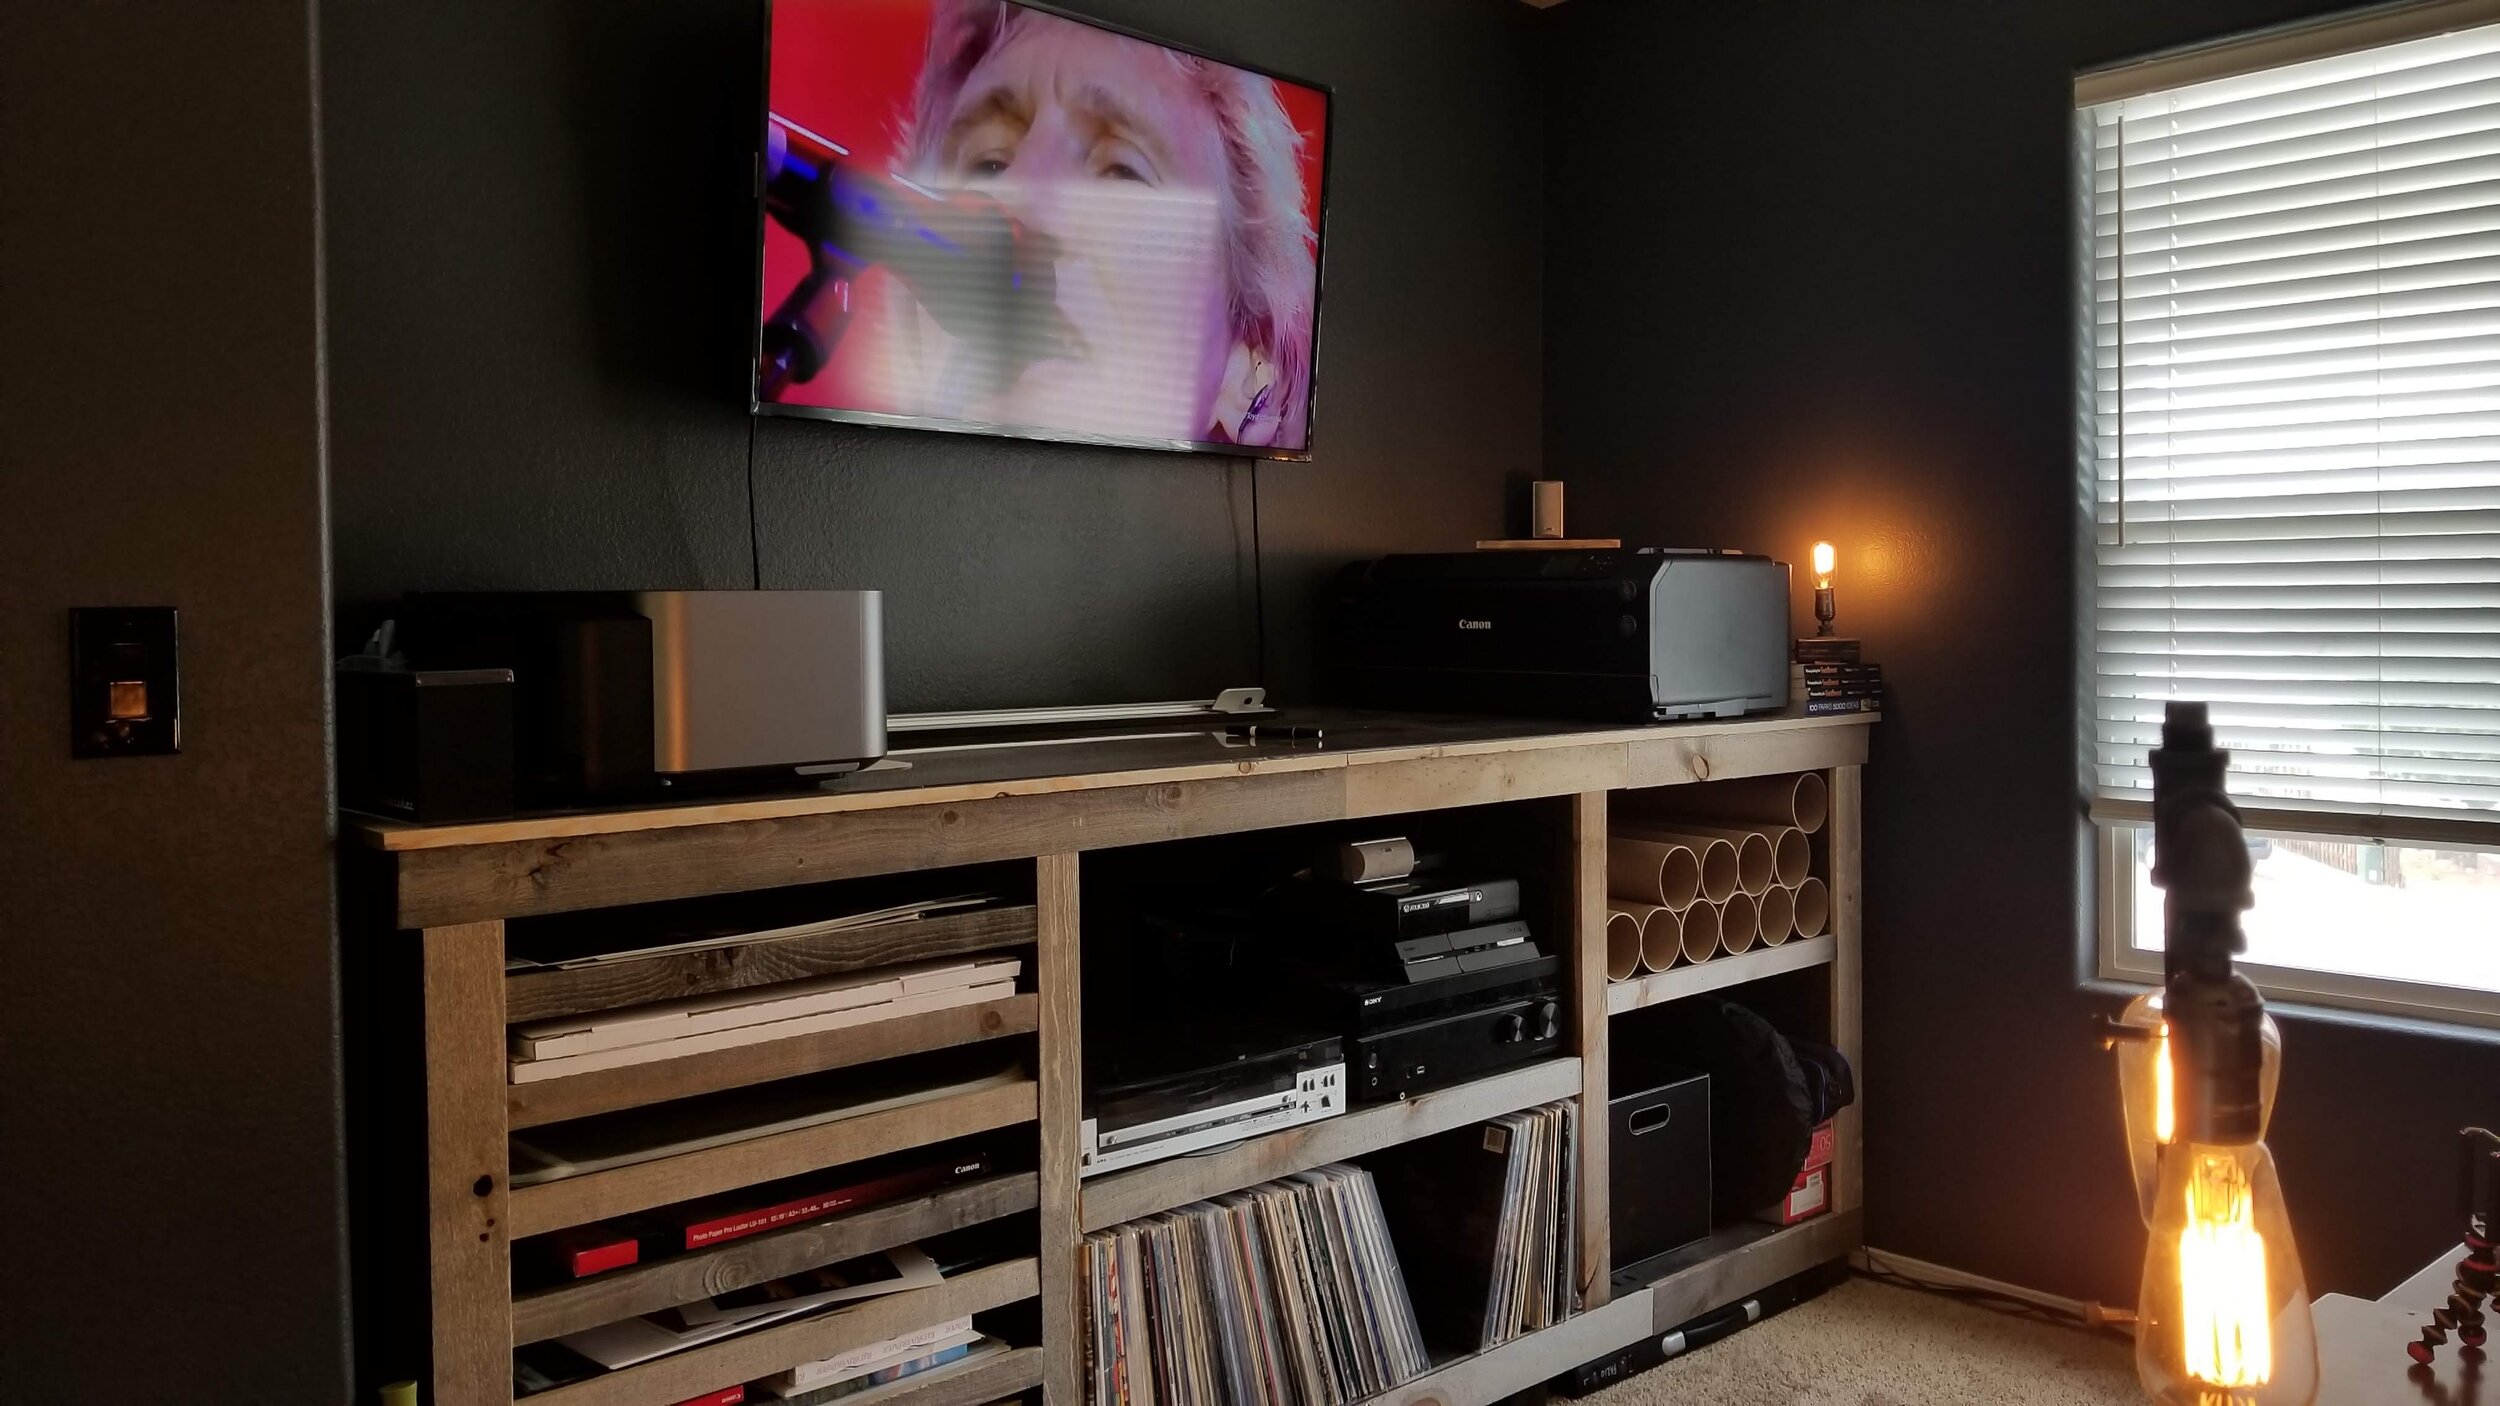
Having the top of the Workstation covered in old barn wood would not be ideal as an actual usable area. With this in mind, I ordered a large piece of plexiglass and cut it down to size. I also cut a piece to place under my LP collection in an effort to make them easier to move as well as not have the abrasive barn wood damage the LP sleeves when I sort through and select LPs to play. Oh yeah, you guessed it, every good Workstation needs LPs and a turn-table. ;-)

Workstation Surface Area
It is just my opinion, but I think the barn wood covered by the plexiglass turned out quite well. The Workstation was finally complete, but the office was not.
Scope Creep x2
Well, there’s saw dust everywhere. All of my saws are out in my makeshift wood shop. Tools are strewn everywhere. Might as well put them to good use, huh?

A Place To Hang
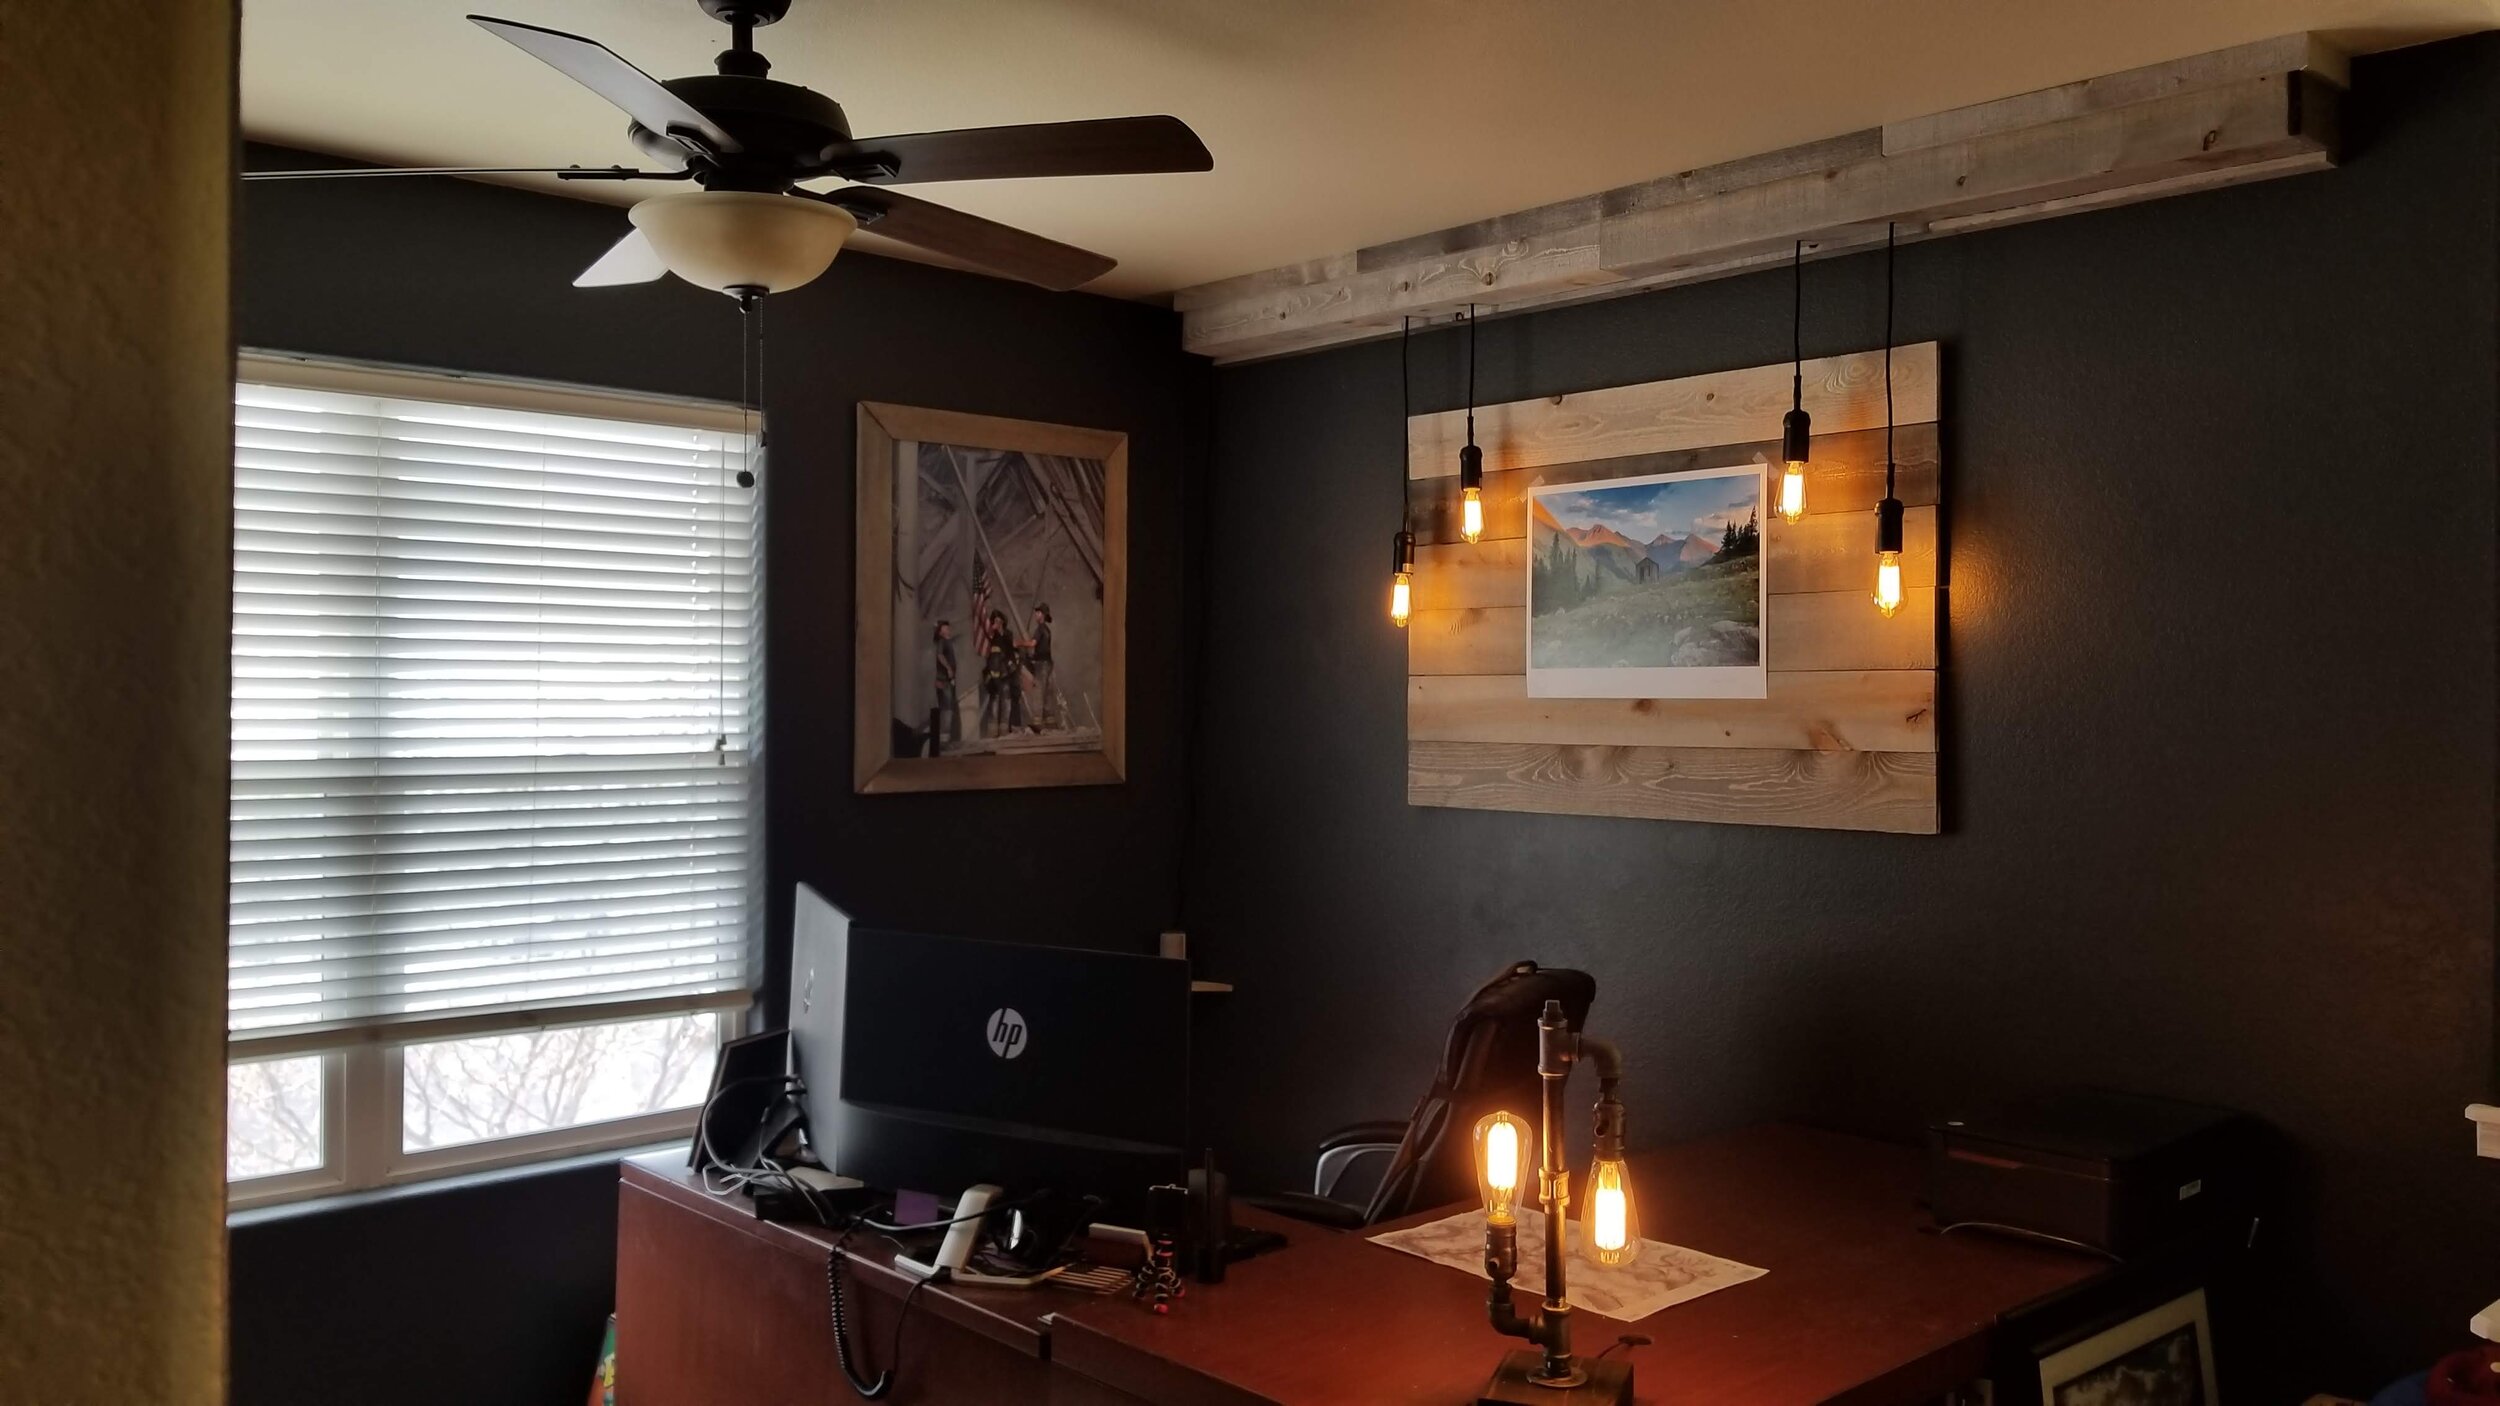
I decided to use up a bit of the excess barn wood in order to create this backdrop for prints to hang. At this stage of the project, as seen above, I liked it, but it was missing something; it was missing two things to be exact. One of those things was lighting. The other was a decent method of hanging prints.
As for hanging the prints, I have a few hurdles I’ve placed in my path that I need to overcome. I want the method of hanging to be able to accommodate multiple sizes of prints, I want it to be non-damaging to both the prints as well as the backdrop, AND I want hanging the prints to be easy. I decided that I would take the backdrop down and create a negative relief behind it and insert a sheet of metal in that negative relief. With this, I want to be able to merely place an image on the front of the backdrop and use appropriately decorative magnets to hold the print. If you’ve got a better idea, shoot me an email or comment below as I’ve yet to tackle this portion of the project.
In the above image, there is tape on the print holding it to the backdrop. This was merely a sacrificial print used for the planning of the next stage of the project. I could never continue hanging prints that way. Speaking of the next, and final, stage of the project, it is lighting. I would need to put on my electrician hat and get creative.

Let There Be Light
Longer than I’ve had the idea to build the workstation, I’ve had the idea of how I wanted to light a backdrop behind my desk. Voila. Here it is. I love the look of the Edison bulbs on the older looking barn wood.
The Finished Office
Other than the slight edit that I am going to make to the backdrop in an effort to make hanging prints easier, this is the finished project….., for now. ;-)
Update on 31 June 2020
I needed a way to be able to easily hang prints. This method had to be nondestructive to both the print as well as the backdrop.
My initial method was to hang the prints via hinge tape. This provided a rather nondestructive method but was not at all easy to hang the print. Once hung, getting the print straight was a problem. I needed another solution. After giving it some thought, I came up with something that Ibthought would work but would be rather risky to do.
I decided that I was going to take the backdrop down and take it back into my makeshift woodshop. Once there, I routed a slot in the back of the backdrop as seen below.

Slot Routed on the Backside
The slot was routed to accommodate a variety of potential print sizes. With the slot routed, I dropped in a piece of flat steel bar.
I did not want to glue in the steel as I wanted to keep as little as possible between the bar and the print. The current thickness of the wood was already not very conducive to using small magnets.

Flat Steel Bar Inserted
With the steel inserted, it was time to secure it. I decided to cap off the slot with a piece of scrap wood.

Cap Holding in Flat Steel Bar
A few gentle taps with a wooden block and a rubber mallet and the cap was snuggly installed.

Cap Fully Installed
With the cap installed, it was time to hang the Backdrop and check the results.

Magnets at Work
The only thing left to do now is to find a pair of magnets that are a bit more aesthetically pleasing and match the theme of the room.
Know of a decent set of magnets that would look good in the room? Leave me a link below to them and i’ll check them out. Thanks!