
Installing Sliding Windows in My Mitsubishi Delica L300
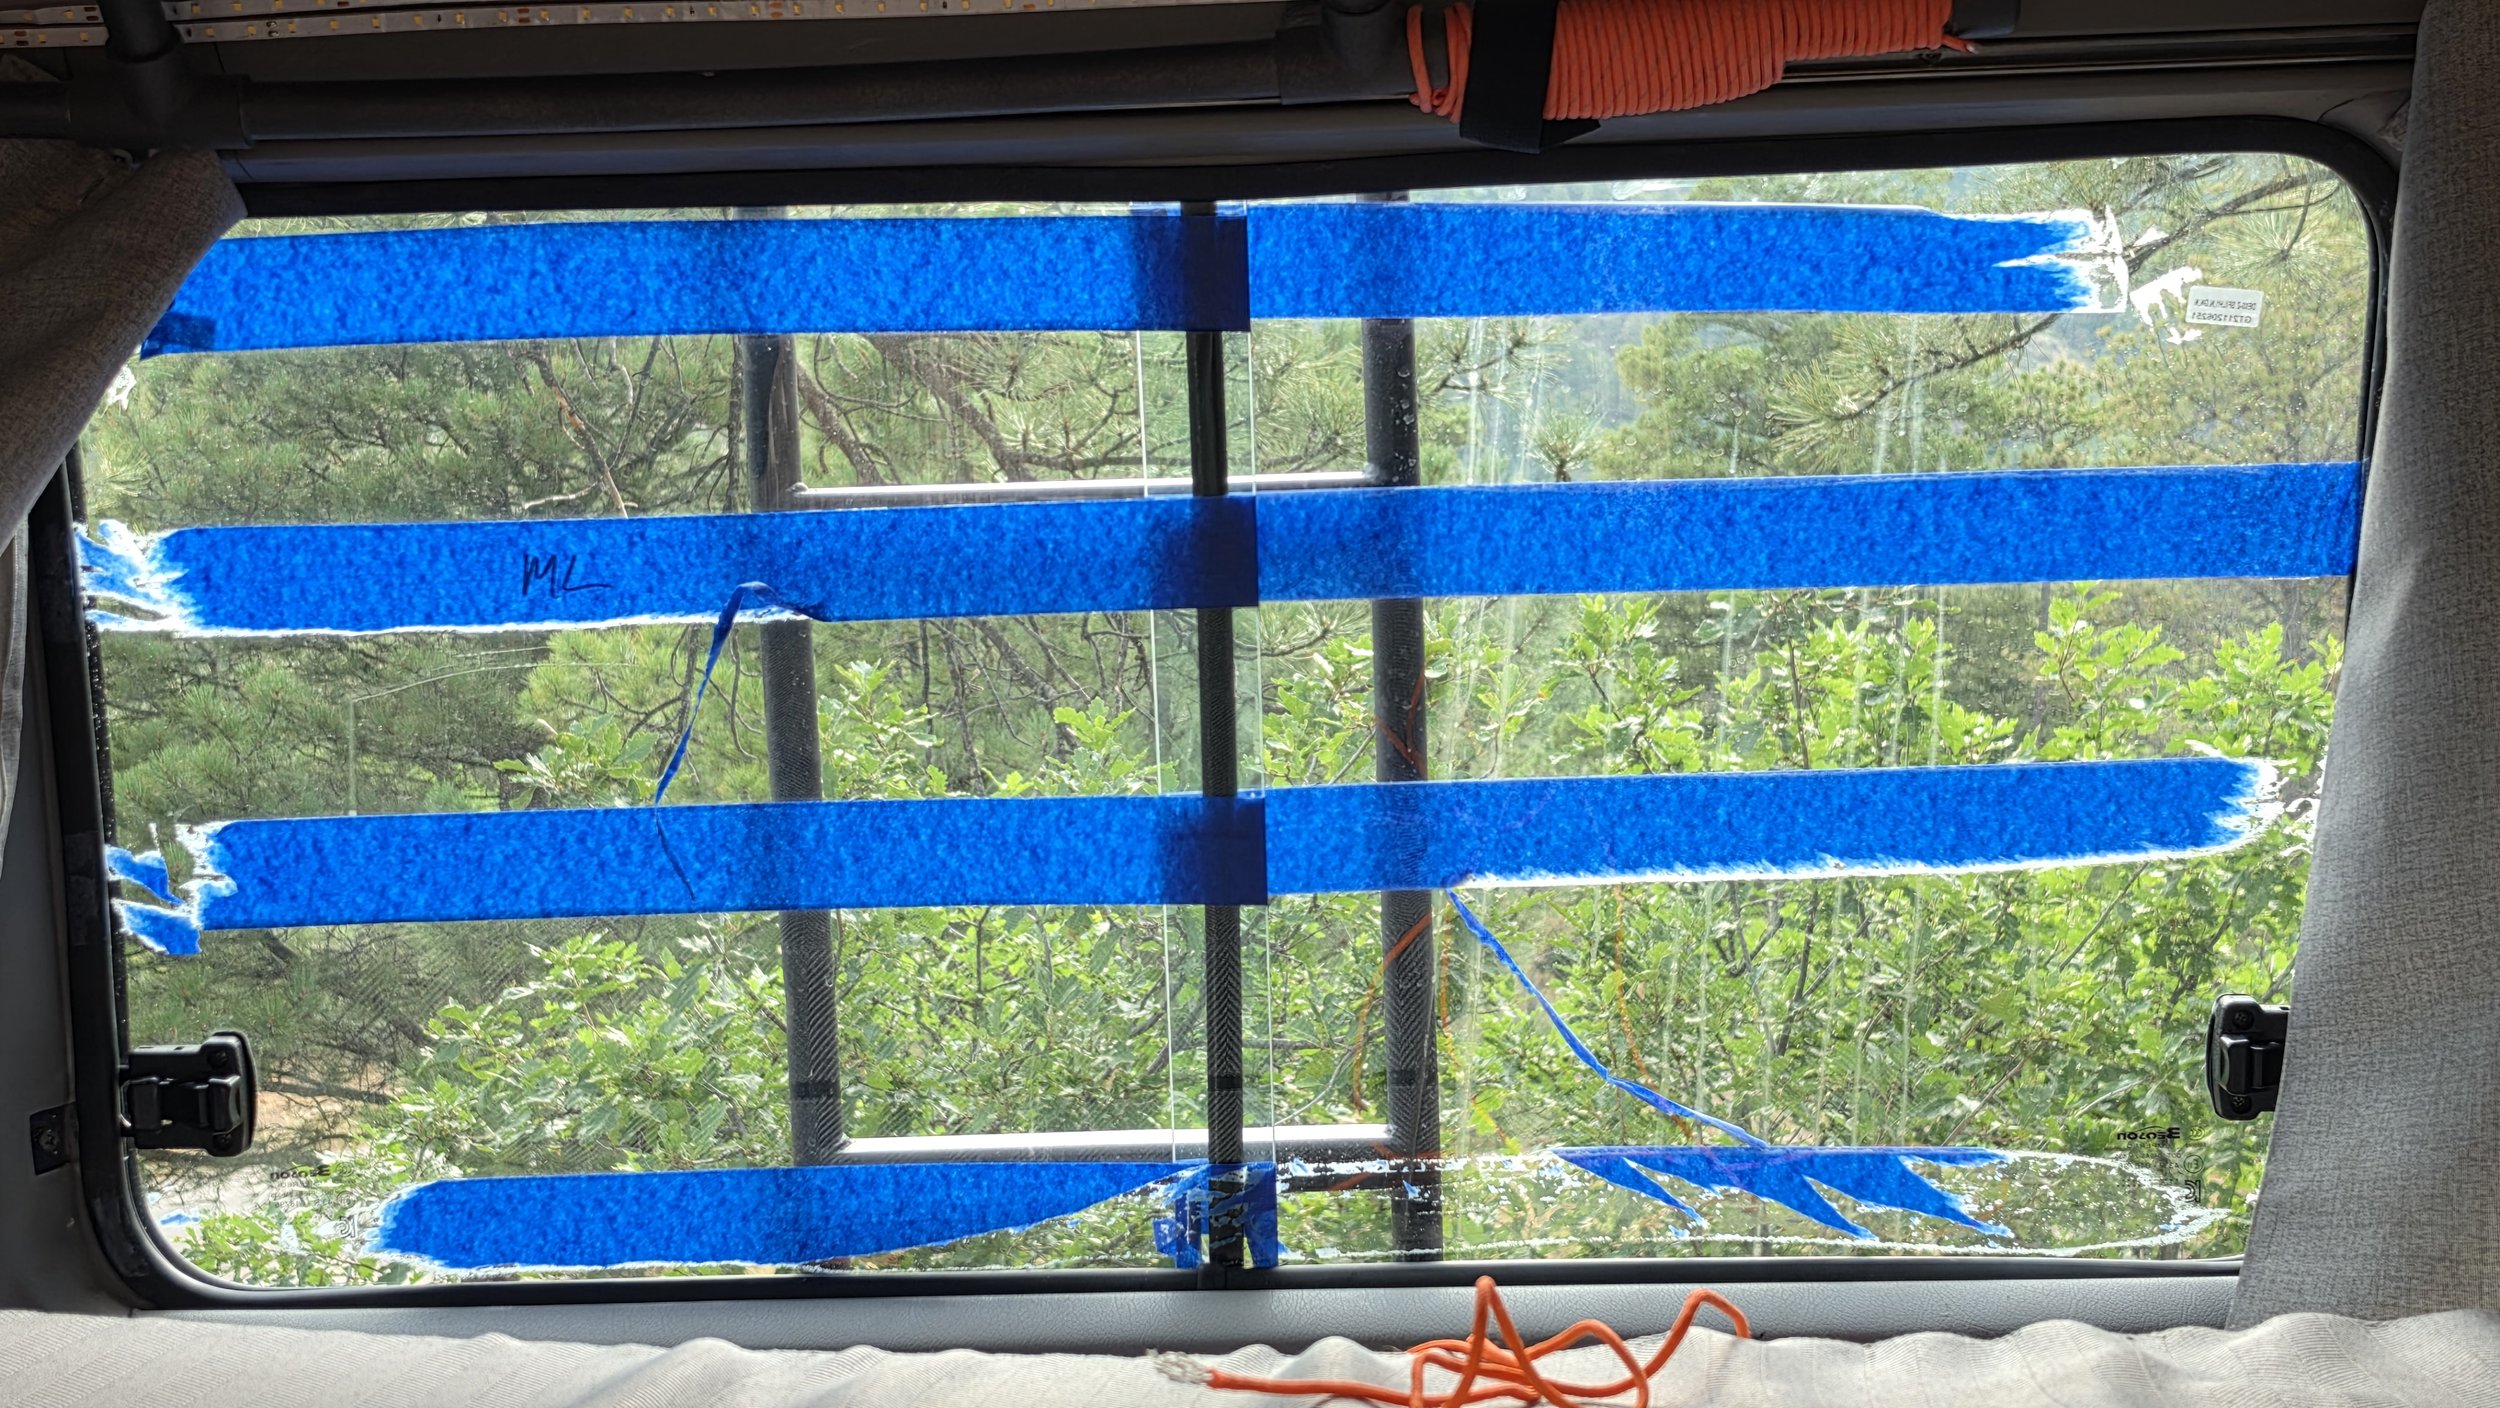
Painter’s tape should have helped mark the orientation of the overlapping glass panes before removing and reinstalling the Delica L300 sliding window. If only I’d have seen it first.
Supplies List:
Dish Soap
550 Paracord (or equivalent)
JIS Cross-tip Screwdriver
Spray Bottle
There are certain modifications I've wanted to make to the Five Billion Star Hotel for a long time.
Sliding windows were one of them.
My 1994 Mitsubishi Delica L300 has plenty of glass. That's part of what makes these old vans so much fun to travel in. Unfortunately, most of that glass doesn't actually do anything.
It lets you see outside.
That's about it.
For something I use as transportation, an office, a kitchen, and occasionally a Five Billion Star Hotel, being able to open a couple more windows seemed like a pretty worthwhile upgrade.
So, sliding windows finally moved from the "someday" list to the "today" list.
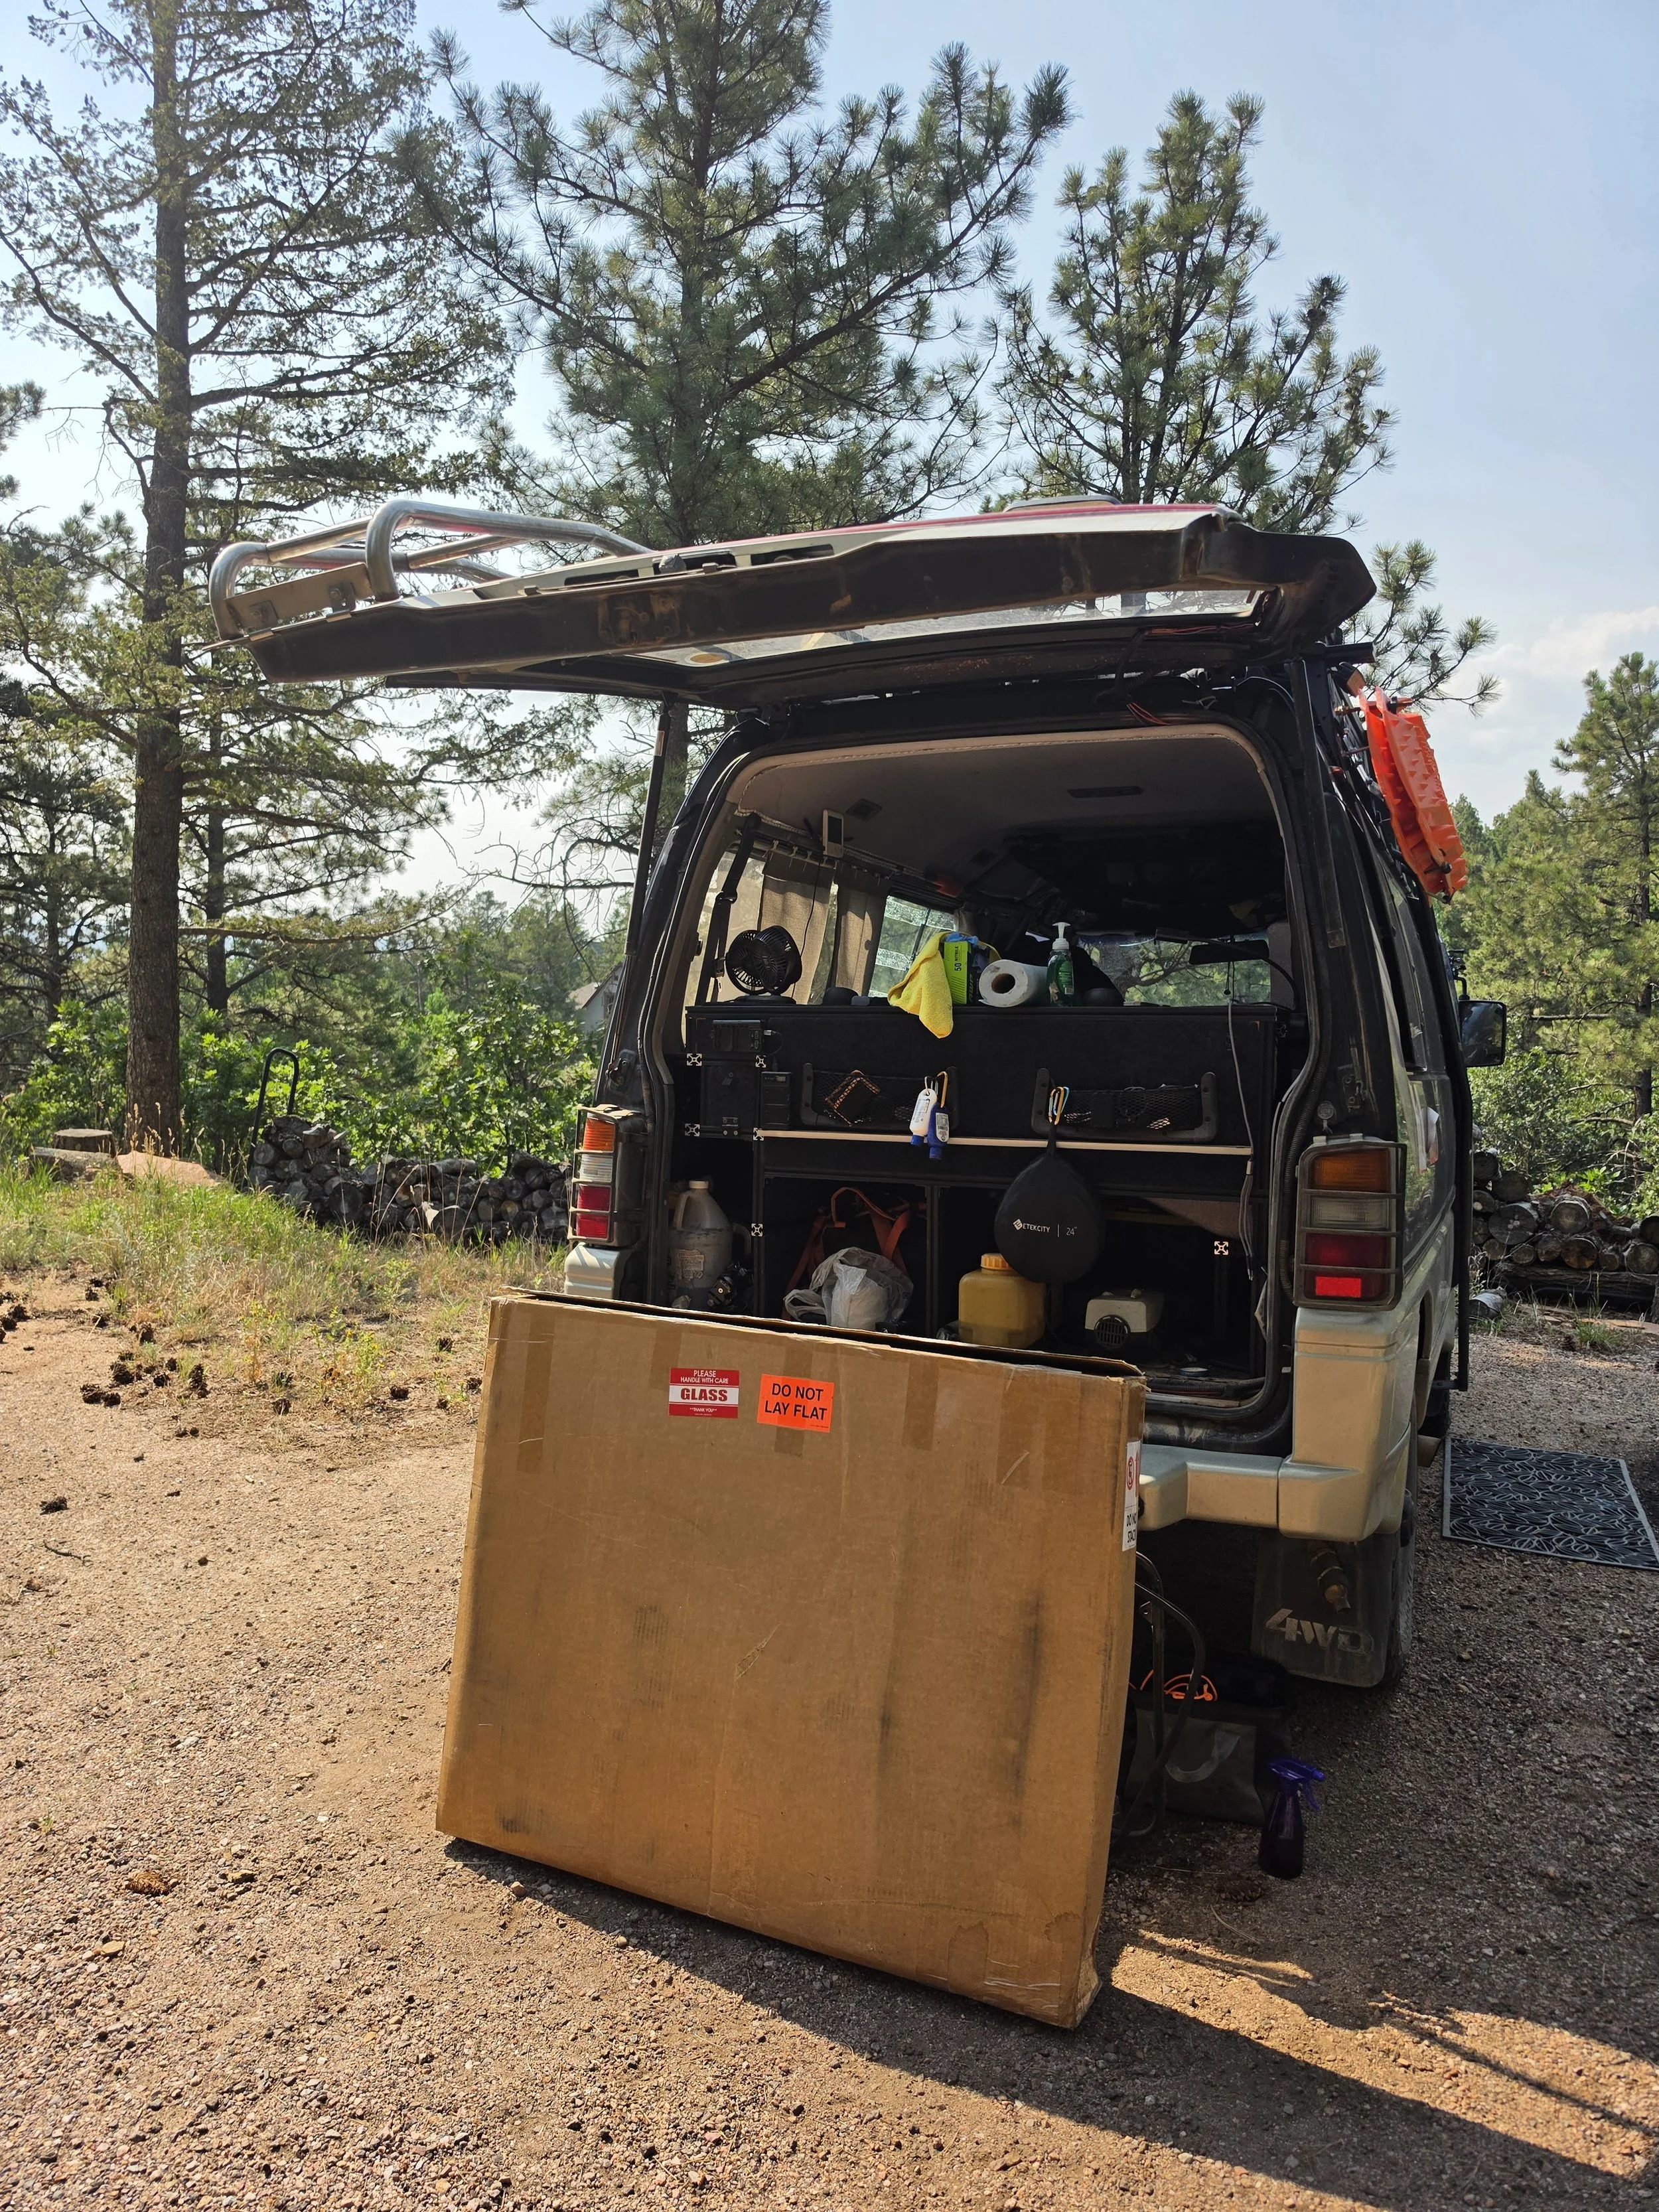
Two Sliders from Good Karrma ready to go into the Five Billion Star Hotel
Two Windows in One Box
Both replacement windows arrived together in one box. I ordered them from Good Karrma.
They were padded well, and the individual pieces of glass had been taped to keep them from chattering against each other during shipping. Everything had survived the trip, which is always a nice way to begin a project involving large pieces of difficult-to-replace glass.
I pulled the first window from the box and carefully leaned it against the Delica.
We decided to start with the middle passenger-side window.
One important bit of Delica geography here: the FBSH is right-hand drive. The driver's seat is on the right, which means the passenger side is on the left.
Four screws held the original window in place.
We removed them, pulled the glass, and safely set it aside.
That "safely" part will become important later.
No Going Back. Well, Hopefully.
With the glass removed, we started pulling the surrounding trim pieces.
I made sure to save every little clip and piece of hardware that came off. This was our first time doing this, and I wasn't entirely convinced yet that we'd successfully get the replacement window installed.
If things went badly, I wanted the option of putting everything back exactly the way it had been.
With the glass and trim out of the way, I cleaned the window frame.
My son was helping, giving me the second pair of hands that this job really requires.
Neither of us had done this before.
We were learning as we went.
What could possibly go wrong?
There's No Way This Fits
The replacement window uses a rubber seal that wraps around the opening.
I sprayed the rubber flap to help everything move, then ran a piece of soapy 550 paracord around the window seal. The idea was pretty simple. We'd set the bottom of the window and seal over the lip of the Delica's window opening, then use the paracord to gradually pull the rubber over the metal lip from inside.
Simple enough.
Except when we held the new window against the opening, I was pretty sure we'd been sent the wrong glass.
There was no way that thing was going to fit.
The shape didn't look quite right. The dimensions seemed just far enough off that I couldn't imagine the rubber seal ever wrapping around the opening.
But we'd come this far.
We set the base of the window over the lip and started working our way around.
A little pulling on the paracord.
A little pushing from outside.
A little muscular persuasion.
Slowly, the rubber worked its way over the lip.
Then...
The window settled into place.
Perfectly.
Huh.
I guess it was the right shape.
From removing the original glass to having the new sliding window completely installed took us less than 30 minutes.
This was going suspiciously well.
Tomorrow's Problem
With the window installed, I started peeling off the tape that had protected everything during shipping.
That immediately revealed another lesson.
I had waited too long.
The tape had apparently spent enough time sitting on the glass that it wasn't particularly interested in leaving anymore. Instead of peeling away cleanly, it left behind a mess that was going to require considerably more attention.
Tomorrow's problem.
For today, I wanted windows installed.
One down.
One to go.
CRASH!
The second original window was different from the first.
Instead of being fixed in place with four mounting points, this one was a pop-out style window with three.
We worked through the removal process and got the glass free.
A little too free.
My son wasn't quite ready for it.
The window dropped.
CRASH!
Well...
So much for keeping all the original glass in case we ever wanted to put everything back.
There are seven windows in the FBSH, not counting the windshield. At the time, only two of them still had their old window tint.
Luckily, this was one of those two.
The tint held most of the shattered glass together rather than allowing it to explode into a million pieces across the ground.
That was the good news.
The bad news was obvious.
I no longer had a backup window for that location.
Into the trash it went.
I'll keep an eye out for another original piece of glass someday. I don't particularly expect to need it, but I'd still like to have one tucked away.
For now, there was nothing left to do but keep going.
Five Minutes
We followed essentially the same process for the second sliding window.
Clean the opening.
Prep the seal.
Run the soapy paracord.
Set the bottom.
Push from outside while pulling the cord from inside.
Pop.
Done.
Maybe five minutes.
It's amazing how easy something becomes once you've already done it once.
As it turns out, that was about to work in our favor.
Because we weren't finished.
We just thought we were.
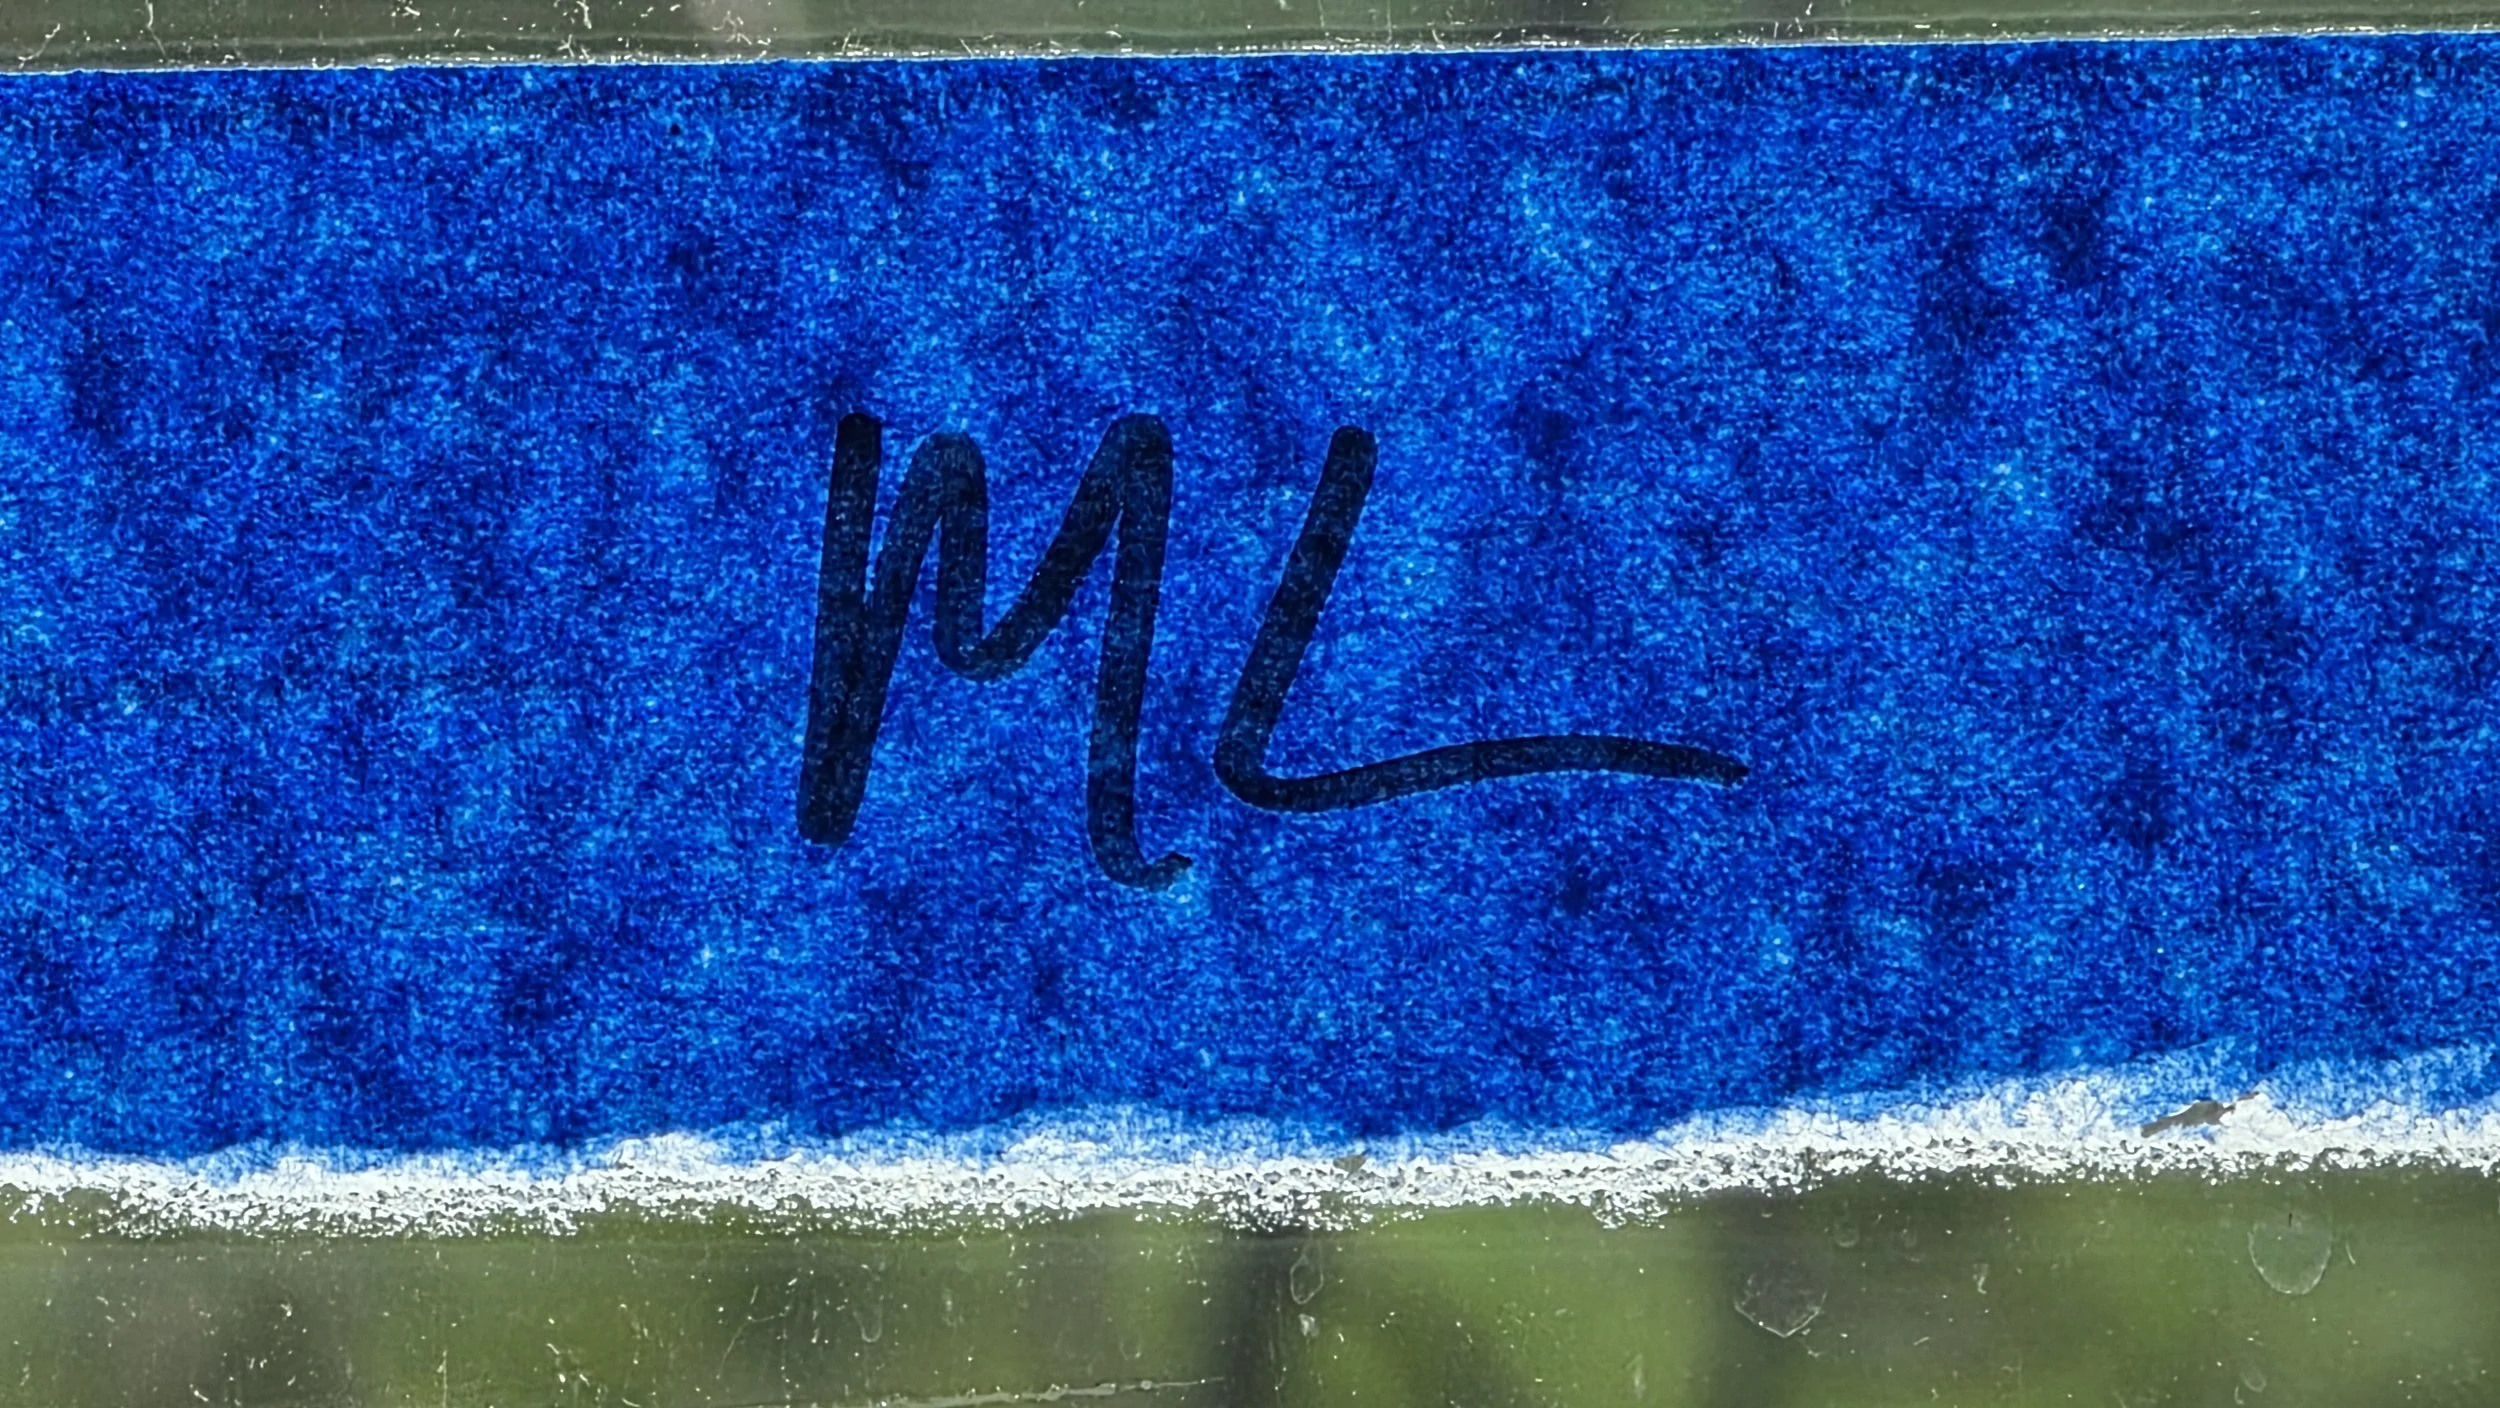
What's "ML" Stand For?
Both windows were installed.
Nothing else had shattered.
The FBSH now had two beautiful sliding windows.
Successful project.
Except...
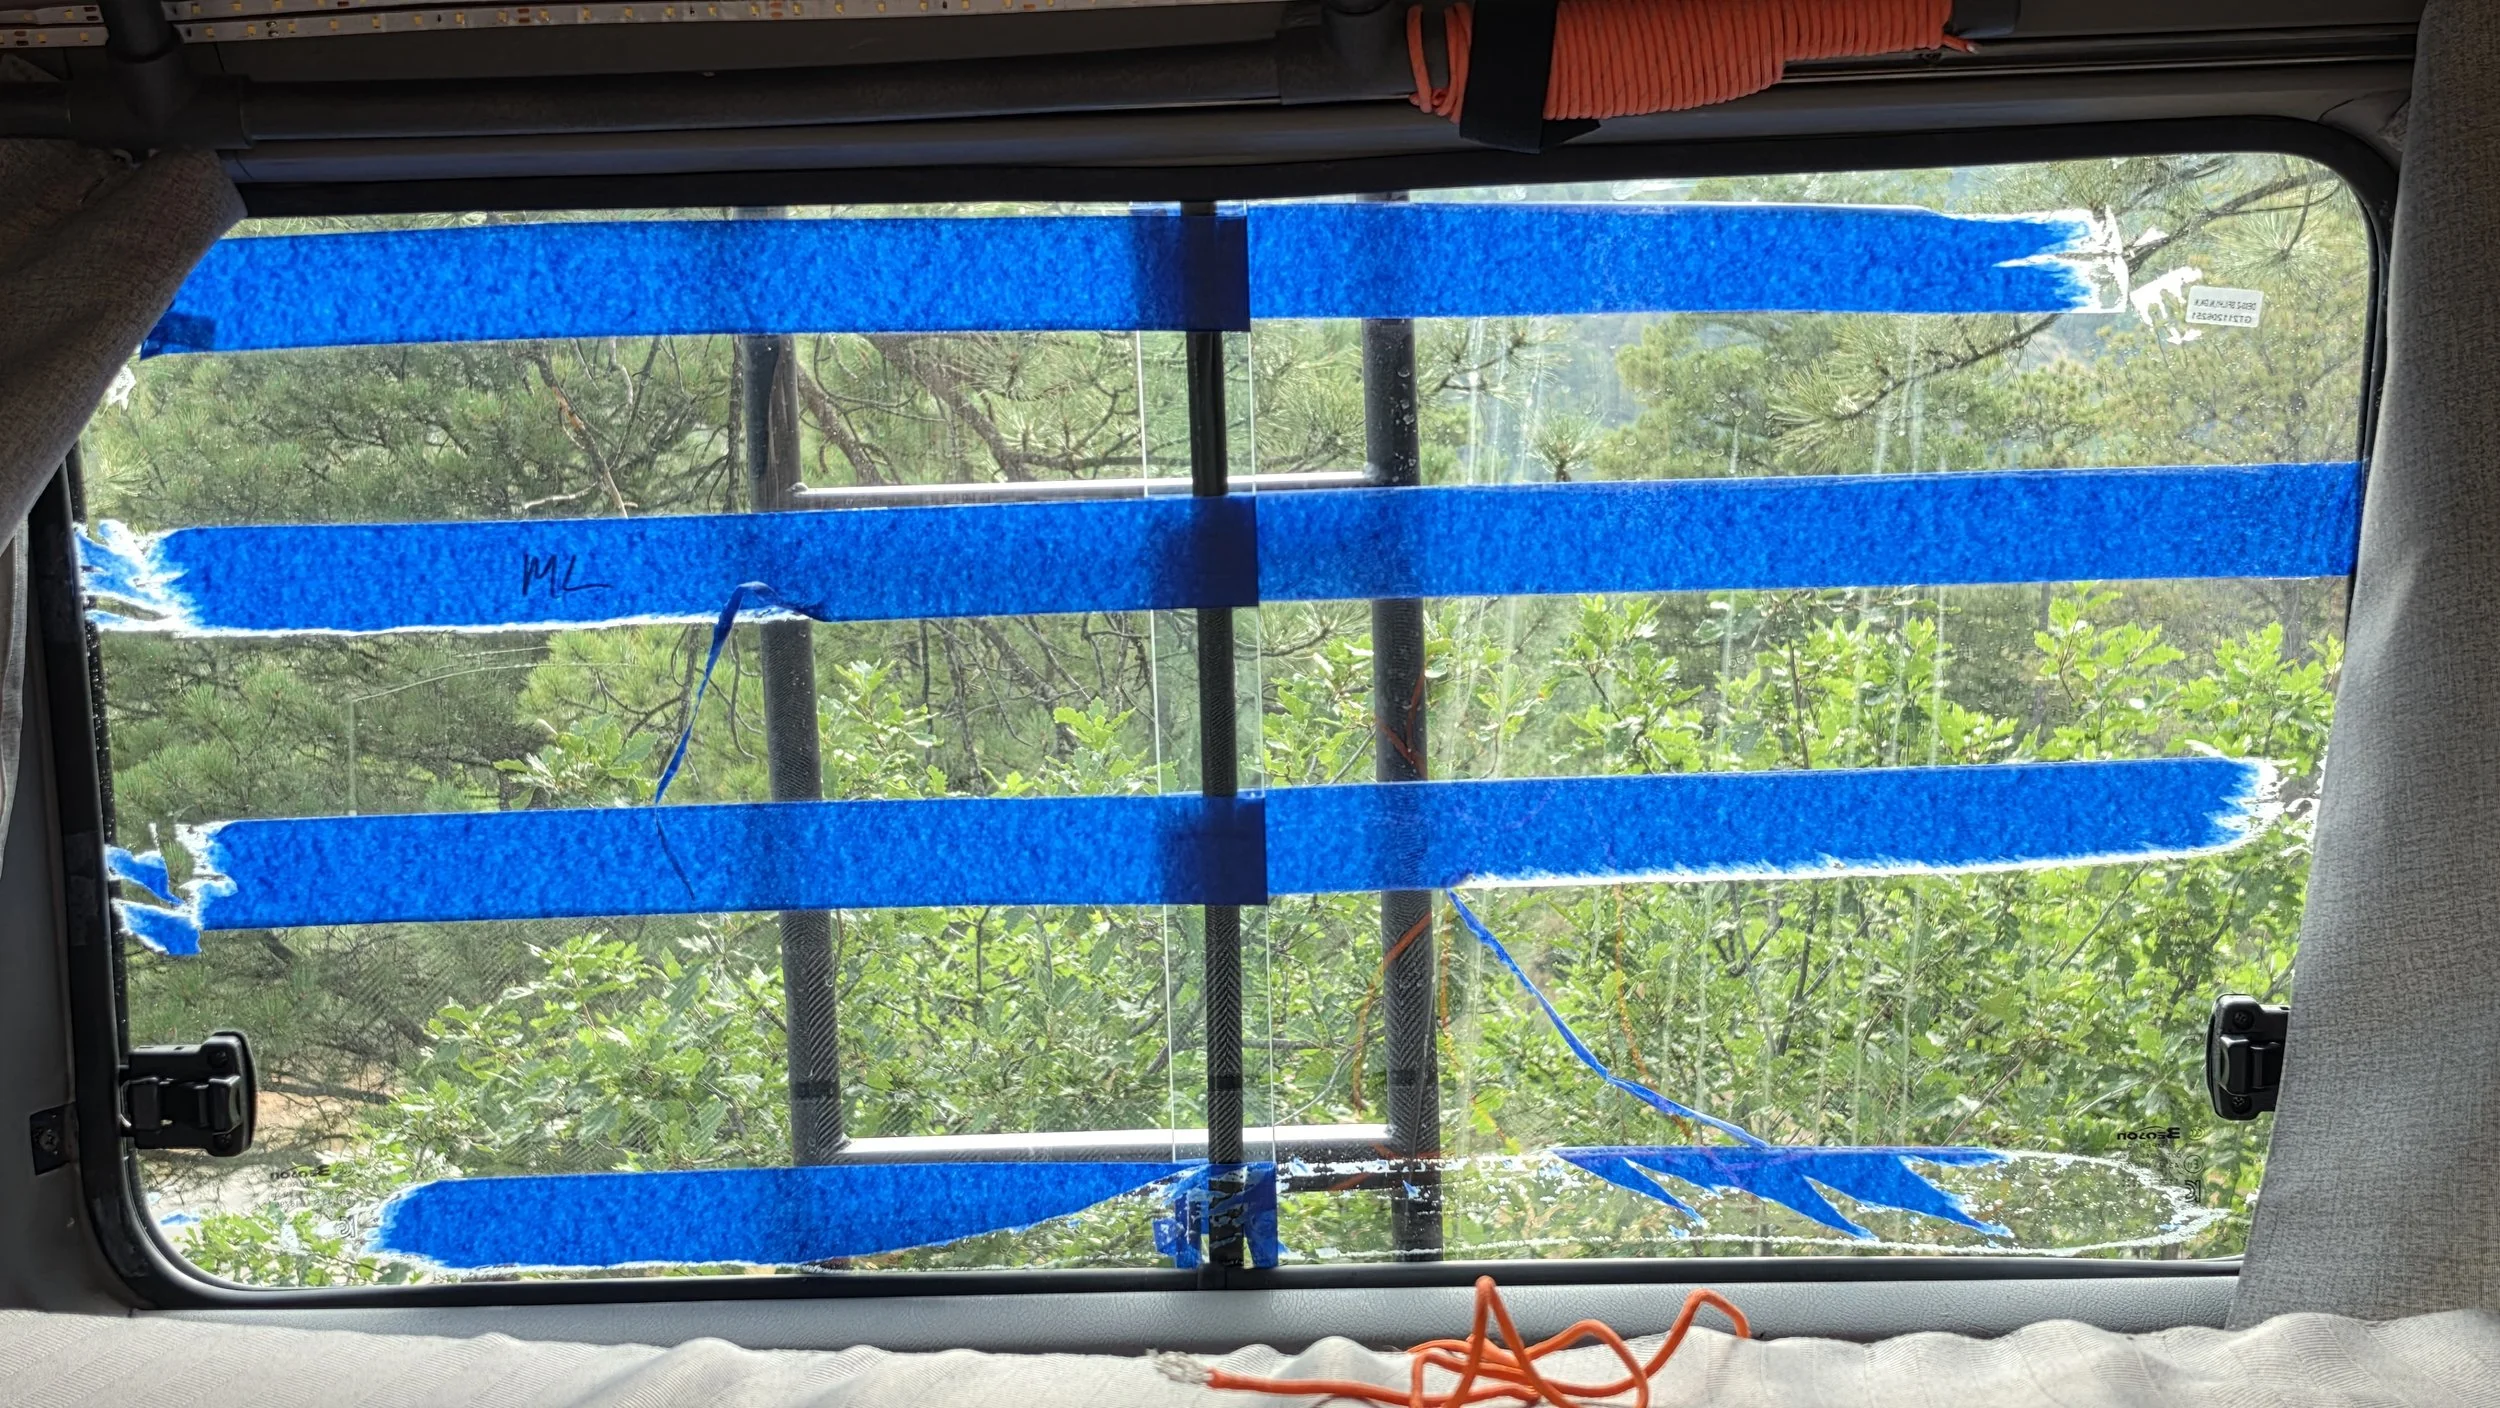
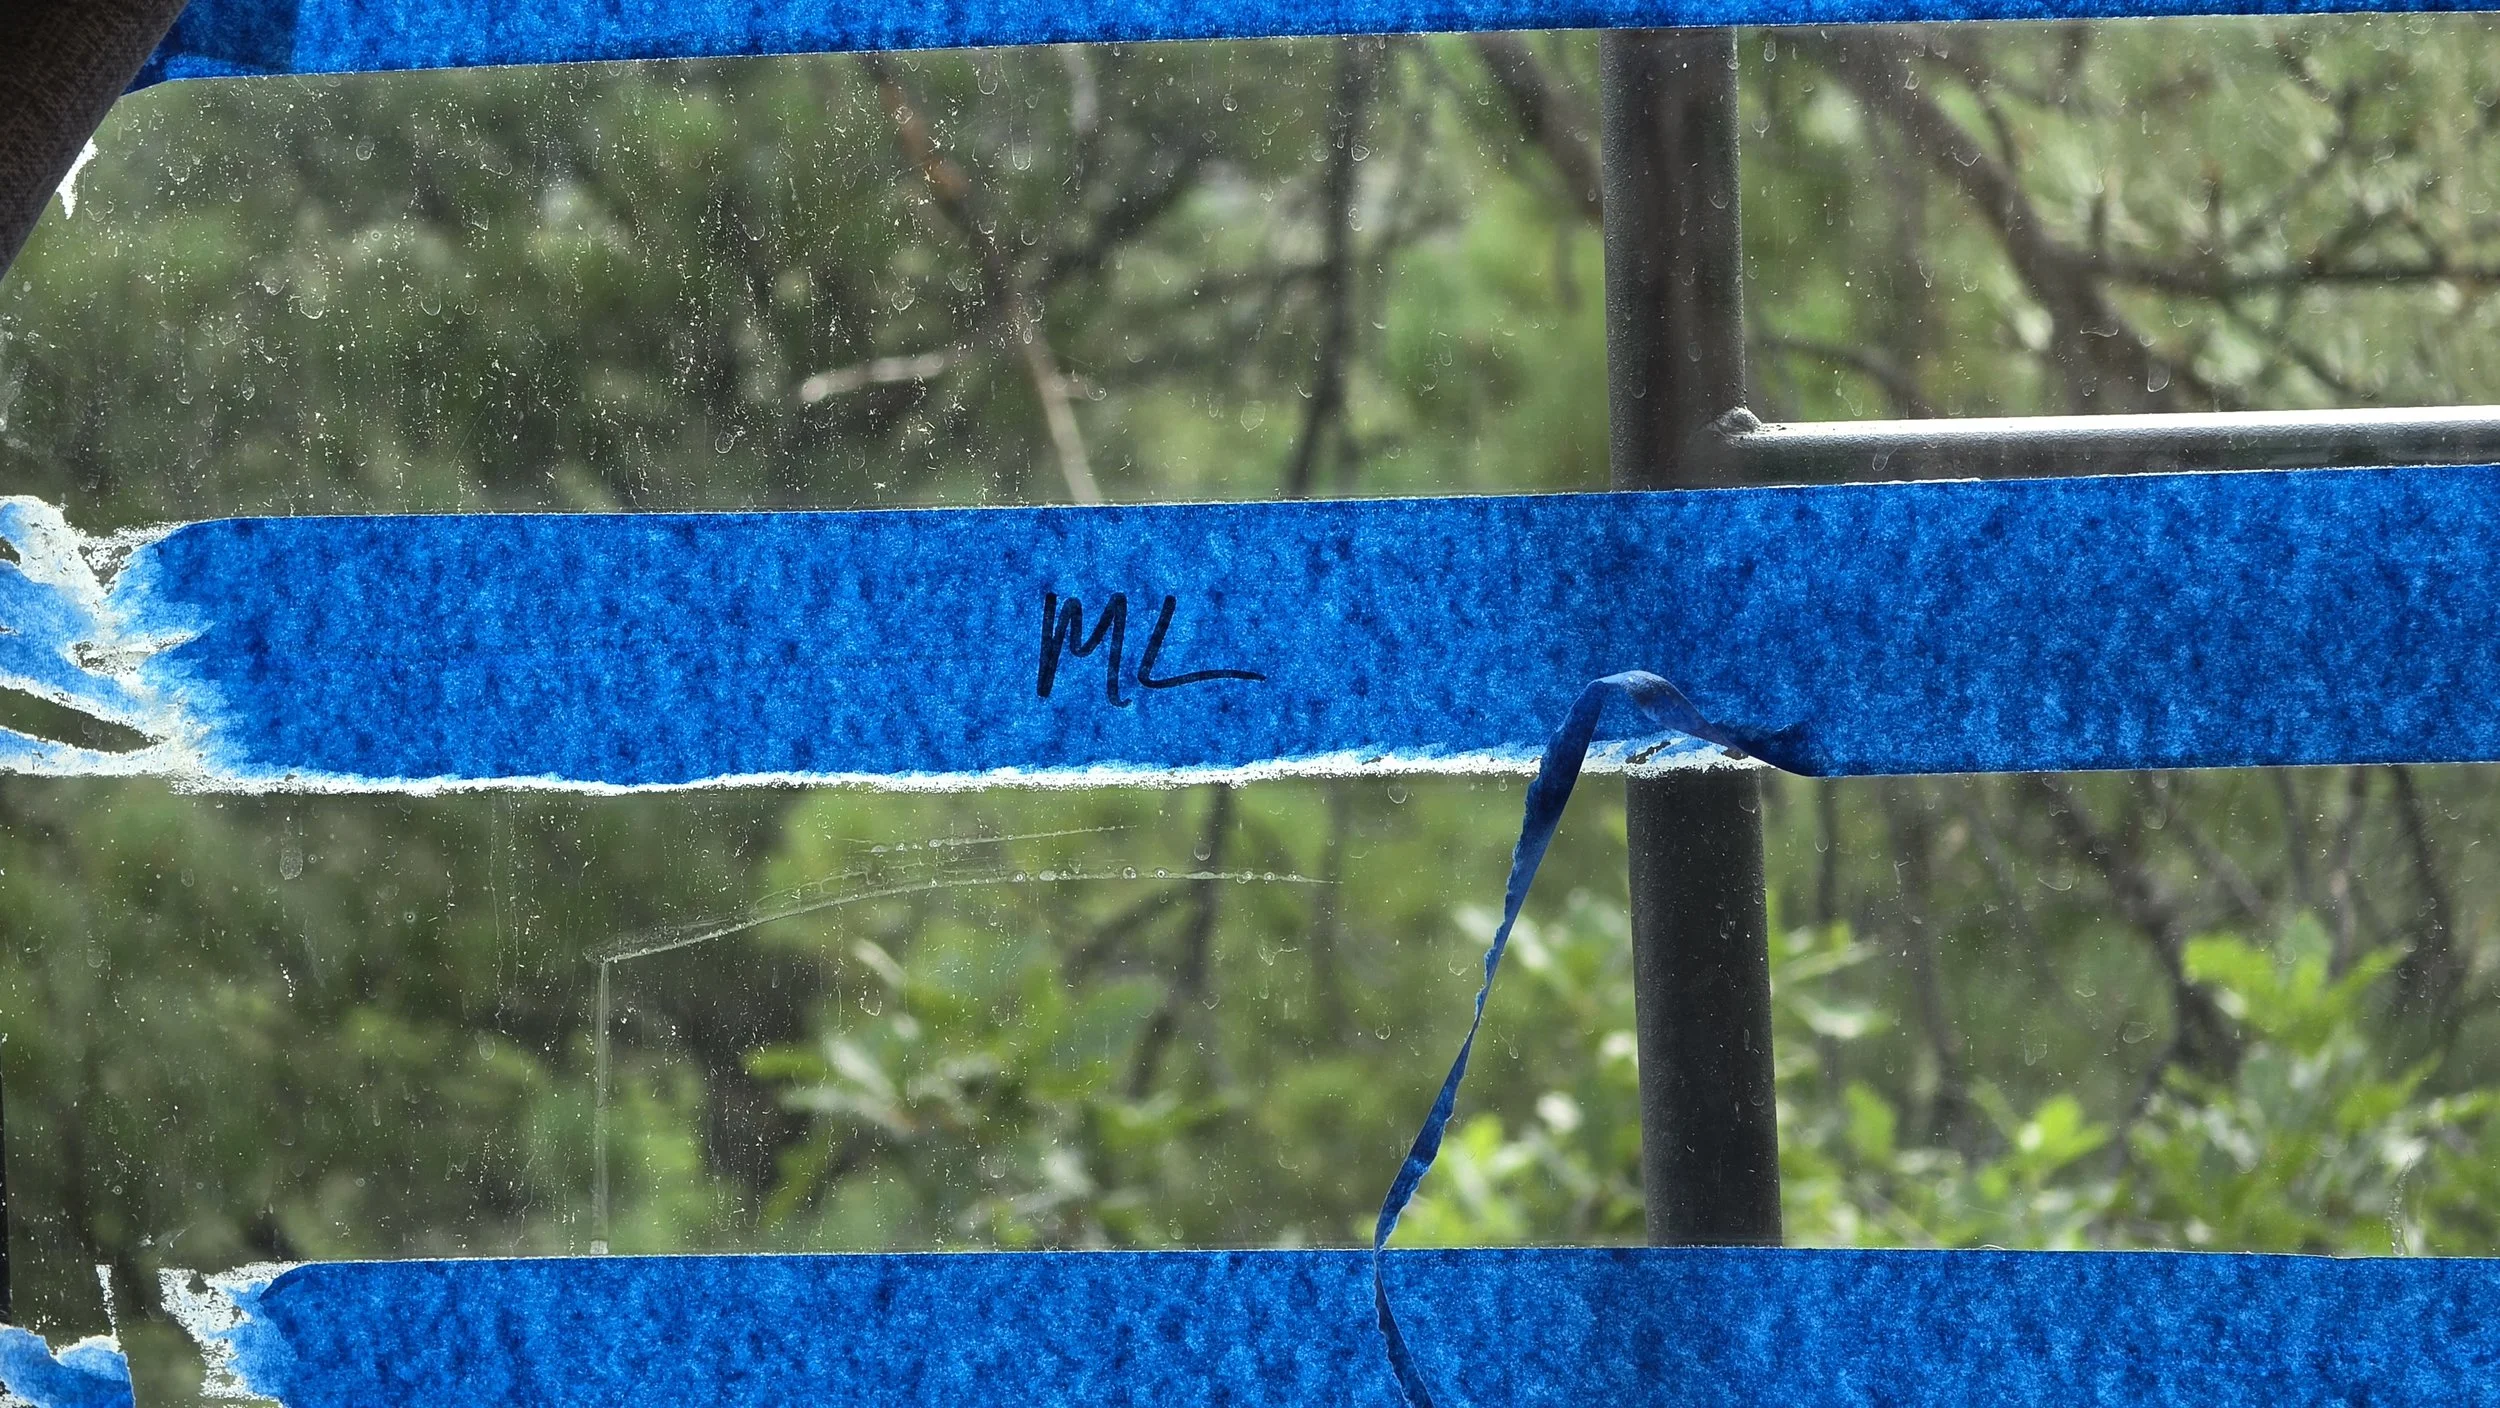
I noticed some handwriting on the blue painter's tape attached to one of the windows.
ML.
Hmm.
Middle Left?
If that's what it meant, we had a problem.
Because our "Middle Left" window was sitting on the middle right.
I took a closer look at the sliders.
Yep.
We'd installed both windows on the wrong sides.
Technically, they fit. They looked fine. They opened and closed exactly as they should.
But look at them from the perspective of a Delica traveling down the road and the problem became obvious.
The forward motion of the van would allow air to catch between the overlapping sliding panes.
Swap the windows from side to side and the overlap would face the other direction, allowing the air to flow over them instead.
Well...
At least we knew how to install Delica windows now.
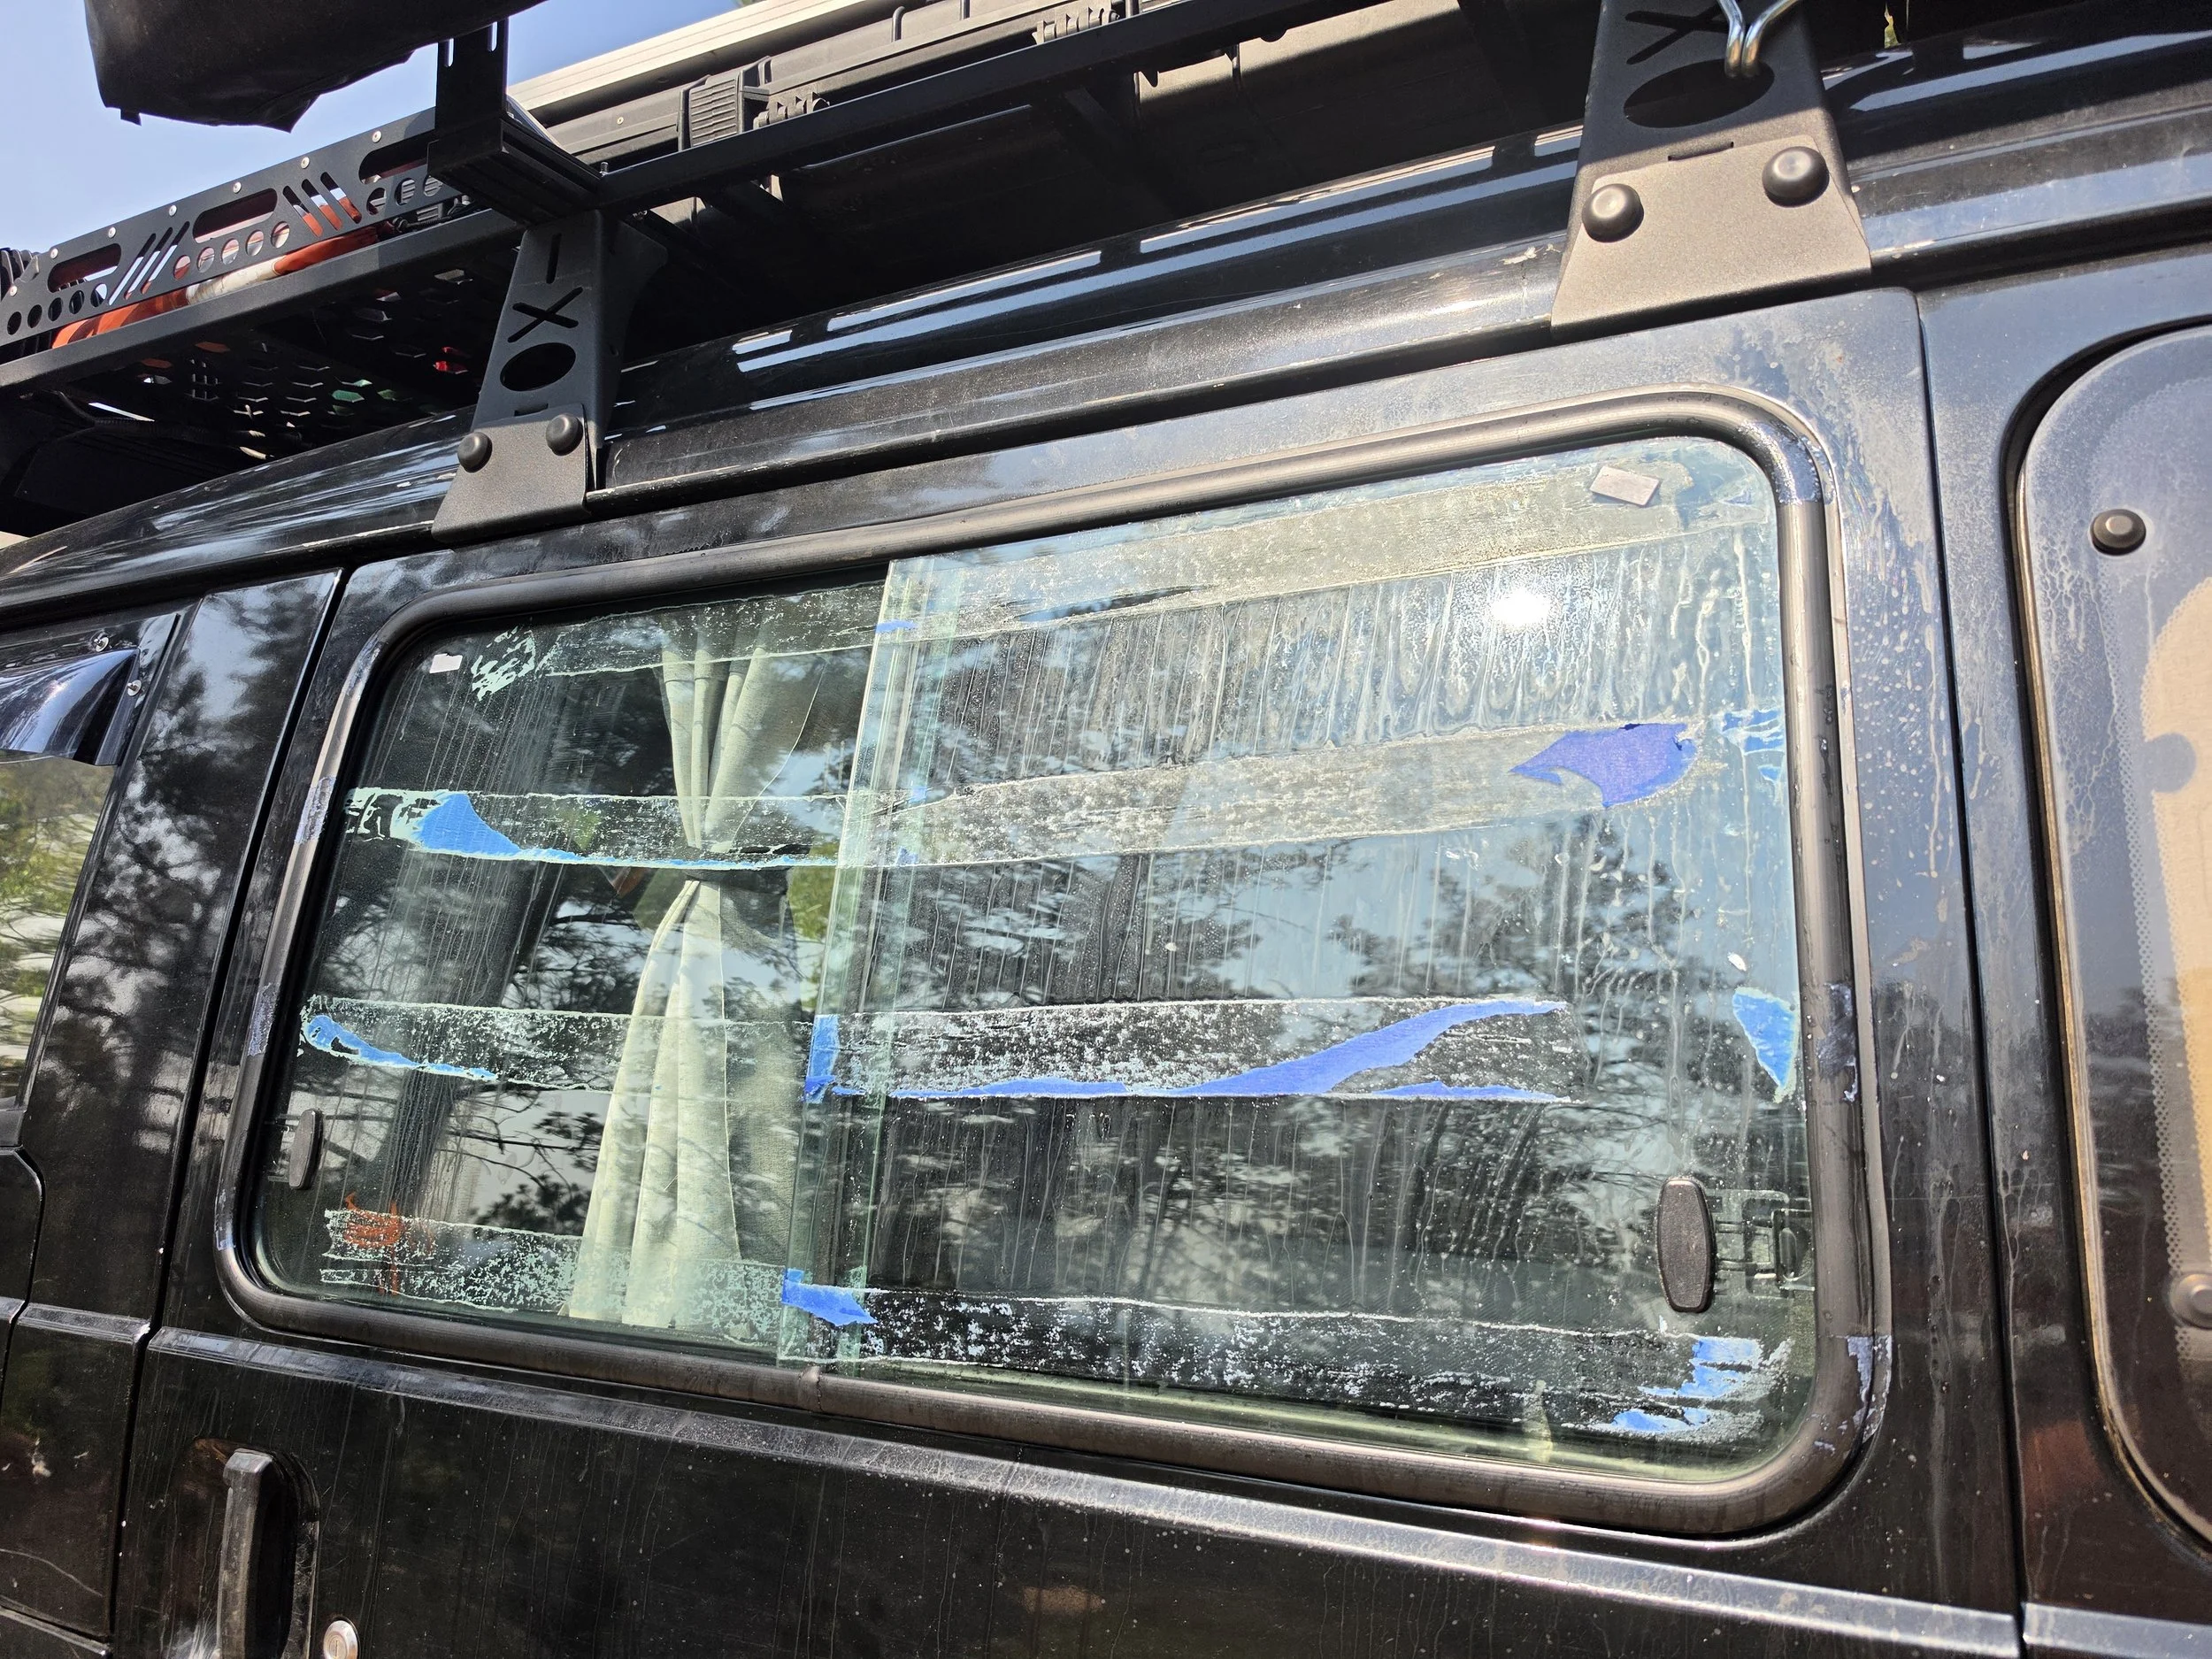
Wrong Side: Notice how the windows will catch air.
Let's Do It Again
By this point, the rubber seals had also been sitting in the warm sun.
That helped.
We removed both brand-new windows we'd just installed, carried them to the opposite sides of the van, and started over.
Window out.
Window across.
Paracord in.
Window back in.
Then repeat.
I think we had both windows removed, swapped, and reinstalled in about 10 minutes total.
So, in the end, installing them on the wrong sides wasn't a particularly big deal.
It did, however, teach me one more thing worth passing along to anyone doing the same job:
Before installing your sliding windows, look at which direction the panes overlap.
Don't rely solely on a handwritten "ML" or "MR" on a piece of painter's tape.
Think about which direction the Delica travels and how the air will move across the glass. You want that air flowing over the overlapping panes, not being forced between them.
It's a very easy thing to check before installation.
It's also a very easy thing to fix afterward.
Ask me how I know.
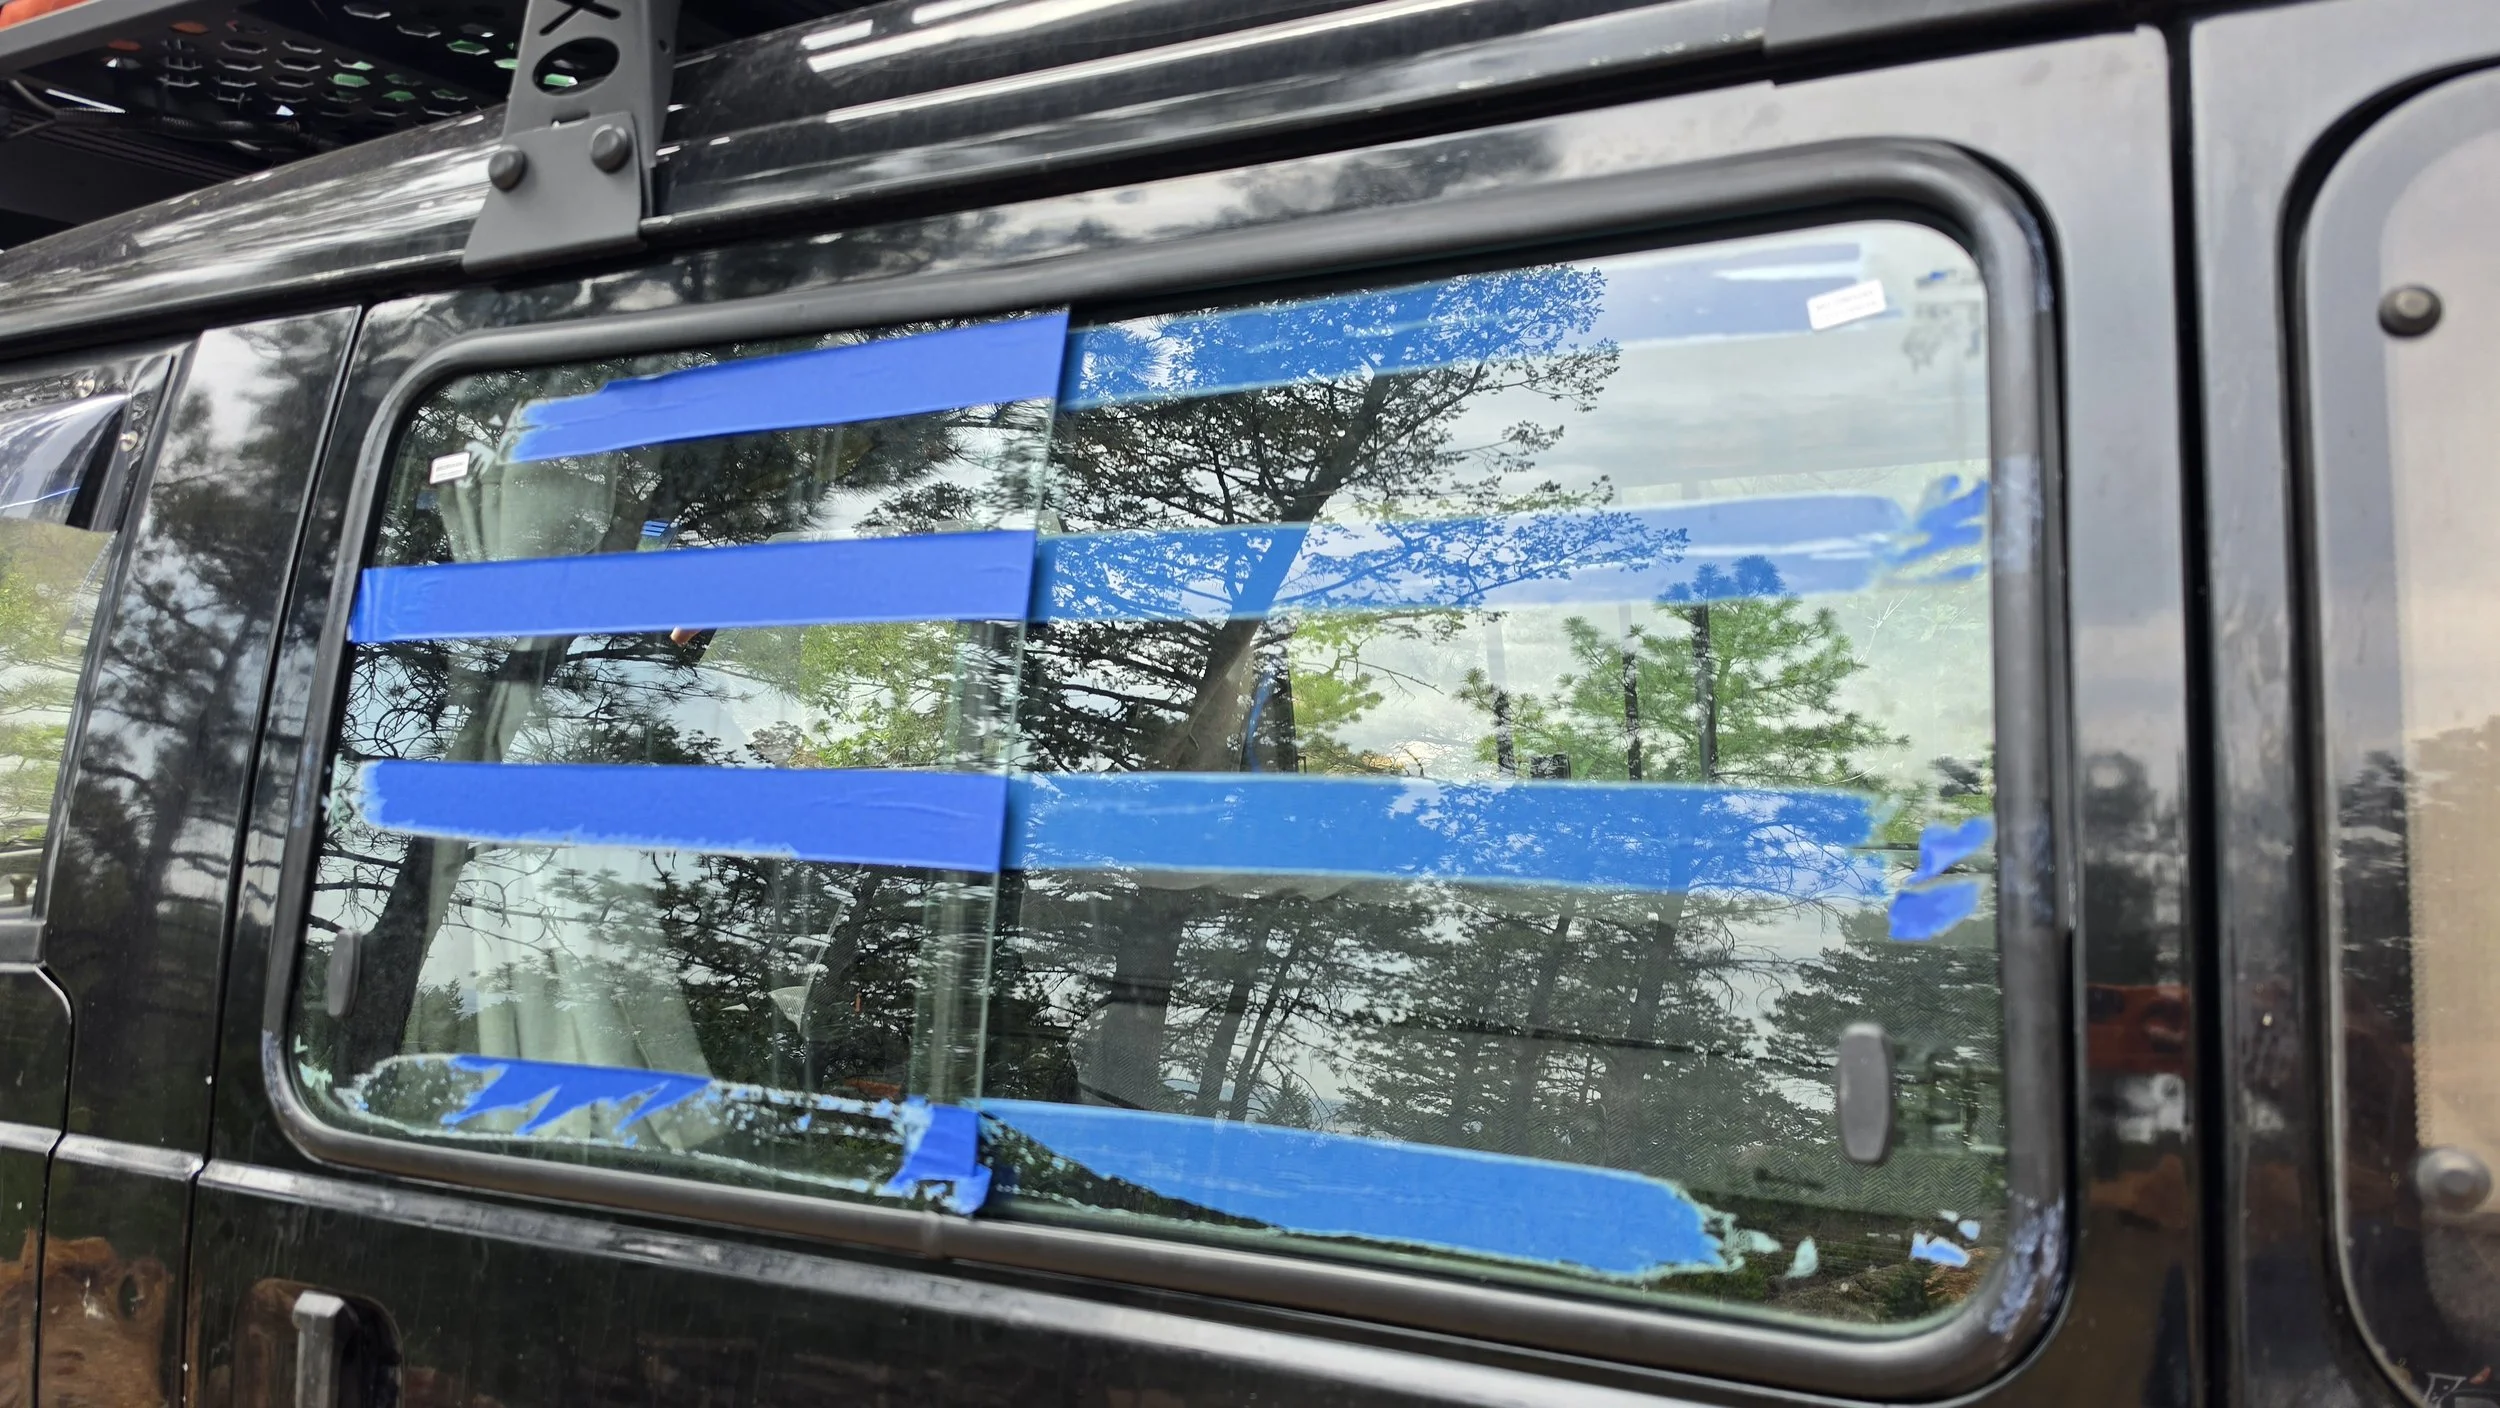
Now, that looks better!
Worth It?
Absolutely.
We started the afternoon with two original Delica windows that didn't open.
We finished with two sliding windows that did.
Along the way, we learned how the factory windows come apart, figured out the paracord trick, discovered that replacement glass can look completely wrong right up until the moment it fits perfectly, shattered one increasingly difficult-to-find piece of original Delica glass, and installed four windows despite only having two.
Not bad for an afternoon.
The shipping tape?
Yeah.
That's still tomorrow's problem.
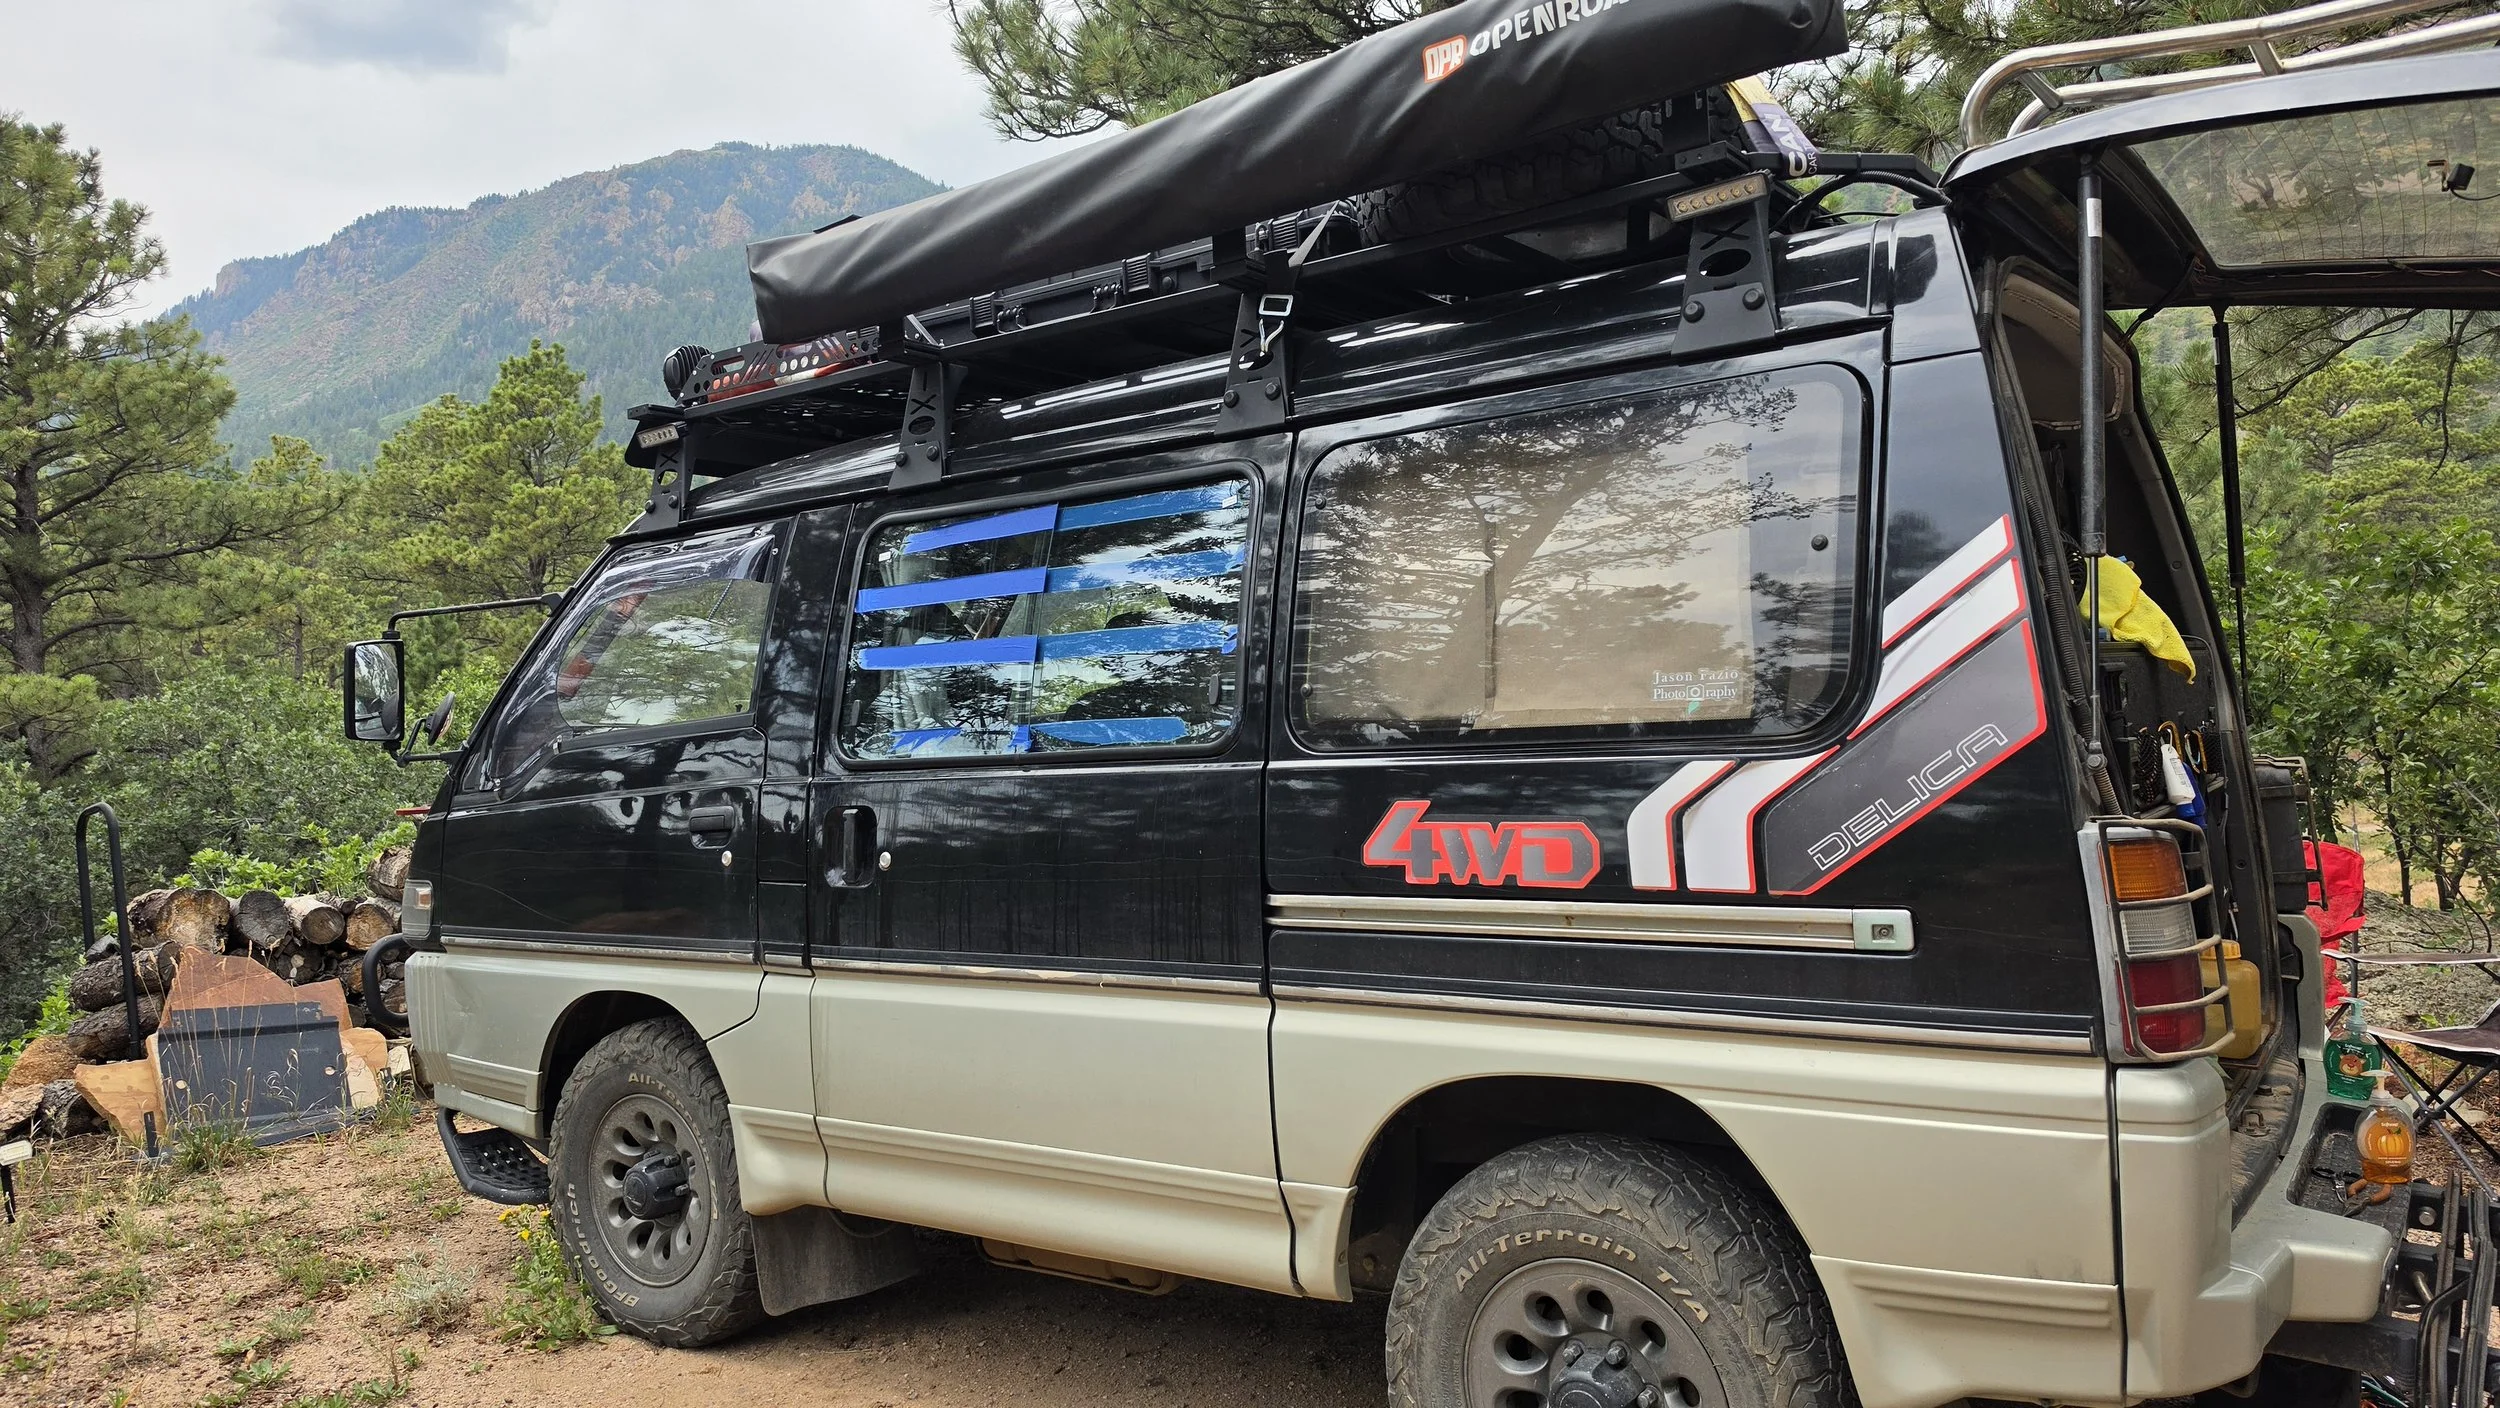
Time to remove the tape, the most difficult part of the entire project!
Update: Adding Screened Louvers to the Sliding Windows
Well, I’ve since removed about 99.9% of the painter’s tape. The tape going across the glass wasn’t too bad, but some of the places where it folded underneath and between the panes are, well, a pain. After that, it was time to work on my louvers/screens. One of the reasons I wanted sliding windows in the first place was ventilation, and adding screened louvers makes them considerably more useful when the Five Billion Star Hotel is parked or camped.
Straight out of the shipping box.
Close-up of the louvers over my Mitsubishi Delica L300’s sliding windows.
Close-up of the louver screens over my Mitsubishi Delica L300’s sliding windows
The louvers came two in a box. I’ve yet to install the second one. I’ll explain below.
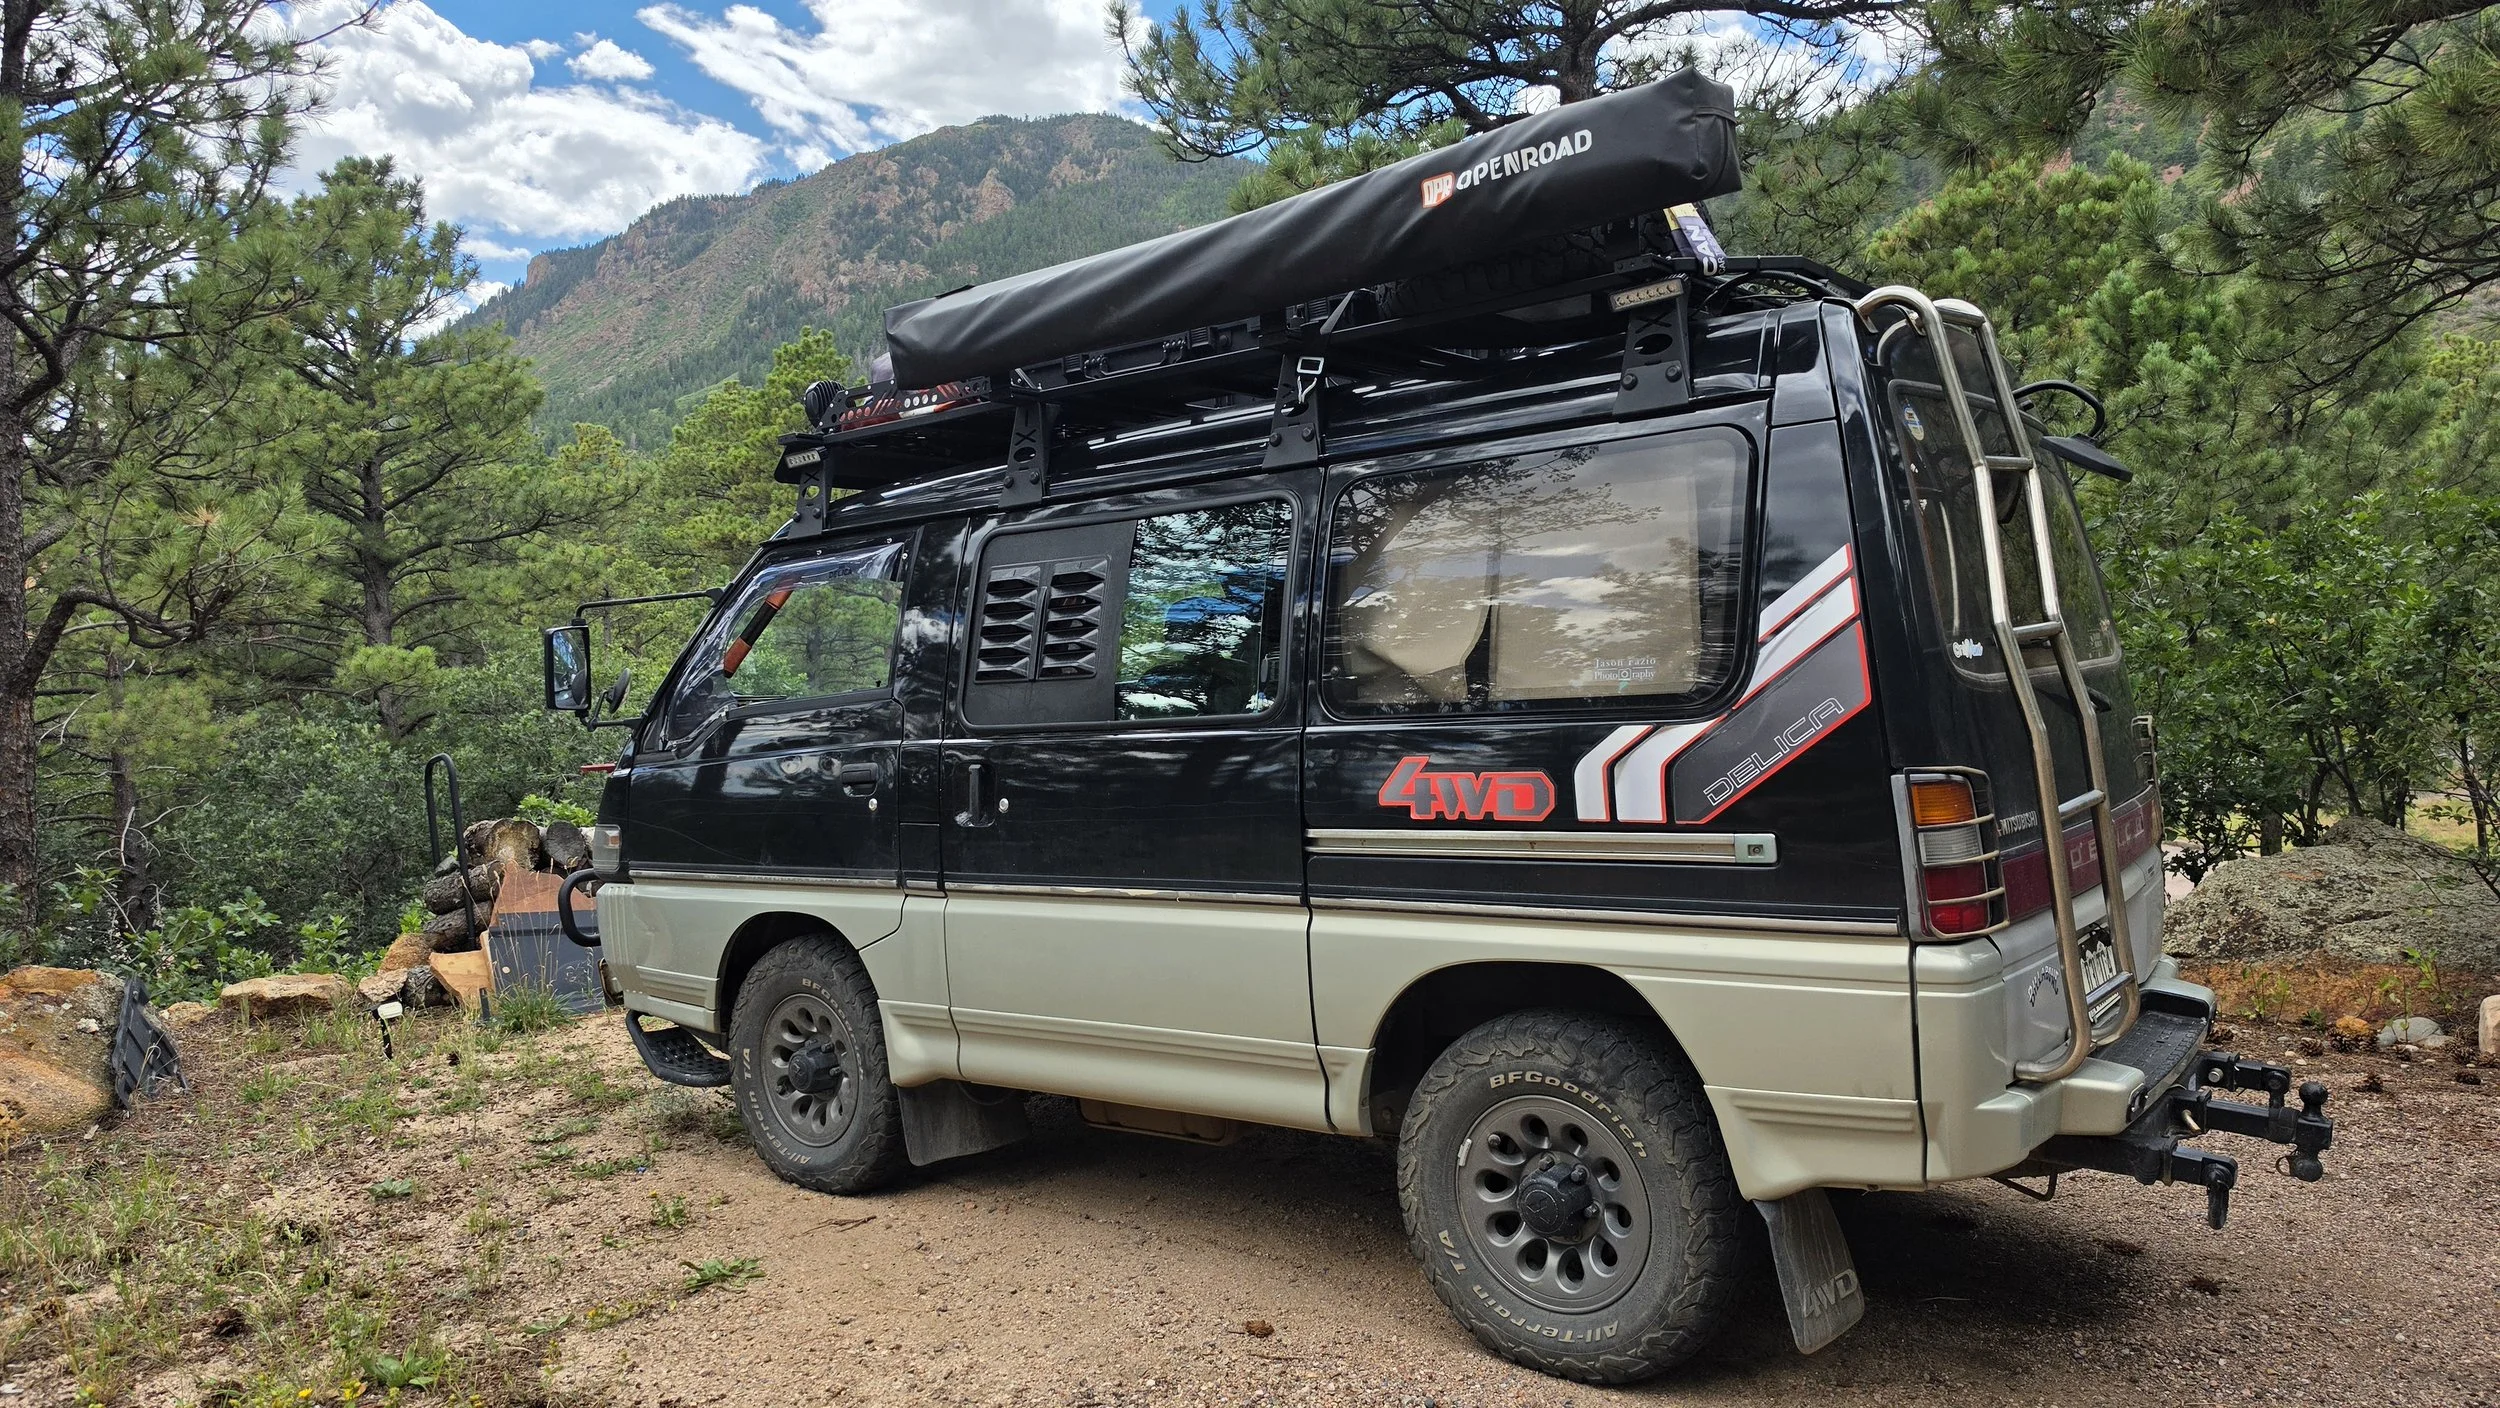
Screened louvers installed over the sliding windows of a Mitsubishi Delica L300, providing ventilation while helping keep insects out.
Mitsubishi Delica L300 with removable window louvers installed over the sliding side windows. The louvers slip beneath the windows’ outer rubber seals and feature screens behind the vents to allow airflow while helping keep bugs and insects outside the vehicle.
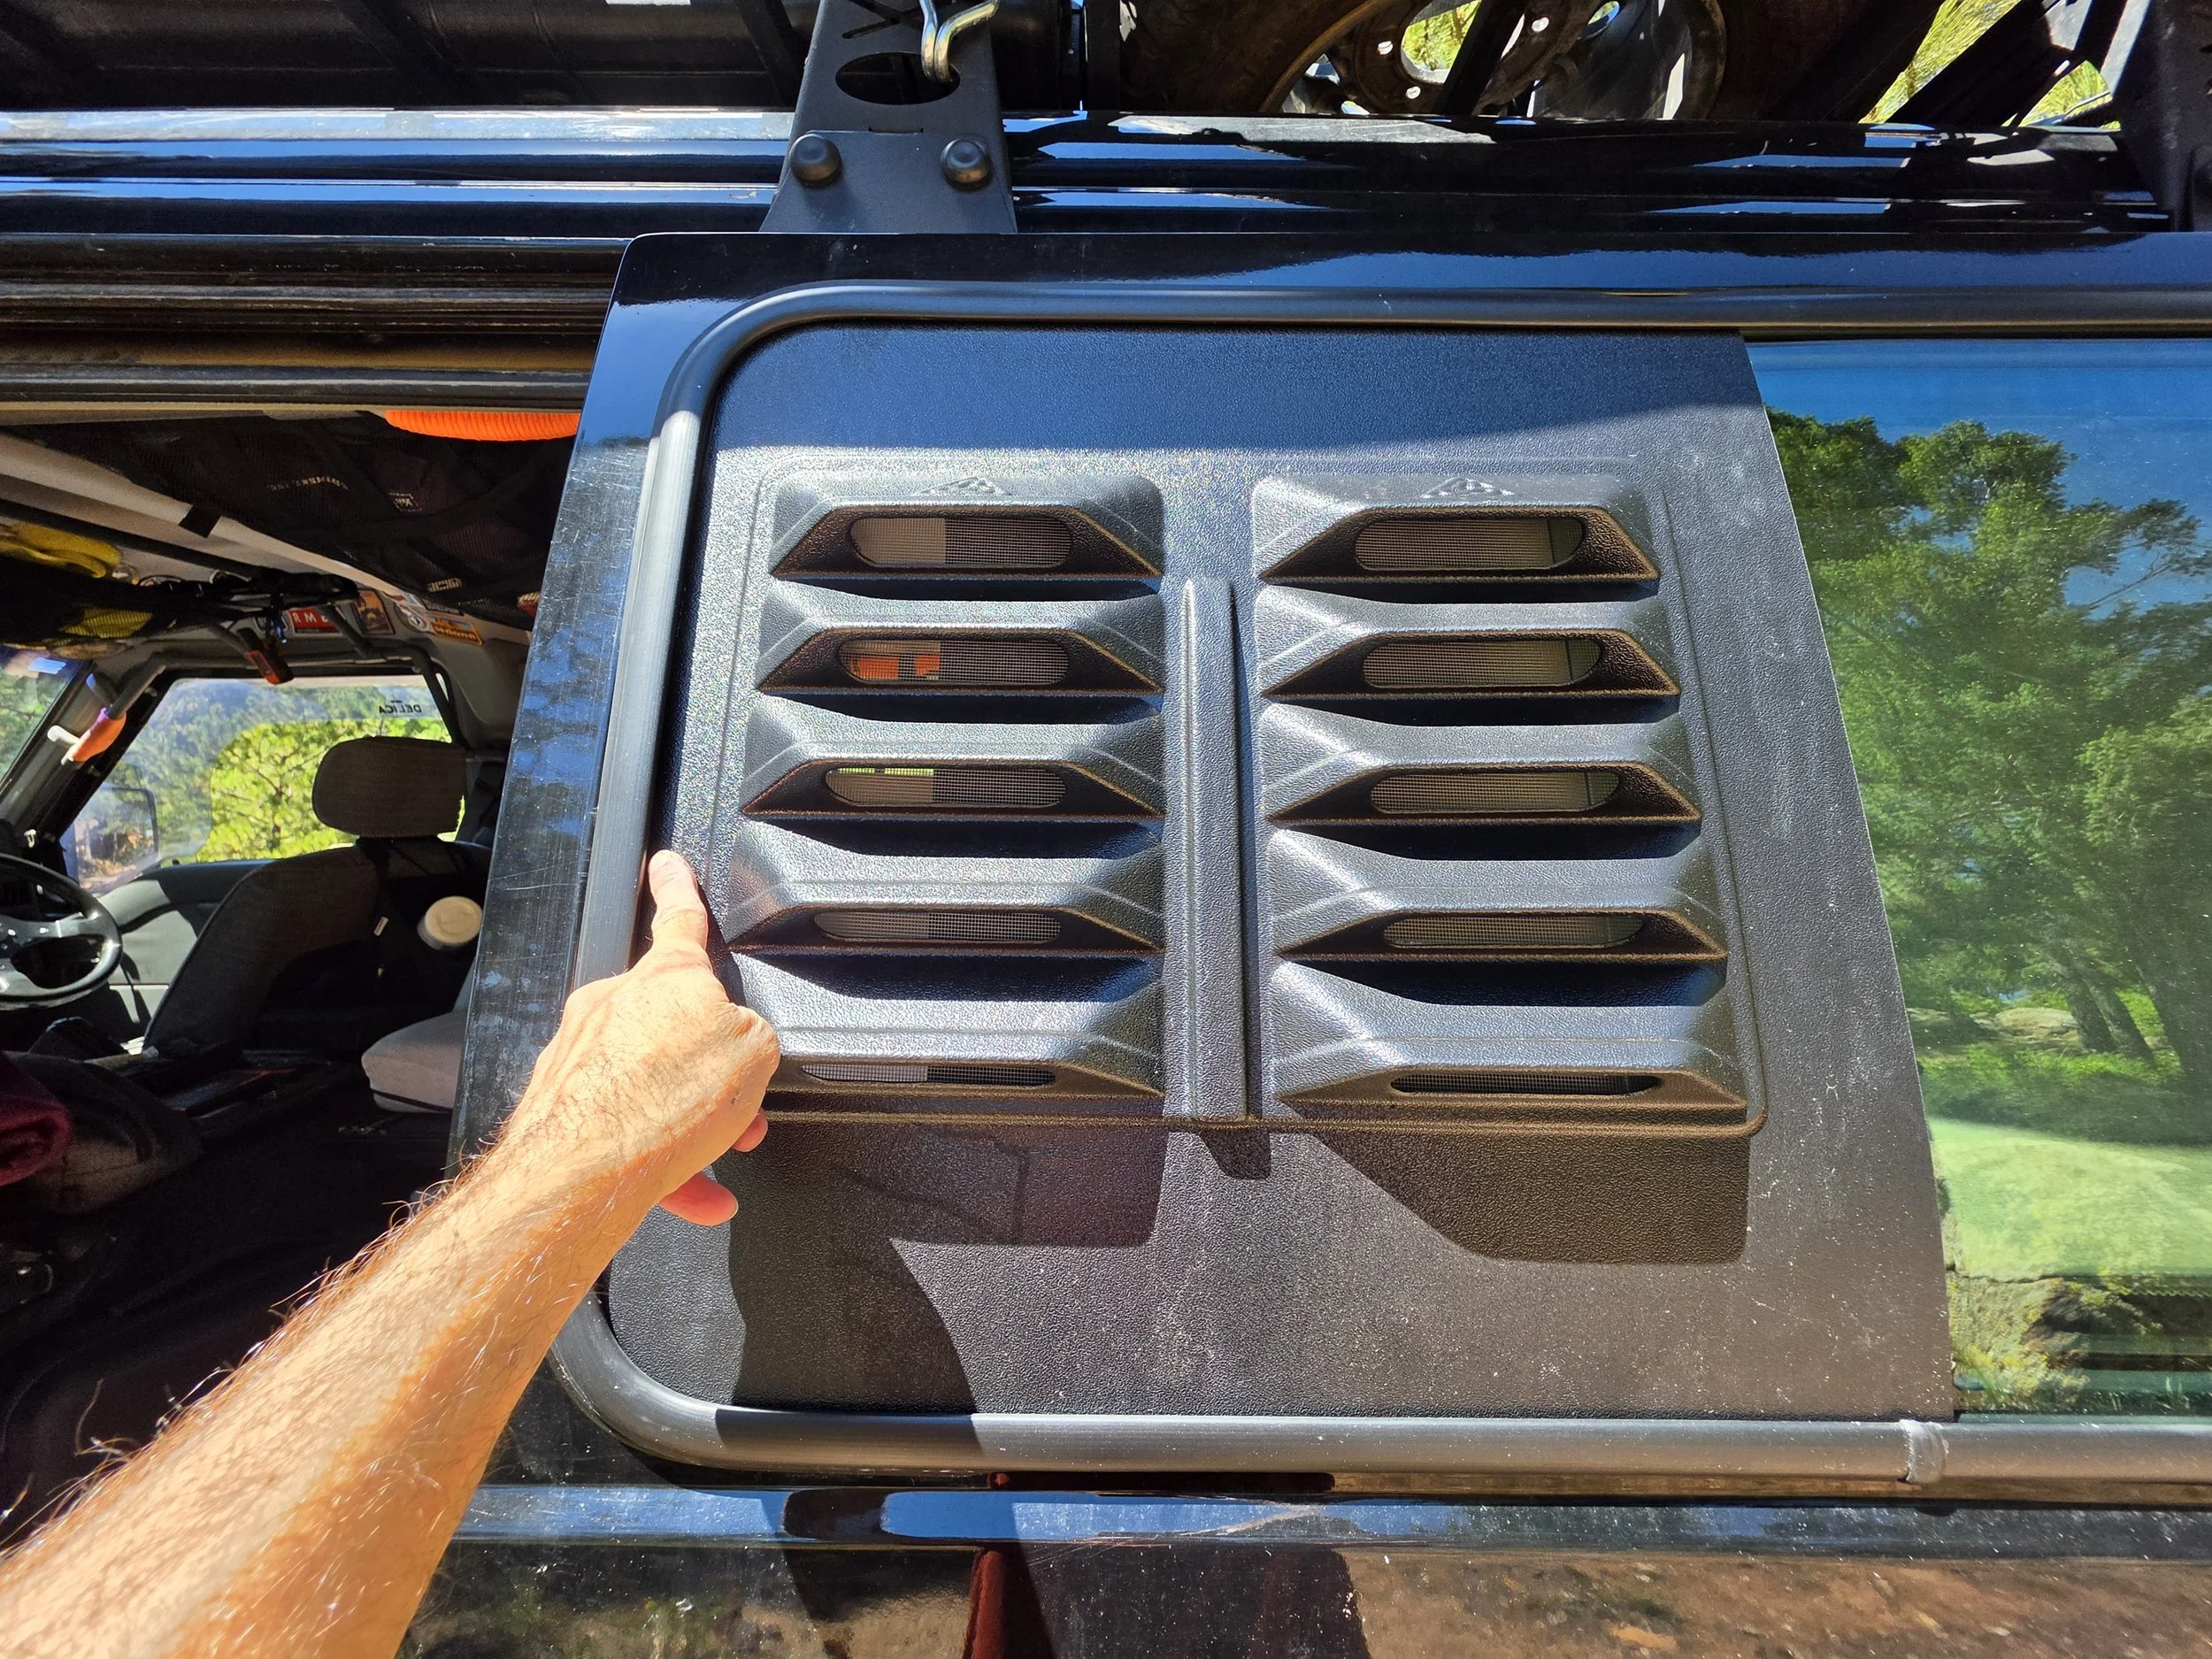
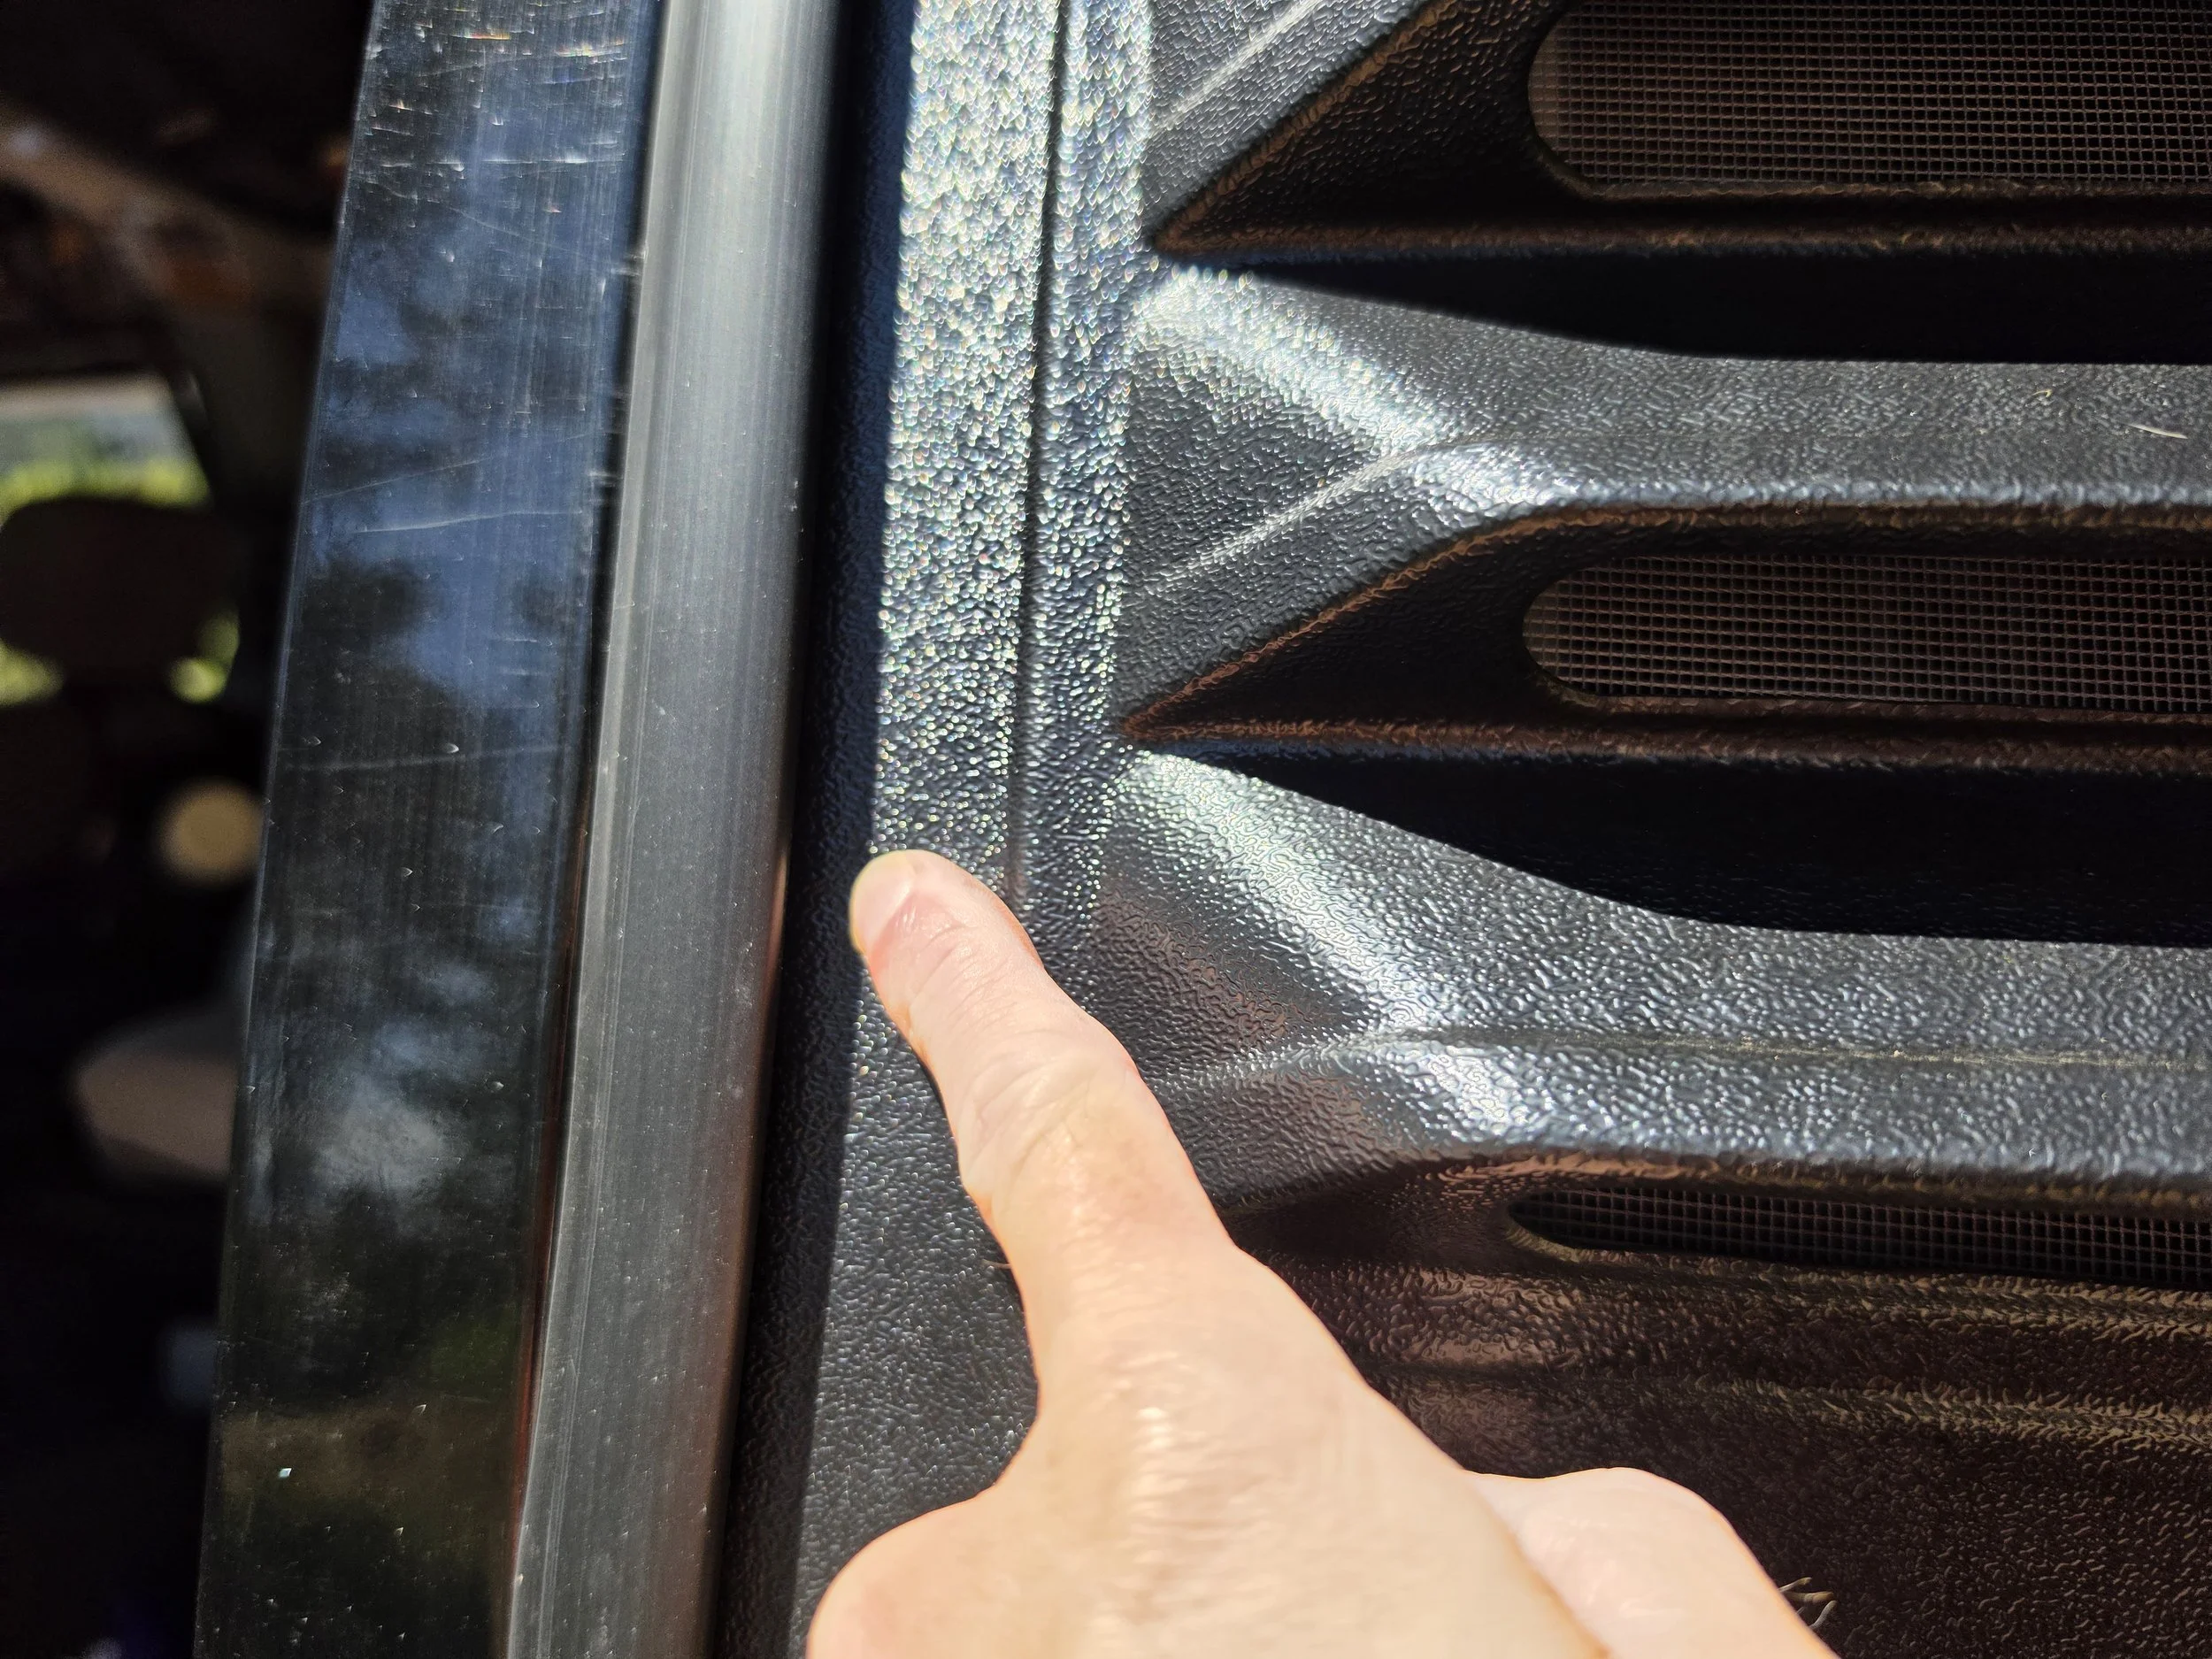
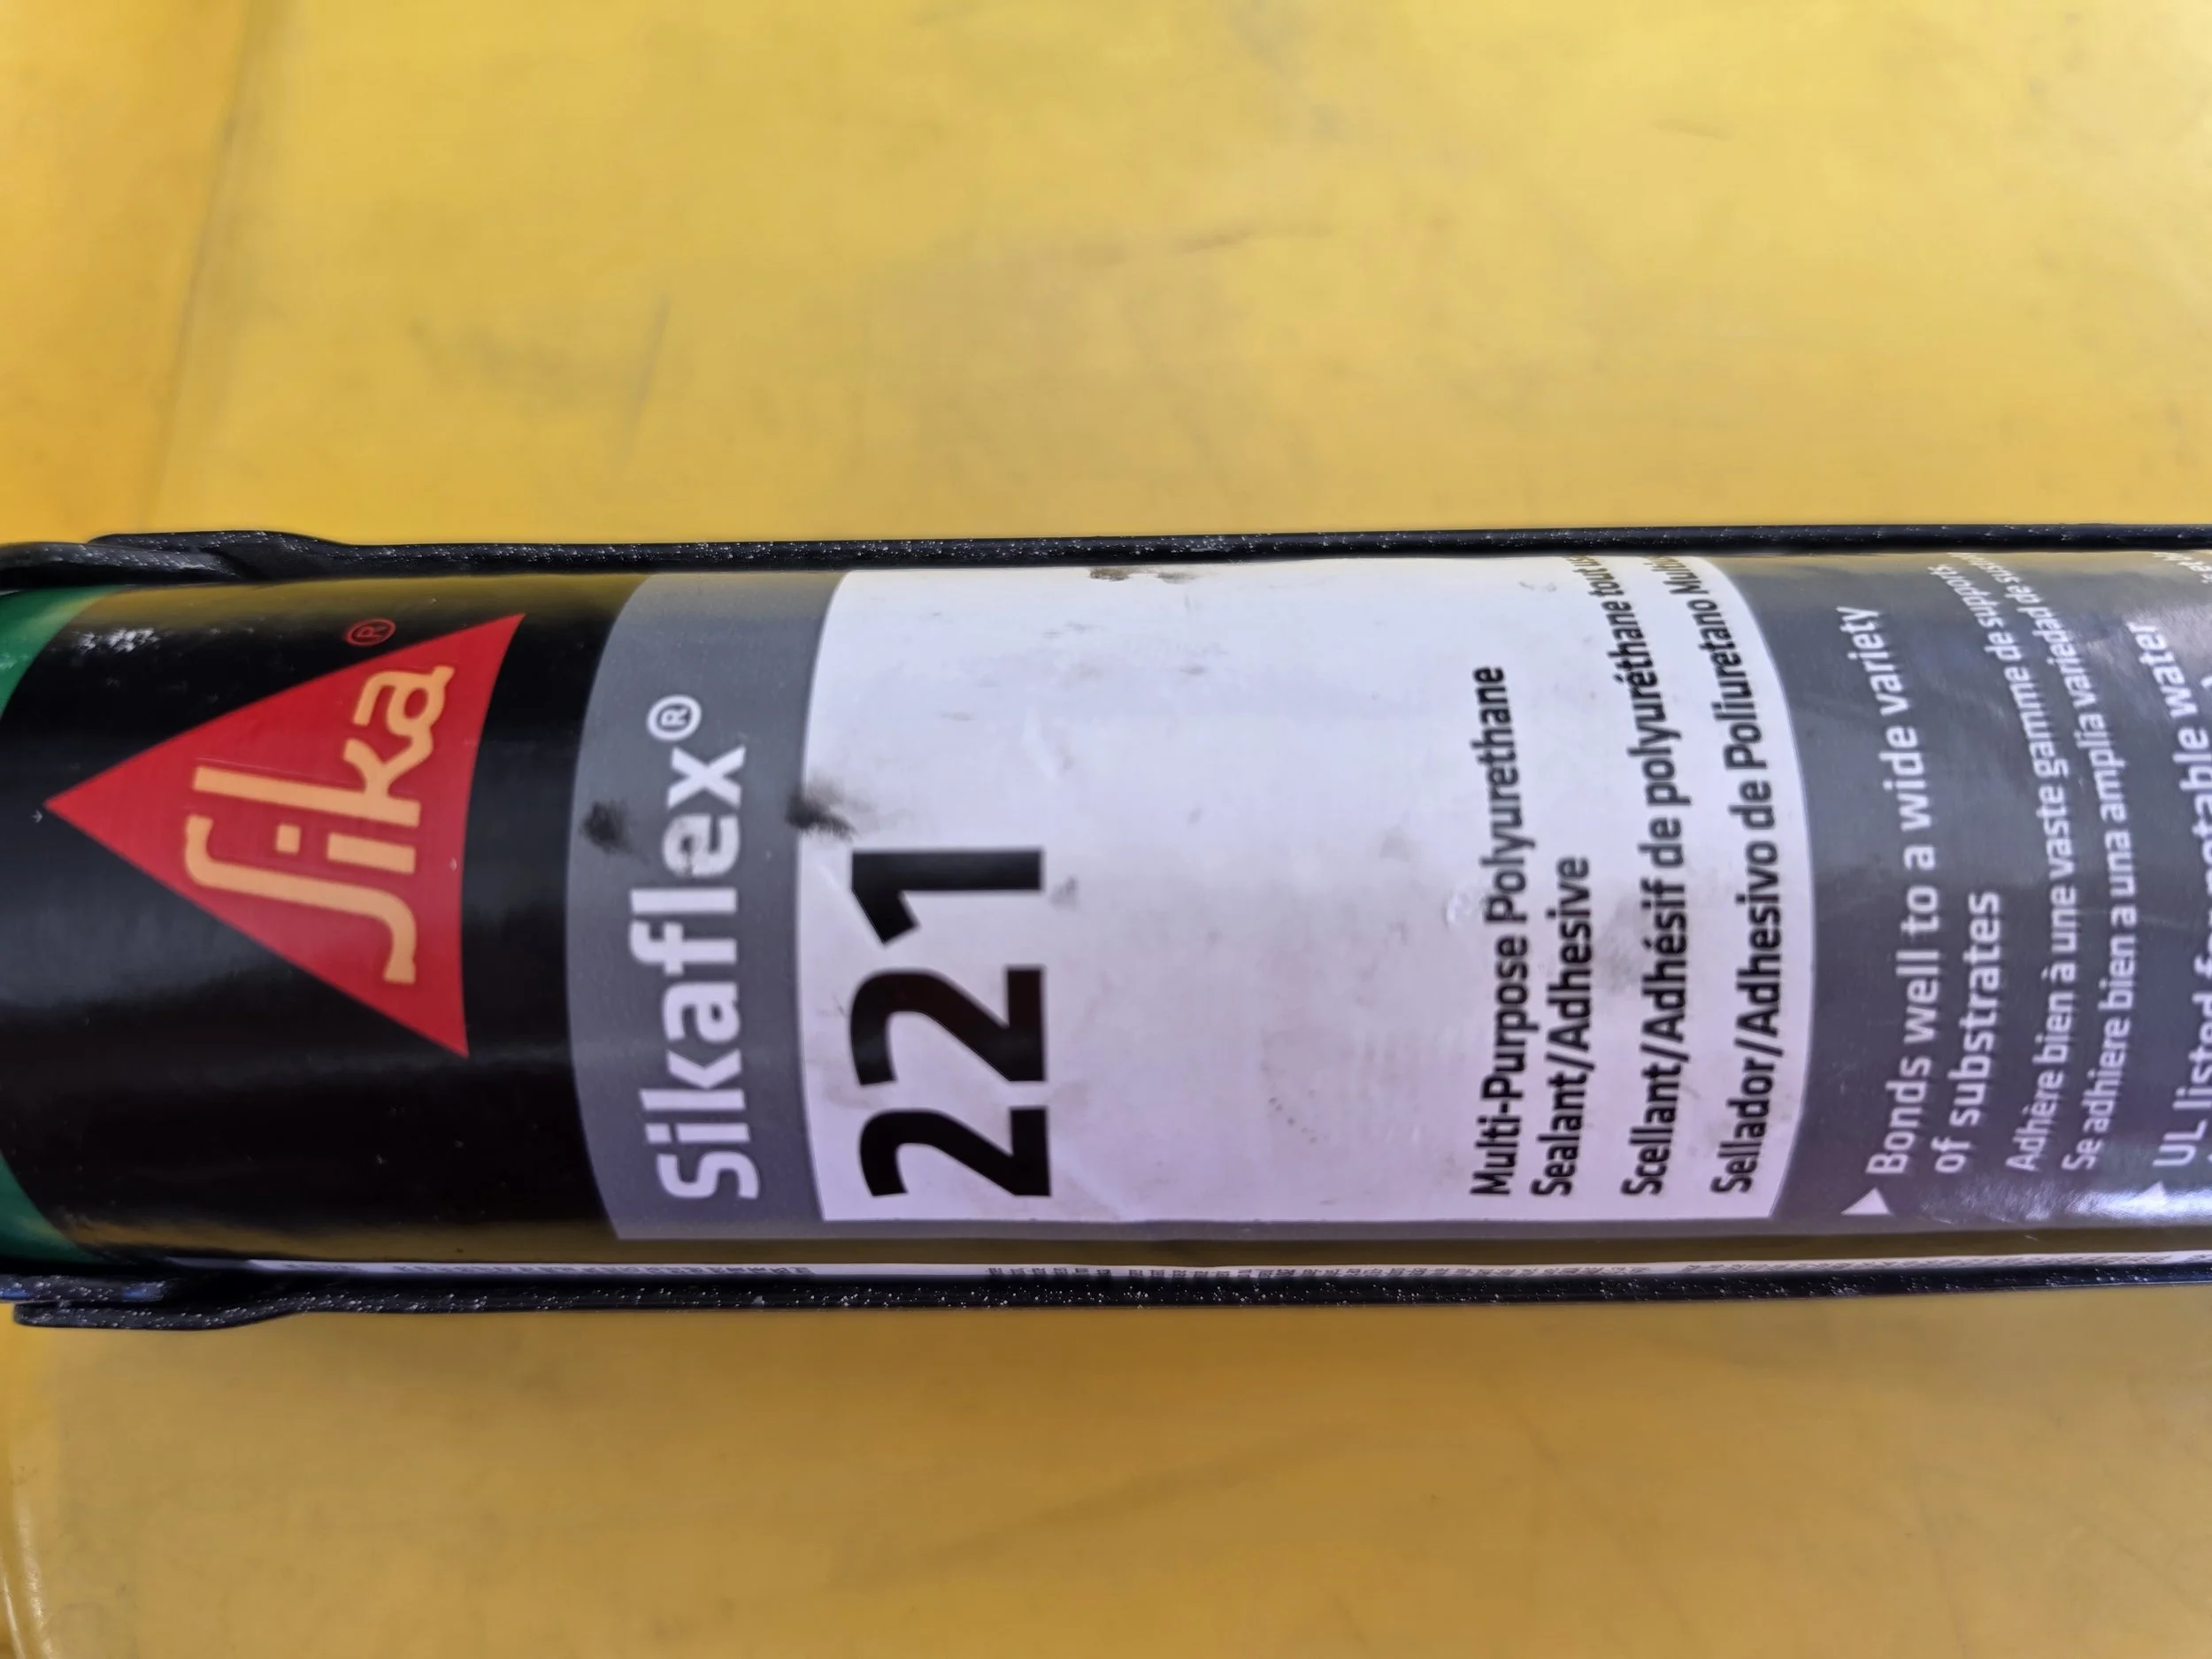
I added a few small dabs of Sikaflex 221 between the louvers and the window seal to help prevent the louvers from sliding rearward while driving. I had some Sikaflex left over from my windshield installation, and the flexible polyurethane adhesive seemed well suited for adding a little extra security without permanently bonding the entire louver in place.
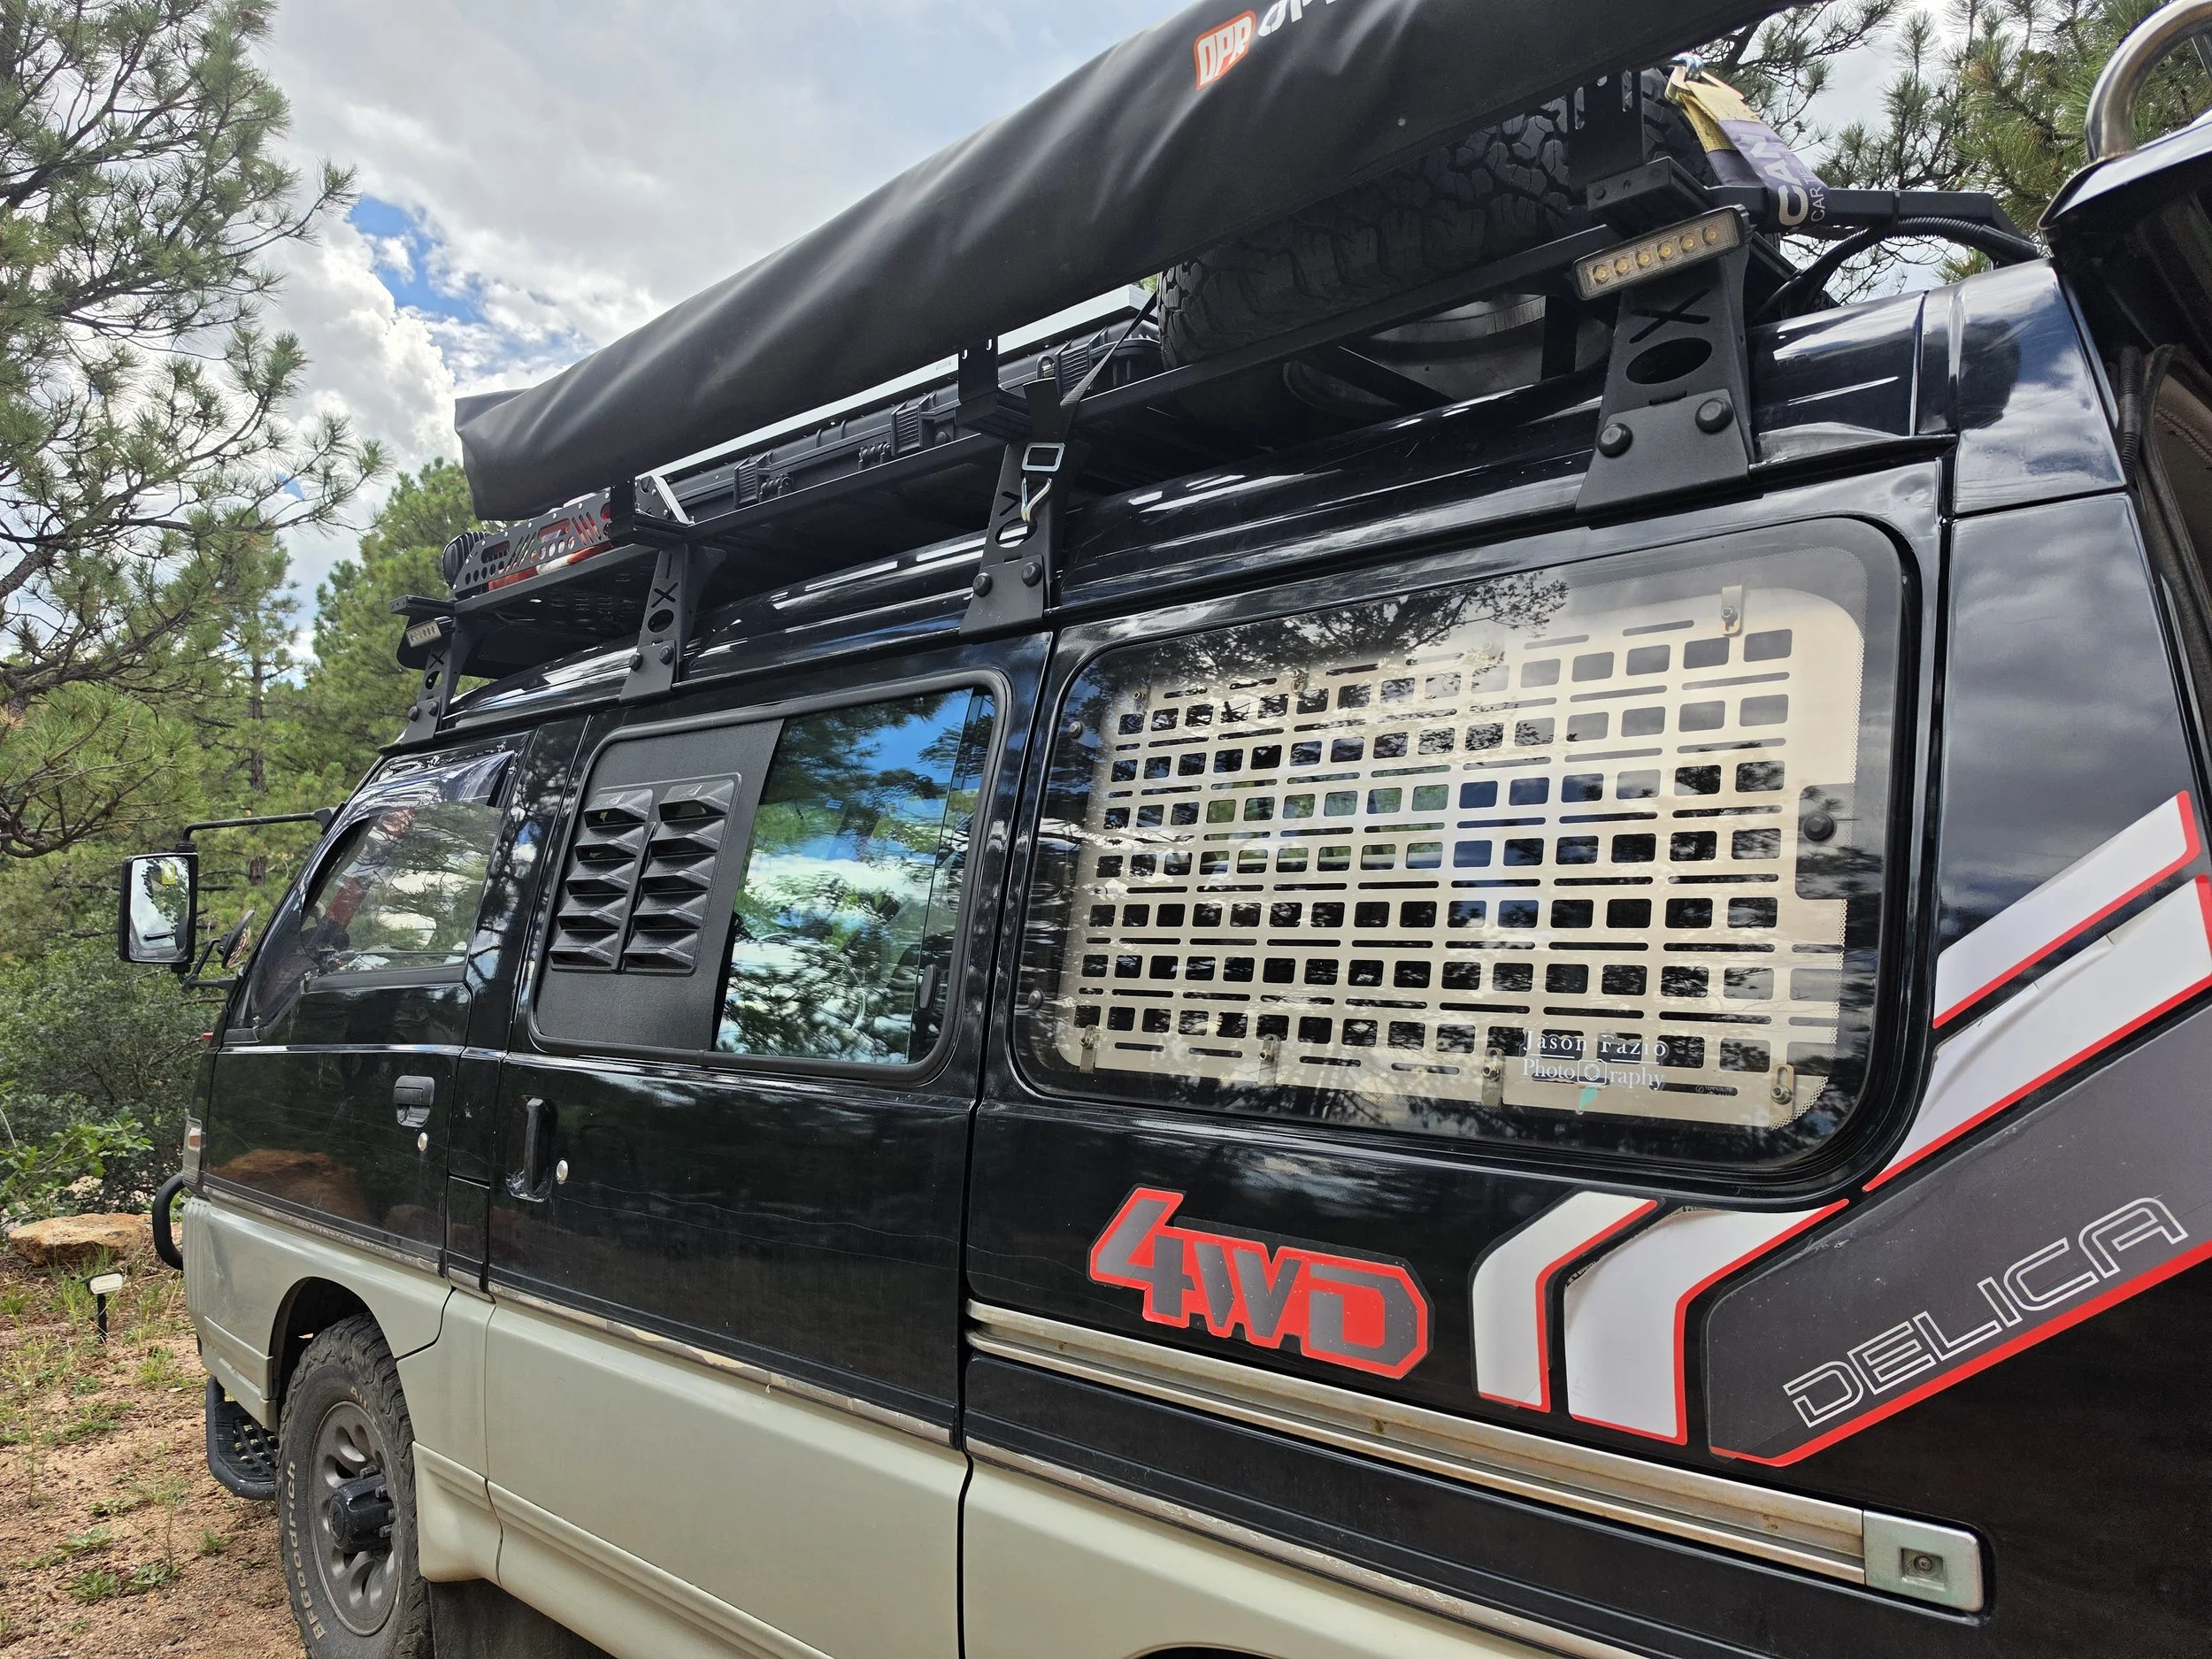
Screened window louvers and a rear passenger-side MOLLE panel installed on a Mitsubishi Delica L300.
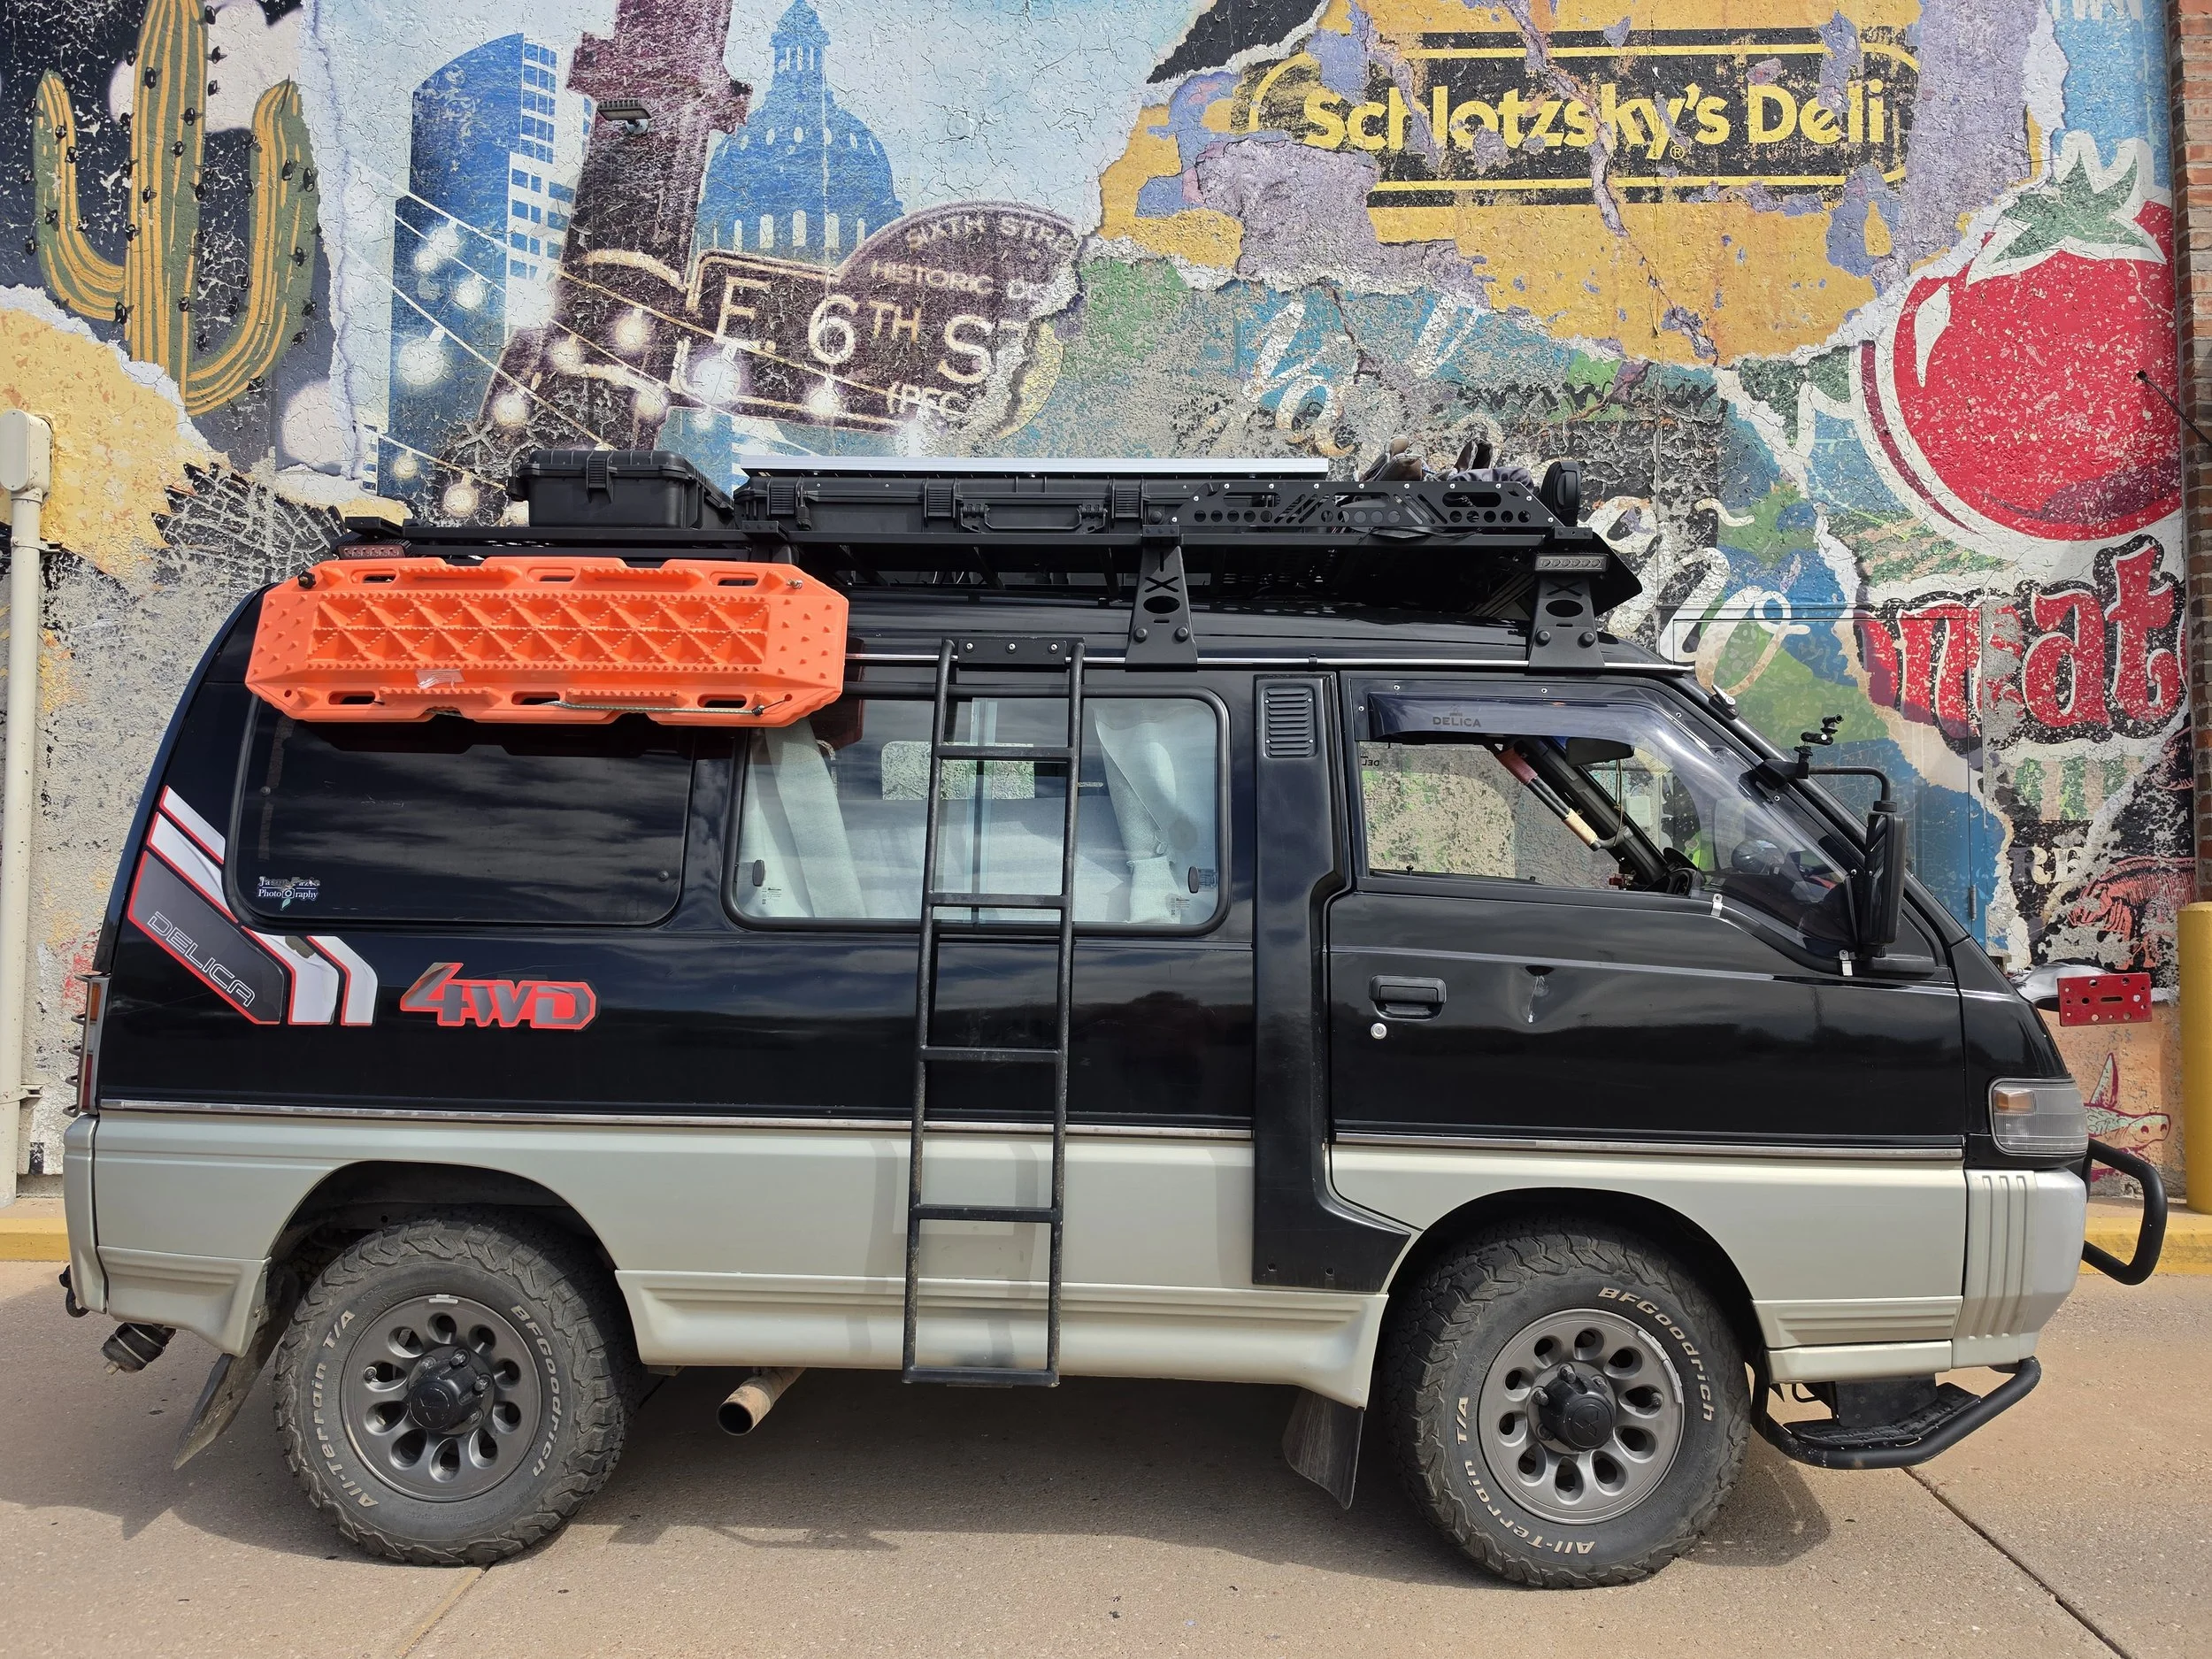
The driver’s side presents a small problem: there isn’t enough clearance between the exterior ladder and the sliding window to install the louvers. Yet.
Driver’s side view of a Mitsubishi Delica L300 showing the exterior ladder mounted beside the sliding window. Unlike the passenger side, screened window louvers have not yet been installed because the limited clearance between the ladder and the vehicle prevents the louvers from fitting into place.